OPERATING INSTRUCTIONS
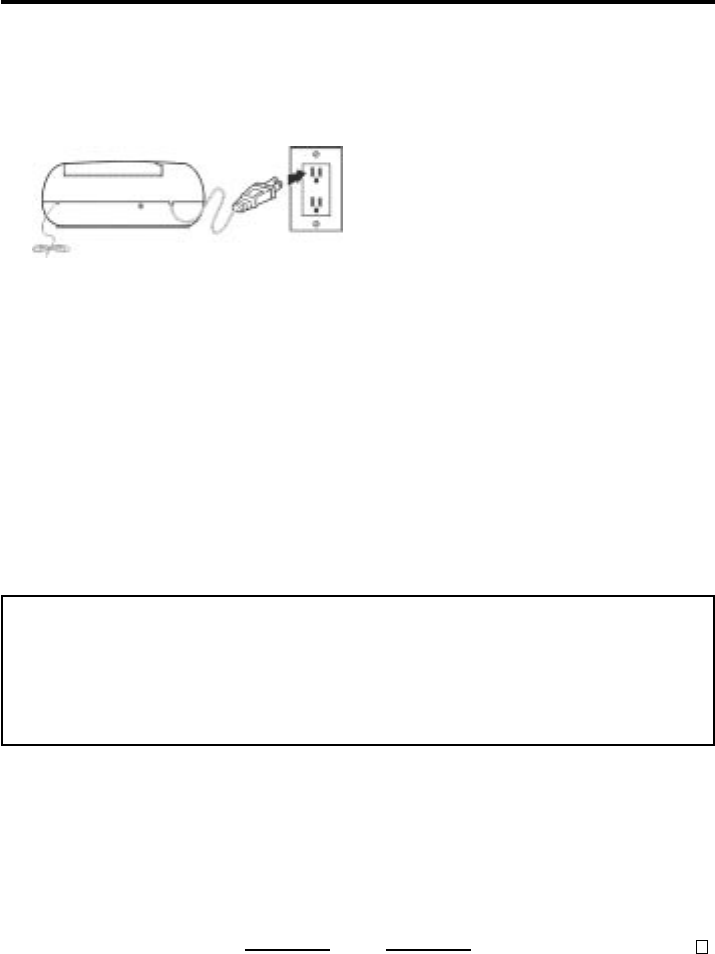
NOTE:This cord is polarized. This means the cord will only fit one way into the socket or wall
outlet. If it does not fit, do not force it, just reverse it and try again.
NOTE:
ONE BLADE OF THE PLUG IS WIDER
THAN THE OTHER. ALSO DO NOT USE
AN OUTLET CONTROLLED BY A WALL
SWITCH.
BATTERY PRECAUTION
Follow these precautions when using a battery in this device:
1. Use only the size and type of battery specified (9 volt)
2. Be sure to follow the correct polarity when installing the battery as indicated in the battery compartment .
3. If the device is not to be used for a long period of time, remove the battery to prevent damage or injury from
possible battery leakage.
4. Do not try to recharge batteries not intended to be recharged; they can overheat and rupture (Follow
battery manufacturers directions).
Setting the Clock
Your new AM/FM CLOCK RADIO CASSETTE PLAYER is a specially designed all solid state
set which, with proper care, will give you years of trouble-free service.
Powering Up
Plug the AC POWER CORD into a 120V, 60Hz wall outlet . The CLOCK DISPLAY will light up or
flash indicating the power is on.
BATTERY BACK-UP
If the AC cord is disconnected or if there is a short time power failure, this electronic clock and
timer are designed to continue operating internally (without showing in the display) if a 9 volt
battery (not included) is installed.
To connect the battery, locate the BATTERY COMPARTMENT on the bottom of the set. Open
the BATTERY COMPARTMENT by pushing in on the tab, open the door, and connect the
battery to the terminals of the battery snap inside the compartment (Alkaline battery is
recommended). Replace the battery compartment door. The back-up battery will keep your
alarm and time setting to avoid your having to reset these if power fails.
NOTE:Be sure to check the condition of the battery every few months by disconnecting the
AC cord and connecting it again 2 or 3 minutes later. The preset times will show. If the
time flashes, it indicates the battery is dead or not connected properly.
The radio will work fine without this back up battery.
1. Press the TIME set button together with the HOUR set button until the display shows the
desired hour.
2. Press the TIME set button together with the MINUTE set button until the display shows the
desired minutes.
NOTE: When the PM indicator is off, the time is AM (advance 12 hours to change from AM
to PM).
CR-186_032200 NLv.2 E
4
