Removal and replacement procedures 28
Removal and replacement procedure tips
After completing all necessary removal and replacement procedures, power on any attached devices to
be sure that all components are operating properly.
IMPORTANT: As you are removing the console switch components, be sure to retain the screws in a safe
place and separate them according to their type.
Removing the console switch
1. Power down the console switch and any attached devices.
2. Disconnect all cabling.
NOTE: Identification labels are provided on the UTP CAT5 cables to mark the ports to which they are
connected.
3. Remove the console switch.
Replacing the console switch
1. Mount the console switch in the rack.
2. Connect the expansion module ("Replacing the expansion module" on page 42).
3. Connect the interface adapter ("Replacing the interface adapter" on page 43).
4. Power on the console switch. The activity indicator light powers on.
5. Power on the monitor.
6. Power up the server.
7. Update the console switch firmware ("Updating the console switch firmware" on page 59).
8. Update the interface adapter firmware. ("Updating the interface adapter firmware" on page 60)
9. Update the cascaded console switch firmware, if necessary ("Updating the cascaded console switch
firmware" on page 59).
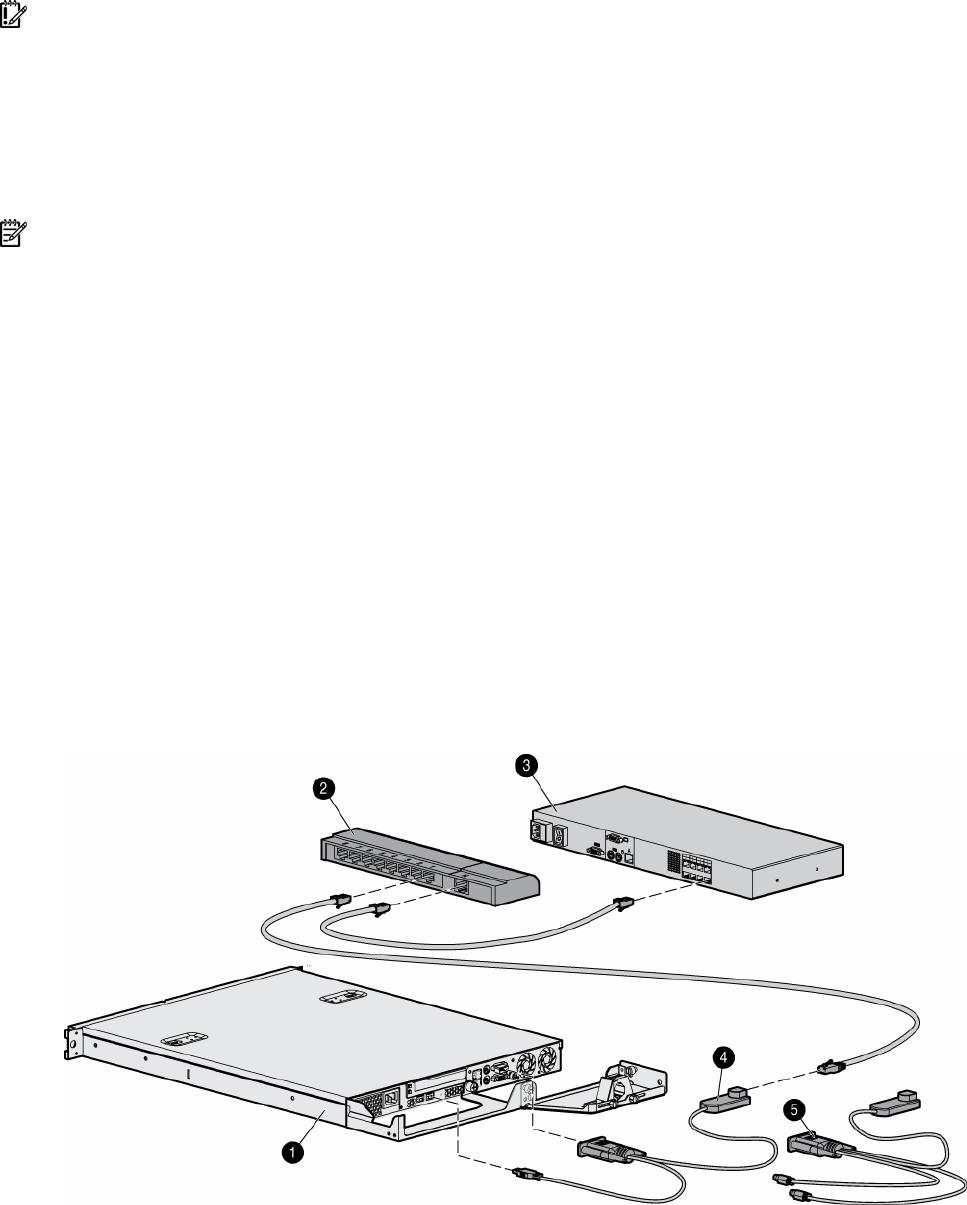
The following figure shows one possible configuration for your console switch system.


