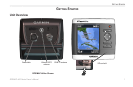
GPSMAP
®
400 Series Owner’s Manual 51
InStallInG the unIt
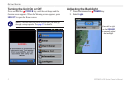
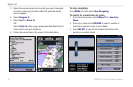
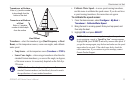
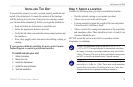
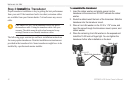
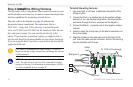
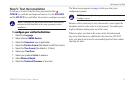
Step 5: Test the Installation
Toturnonyourunitforthersttime,pressandholdthe
POWER key until the unit beeps and turns on. Use the ROCKER
and the SELECTkeysandfollowthescreenstocongureyourunit.
NOTE: Although you can perform some checks with the boat
trailered, the boat should be in the water to properly test the
installation.
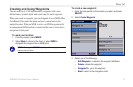
1. Select the Language.
2. Select attached NMEA Devices.
3. Select the Transducer type (if applicable).
4. Select the Position Format (the default is hddd°mm.mmm').
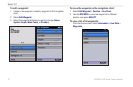
5. Select the Time Format (the default is 12 Hour).
6. Select your Time Zone.
7. Select your preferred Units of measure.
8. Select Minimum Depth.
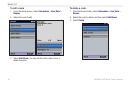
9. Select the Overhead Clearance of your boat.
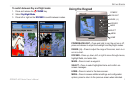
The Home screen appears (see page 6) after you select your
congurationoptions.
NOTE: You can adjust these options in the future from the
Congurescreen.
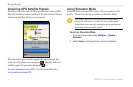
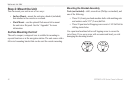
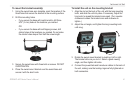
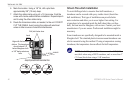
Because water is necessary to carry the sounder’s sonar signal, the
transducer must be in the water to work properly. You cannot get a
depth or distance reading when out of the water.
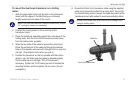
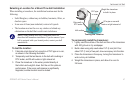
When you place your boat in the water, check for leaks around
any screw holes that were added below the water line. DO NOT
leave your boat in the water for an extended period of time without
checking for leaks.