Advanced Operations
19
3
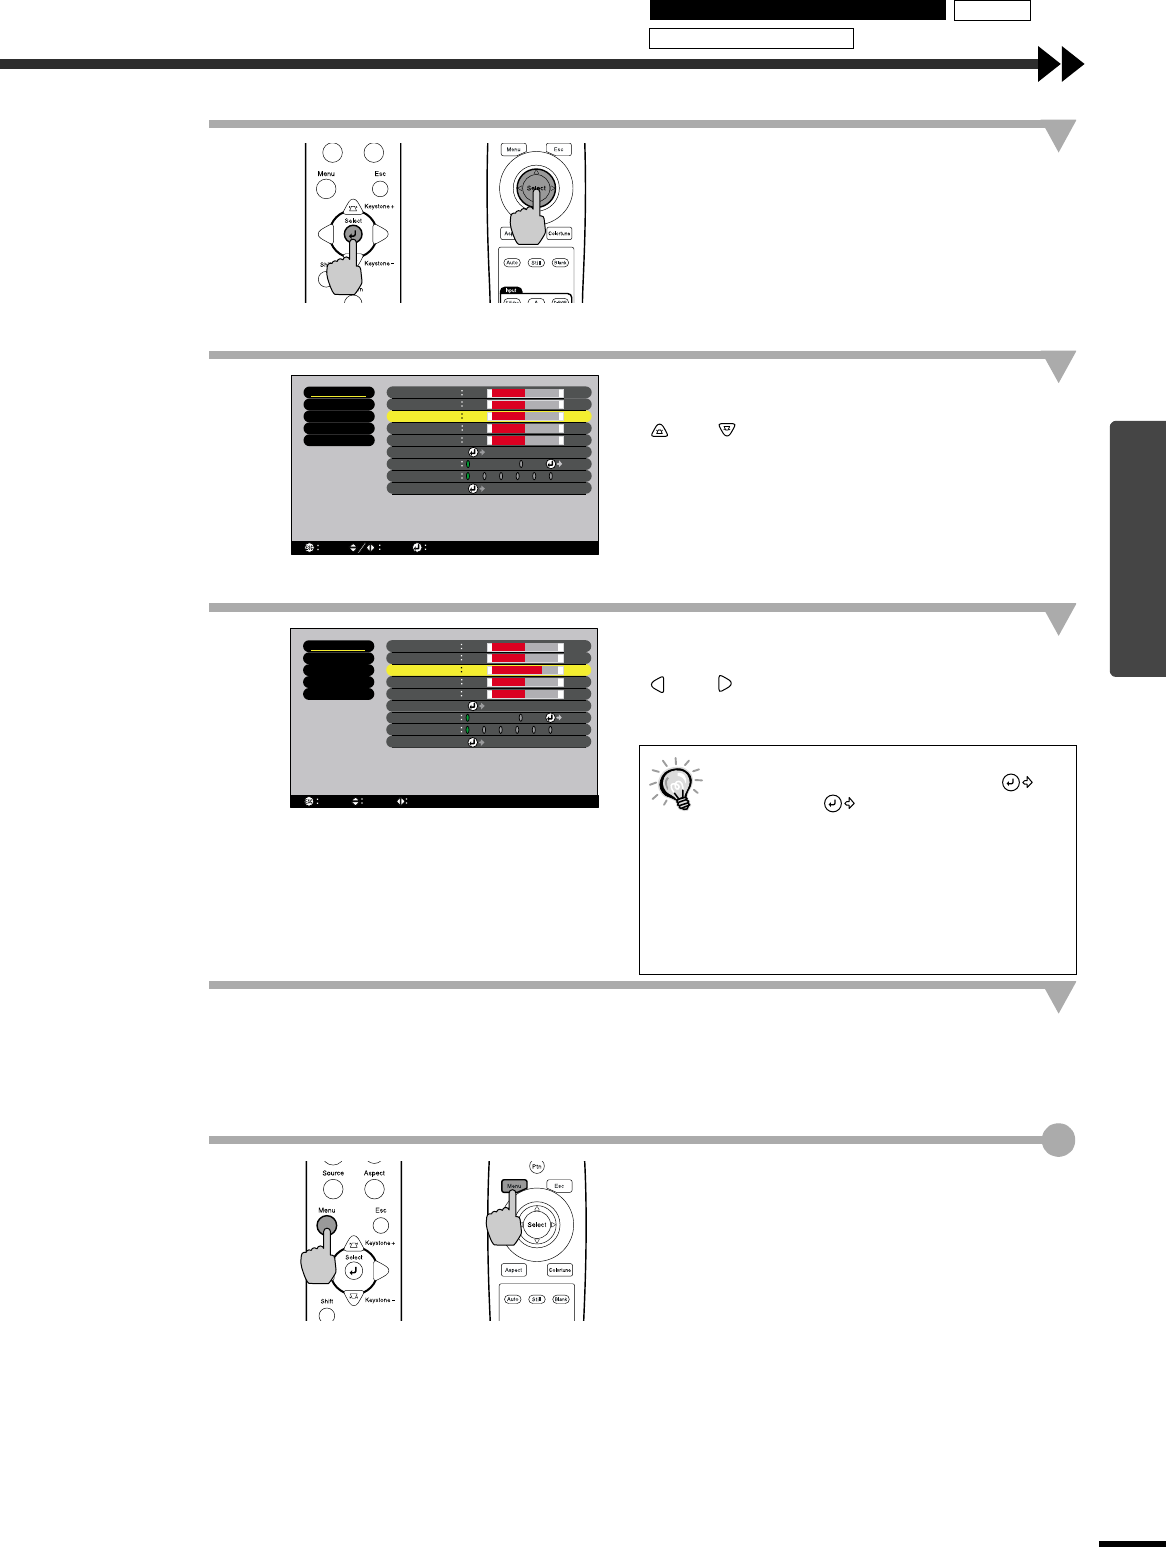
Select a menu item.
Press the [Select] button on either the projector's
control panel or the remote control to accept a
selection.
The sub-menu corresponding to the selected item
in the main menu appears.
4
Select a setting item in the sub-menu.
If using the projector's control panel, press the
and buttons.
If using the remote control, tilt the [Select] button
up and down.
The items appearing in the “Video” menu and
“About” menu will vary depending on the input
signal that is being projected.
5
Confirm the selection.
If using the projector's control panel, press the
and buttons.
If using the remote control, tilt the [Select] button
to the left and right.
6
Set other items in the same way.
Repeat steps 2 to 5 to continue making settings.
To return to a previous menu level, press the [Esc]
button on the projector's control panel or the
remote control.
7
Exit the menu display.
Press the [Menu] button on either the projector's
control panel or the remote control.
•
••
•
If a setting is executed or a sub-menu
item continues to another level, "
Enter" or " Select" appears after the
item name. In such cases, press the
[Select] button on either the projector's
control panel or the remote control to
select a setting value in the displayed
menu.
•
••
•
Refer to using the menu functions for
details of each setting item. (p.24)
Projector
Remote control
Memory
Color Adjustment
Black Level
White Level
Sharpness
Color
0
Tint
Color Mode
Reset
Execute
+
-
0
+
-
0
+
-
0
+
-
0
+
-
1
2 3 4 5 6
Adjust
Color Temp. RGB
Select
Video
Setting
Advanced
About
Reset All
Return
Select
Adjust
Memory
Color Adjustment
Black Level
White Level
Sharpness
Color
0
Tint
Color Mode
Reset
Execute
+
-
3
+
-
0
+
-
0
+
-
0
+
-
1
2 3 4 5 6
Adjust
Color Temp. RGB
Select
Video
Setting
Advanced
About
Reset All
Return
Select
Adjust
Projector
Remote control
Using the Environment Setting Menus Memory
Description of Functions


