22
English
Appendices
Troubleshooting
If you experience a problem with your Acer projector, refer to the following
troubleshooting guide. If the problem persists, please contact your local reseller
or service center.
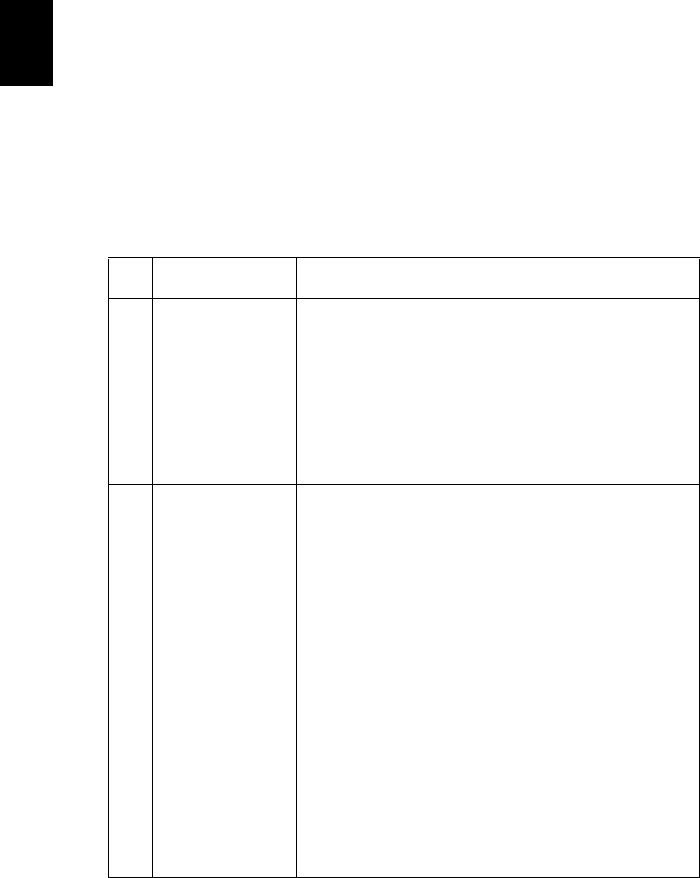
Image Problems and Solutions
# Problem Solution
1 No image appears
onscreen
• Connected as described in the "Getting Started"
section.
• Ensure none of the connector pins are bent or
broken.
• Check if the projector lamp has been securely
installed. Please refer to the "Replacing the Lamp"
section.
• Make sure you have removed the lens cap and the
projector is switched on.
2 Partial, scrolling
or incorrectly
displayed
image(For PC
(Windows 95/98/
2000/XP))
•
Press "RESYNC" on the remote control.
• For an incorrectly displayed image:
• Open "My Computer," open the "Control
Panel," and then double-click the "Display"
icon.
• Select the "Settings" tab.
• Verify that your display resolution setting is
lower than or equal to 1080P-EIA.
• Click the "Advanced Properties" button.
If the problem still appears, change the monitor display
you are using and follow the steps below:
• Verify that the resolution setting is lower than
or equal to 1080P-EIA.
• Click the "Change" button under the
"Monitor" tab.
• Click "Show all devices". Next, select "Standard
monitor types" under the SP box, and choose
the resolution mode you need under the
"Models" box.
• Verify that the resolution setting of the
monitor display is lower than or equal to
1080P-EIA.