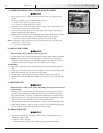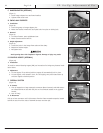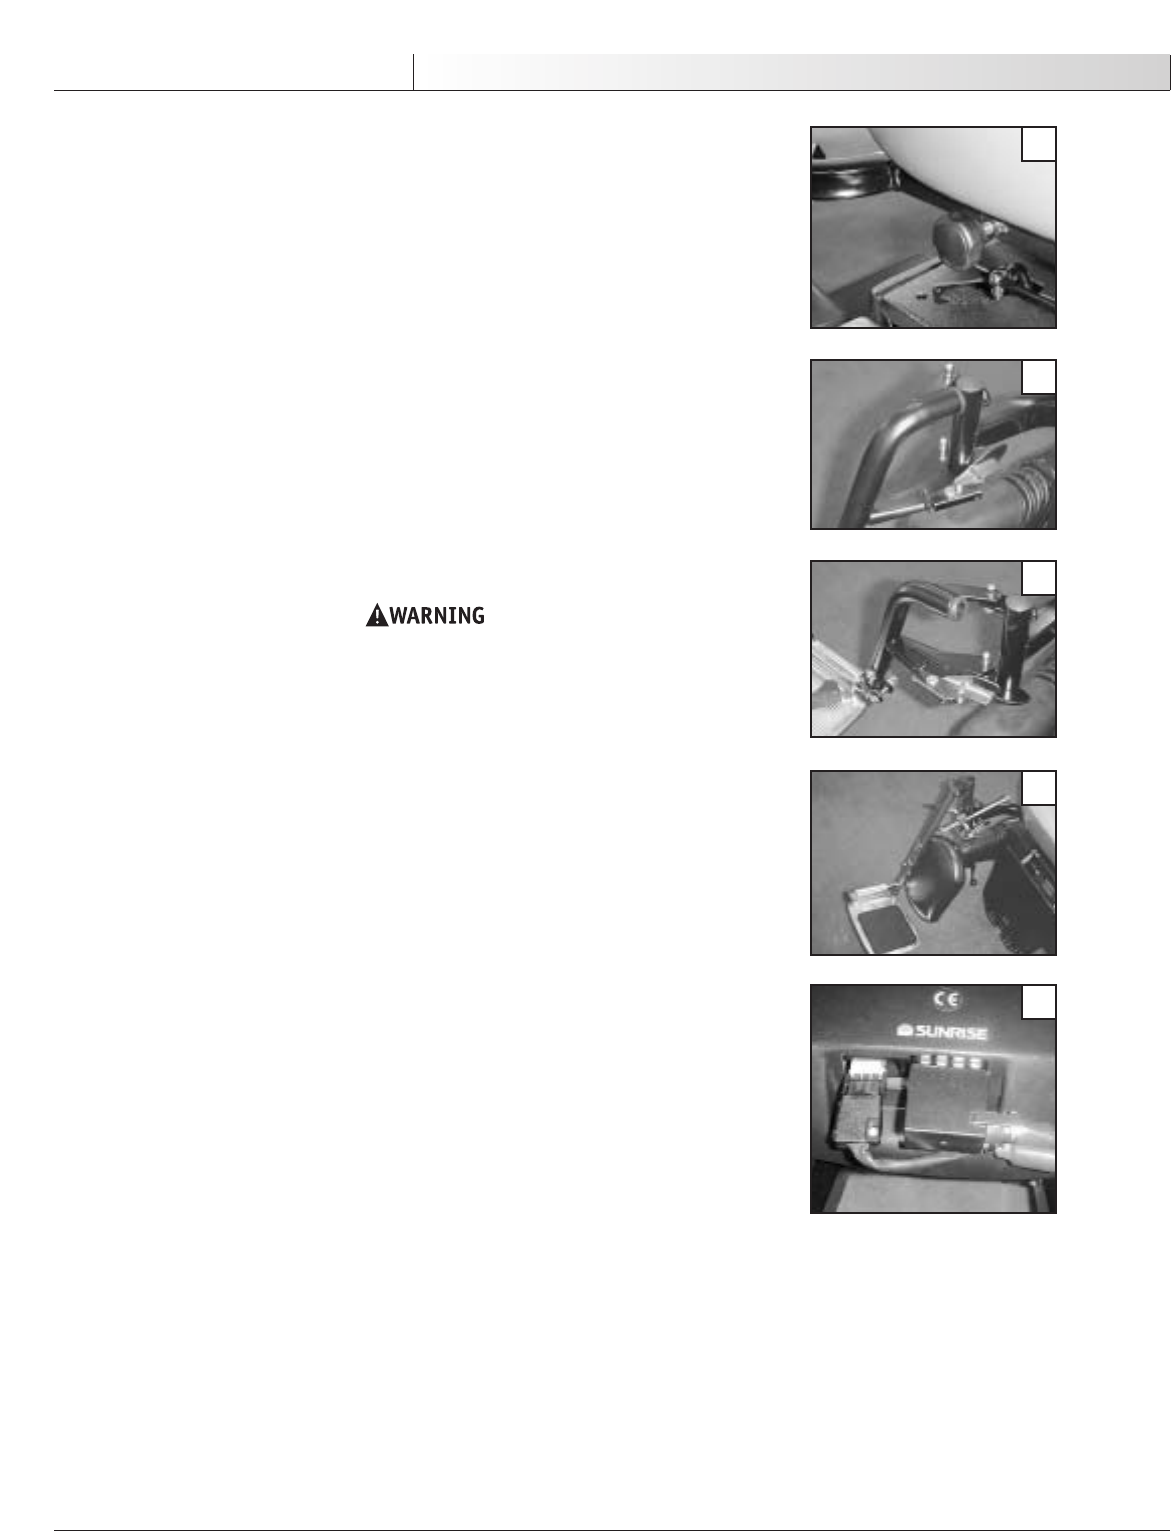
C. HANGER ADAPTER (OPTIONAL)
(Figure 7)
1. Insert hanger adapter into seat frame interface.
2. Tighten thumb screw knob.
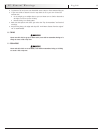
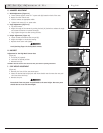
D. SWING-AWAY FOOTRESTS
1. Installation
(Figure 8)
a.
Place swing-away on hanger adapter pins.
b. Rotate the footrest inward until latch plate locks into place on locking bolt.
2. Remo
val
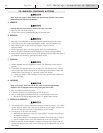
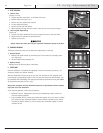
(Figure 9)
a.
To remove footrest, press quickrelease lever.
b. Rotate footrest outward and lift.
3. Height Adjustment
(Figure 9)
a.
Loosen the bolts in the hanger frame tube and the clamp.
b. Reposition footrest height.
c. Re-tighten bolts.
Avoid opening doors with footplate or legrests. Damage or injury may result.
E. ELEVATING LEGREST (OPTIONAL)
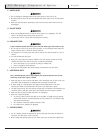
(Figure 10)
1. Installation
To install or remove Elevating Legrest (ELR) see instructions for Swing-away Footrest instal-
lati
on above.
2. Adjustment
a. To raise legr
est, lift to desired position. Legrest will automatically lock in place.
b. To lower legrest, while seated in chair, first lift slightly, then press release lever up
and lower legrest to desired position.
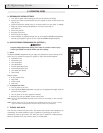
F. INTEGRAL JOYSTICK
(Figure 11)
1. To Connect
a. Line up receptacle on large rectangular connector (Beau Connector) and AMP connec-
tor located behin
d the seat with the pins on the connecter located on the joystick
harness.
b. Push in firmly.
2. To Disconnect
Pull up on beau connector until it disconnects from the frame mounted receptacle, located
behin
d the seat. Pinch the sides of the AMP connector and then pull.
930756 Rev. B
22
E nglish
IX. Set-Up, Adjustment & Use
7
8
9
10
11


