930756 Rev. B
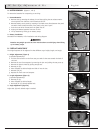
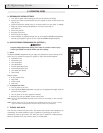
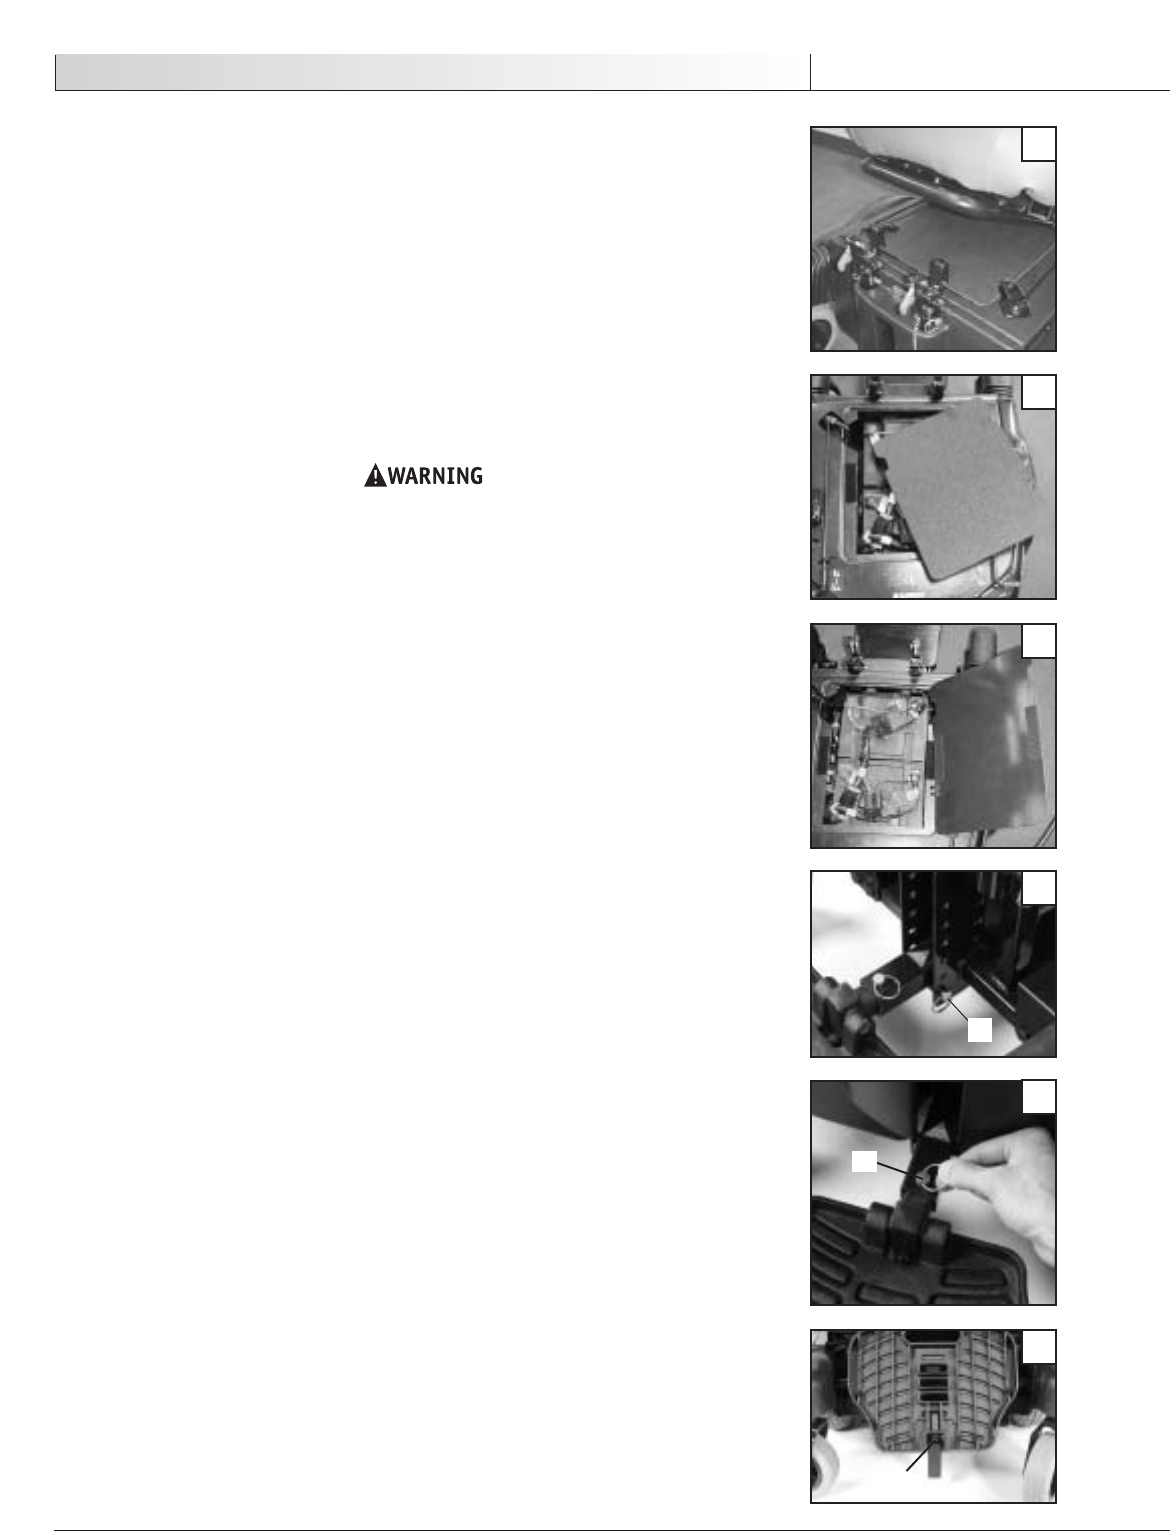
A. BATTERY REMOVAL (Figures 1, 2 & 3)
To remove the batteries for transporting or servicing:
1. Remove Batteries
a. Rem
ove seat by removing the release pin and then pulling the two release mecha-
nisms upward. Then slide the chair forward and lift off.
b. Remove battery access panel by inserting a flat head screw driver between the panel
and main shroud toward the back of the panel at the word “open”.
c. Push the screw driver forward until the panel lifts off.
d. Unplug and remove batteries from rear of chair.
e. Lift up batteries by lifting up on battery straps.
2. Battery Installation
See Section XI. Batteries, D for installation and wiring diagram.
Batteries may weigh up to 55 lbs. Care must be taken to avoid injury when lifting
up on battery str
aps.
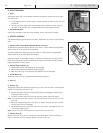
B. FOOTPLATE ADJUSTMENT
The single footplate can be adjusted in three different ways: height, length, and angle.
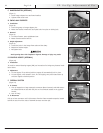
1. Height Adjustment (Figure 4)
(6 possible adjustments):
a.
Pull the two red levers on the front seat post and tilt the seat towards the back of
the chair.
b. Remove the two front seatposts by removing the pins and pulling the seat posts up.
c. Remove the plastic shroud by pulling straight out.
d. Remove pin (A).
e. Move footplate to desired height and slide it into the slot.
f. Reinstall pin (A).
g. Replace the front cover and seatpost.
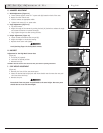
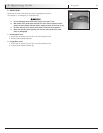
2. Length Adjustment (Figure 5)
(3 possible adjustments):
a.
Remove pin (C).
b. Move footplate to desired length.
c. Re-install pin (C) through desired hole.
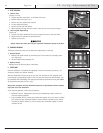
3. Angle Adjustment (Figure 6)
Adjust bolt (D) until desired angle is reached.
IX. Set-Up, Adjustment & Use
21
English
1
2
3
D
6
4
5
A
C


