


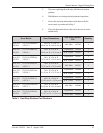
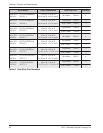
Form No. 702703 Rev. E August, 2006 23
Owner’s Manual - Oxygen Therapy Door
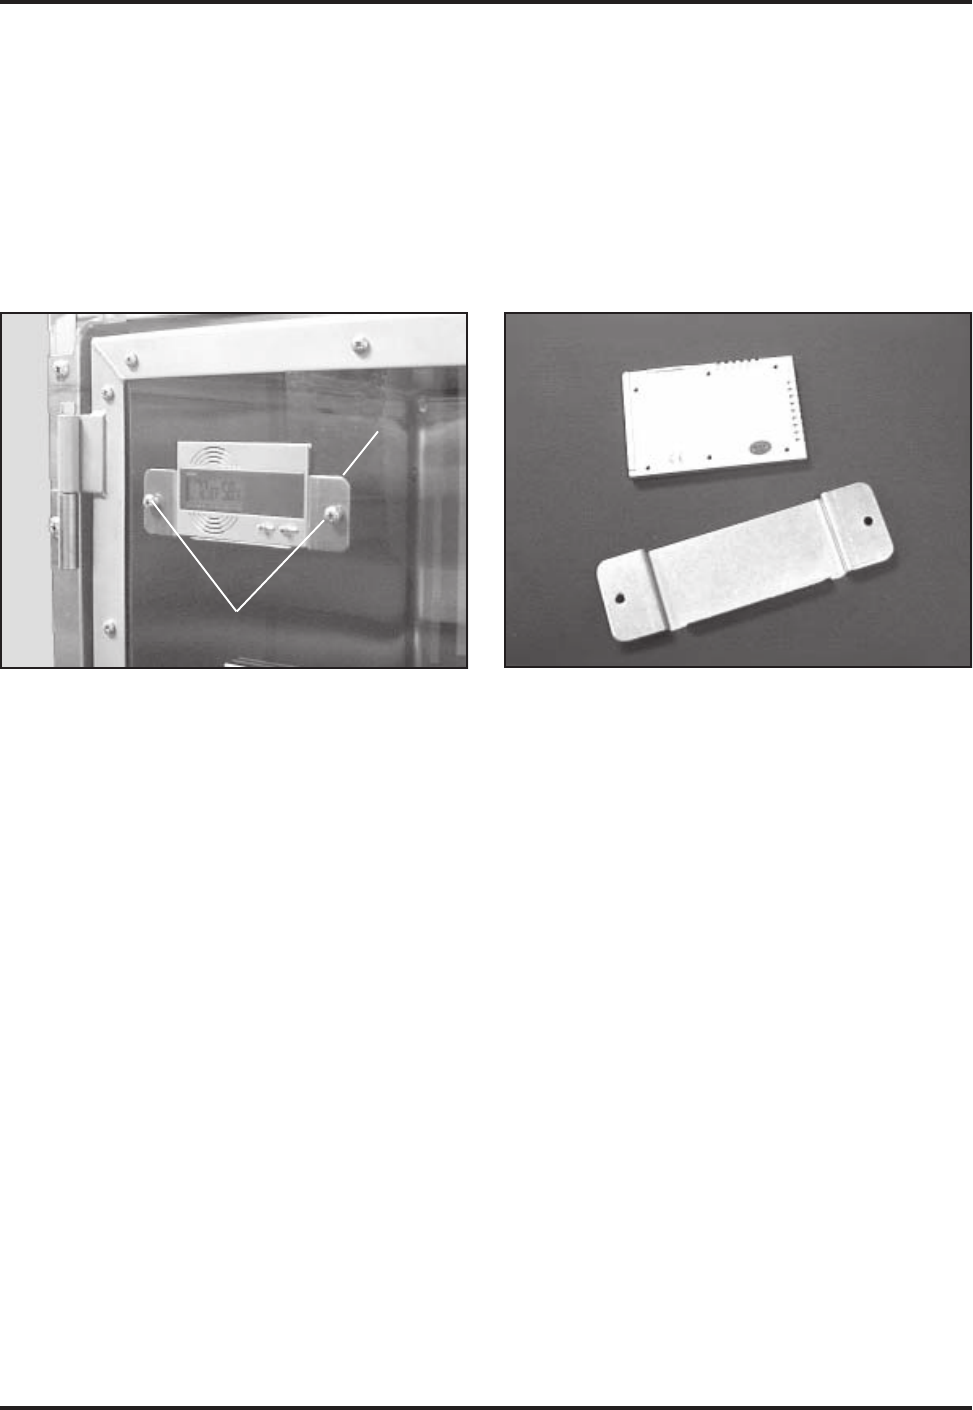
Removal - New-style Gauge
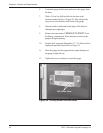
1. Open the cage door.
2. With a Phillips screwdriver and a 3/8 in. wrench,
remove the two gauge bracket screws/nuts (Figure 24).
3. Remove the gauge bracket and the gauge from the inside of
the oxygen door.
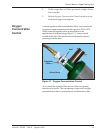
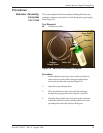
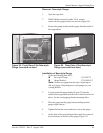
Figure 24. Front View of the New-style
Gauge (mounted on door)
Gauge Bracket Screws
Gauge
Bracket
Installation of New-style Gauge
1. Order the following from SSCI:
New-style Gauge - P/N 854771
Gauge Bracket - P/N 600162-2
Note: Order a new gauge bracket only if replacing an
old-style gauge. If replacing a new-style gauge, use your
existing bracket.
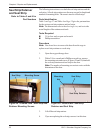
2. Loosely mount the gauge bracket (Figure 25) onto the
inside of the oxygen door with the screws and nuts removed
above. Use the existing gauge bracket mounting holes.
3. Place the gauge into the gauge bracket making sure the
gauge is right-side-up.
4. Tighten the bracket screws and nuts to secure the gauge.
5. On the front of the polycarbonate door, mark the centers of
the two buttons on the face of the gauge (Figure 12).
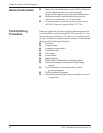
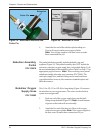
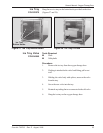
Figure 25. Rear View of the New-style
Gauge (removed from door)
Bracket
Gauge