


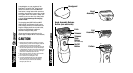
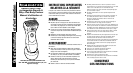
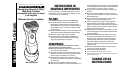
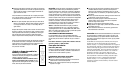

Charging Stand
Cleaning Brush
Plug
Charging Light
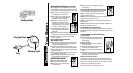
Instructions for Charging
(WDF-1500/3000/5000)
Before charging shaver, wipe off any moisture from the shaver
and charging stand. Do not place shaver into charging stand while
shaver or hands are wet. Always charge shaver in a cool, dry place.
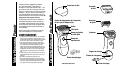
■ To charge your shaver, connect the cord from
the charging stand to your electric outlet.
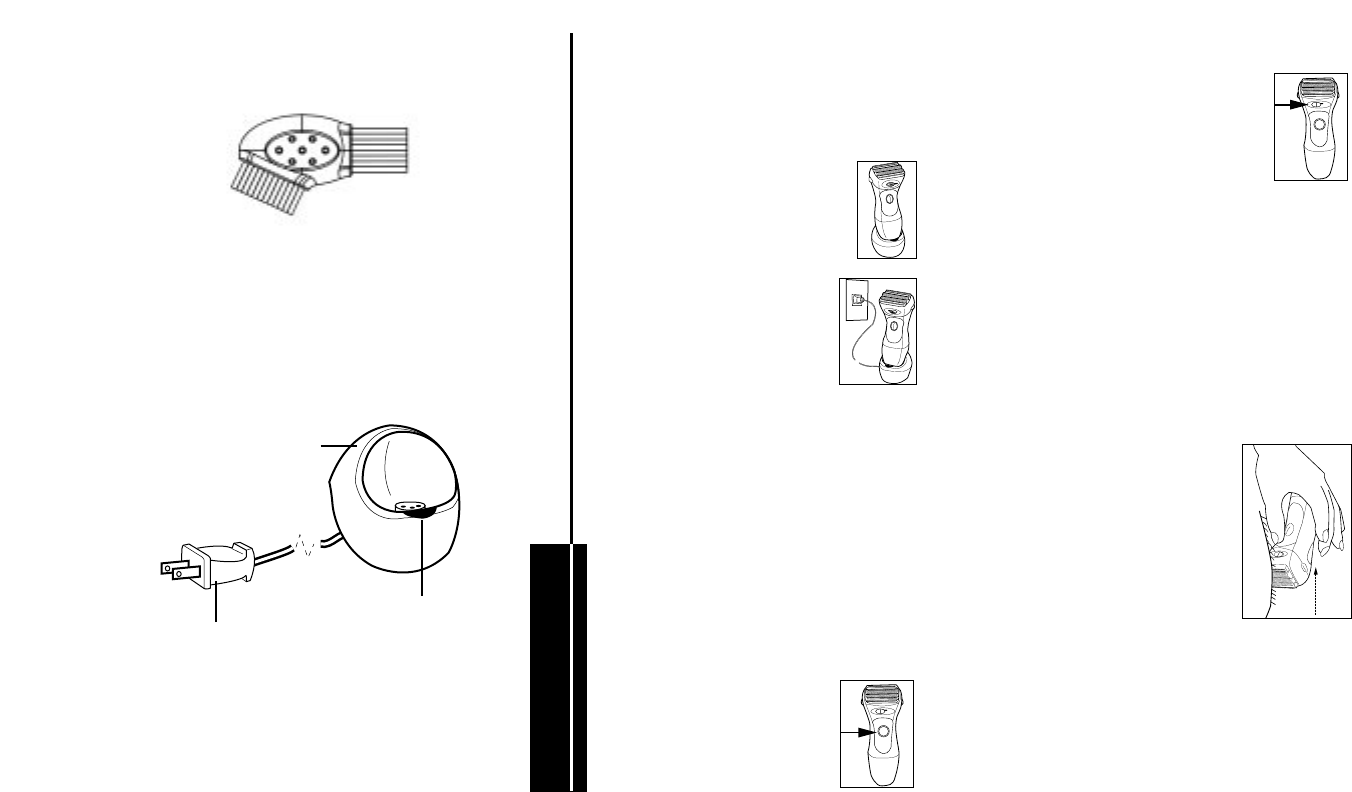
■ Be sure shaver is “OFF” before placing on the
charging stand. The green charge indicator
light indicates your shaver is charging.
■
Charge shaver for 18-24 hours before using
and thereafter as required. Shaver cannot be
overcharged so you may leave it on the charg-
ing stand between shaves or you may remove
it for a week or more before recharging.
■ To avoid damaging the foils, do not push on
the foils when inserting the shaver into the
charging stand.
■ In order to preserve the life of the batteries, they should be fully
discharged every six months and then fully charged for 24 hours.
■ The WDF-1500 charging stand is only to be used in North
America. 120V., 60Hz
Battery Installation and Removal Procedure
(WDF-1000/WDF-1100 only)
■ Unlock the battery cover by turning the end cap of the shaver
one quarter turn counterclockwise, then pull the battery cover
away from the main body of the shaver.
■
Install two (2) “AA” Alkaline Batteries. Check the Positive(+) and
Negative(-) symbols, on the inner frame, to insure proper installation.
■ Align the battery cover with the inner frame and push the battery
cover back into position.
■ Once in position, turn the end cap one quarter turn clockwise to
lock the battery cover back in place.
■ For battery removal and replacement, repeat this procedure.
Remove old batteries and properly dispose.
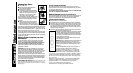
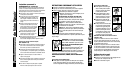
INSTRUCTIONS FOR USE
■ Remove the headguard before shaving.
■ Press the on/off button to turn unit on.
■ After shaving, press the on/off button again
to turn the shaver off.
Operating Your Shaver
■ Place the unit back on the charging stand for storage
and/or recharging.
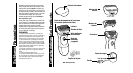
Trimmer Button Operation (WDF-5000/3000/1100/1000 only)
The trimmer slide button, located at the front of the shaver head,
has three settings that control the position of the trimmer(s):
Setting 1 - Short Hair/Stubble (button all the way to the left):
Trimmer(s) retracted out of the way.
Setting 2 - Short and Long Hair/Last Shave Over Two Days Ago (button center
position): Trimmer(s) at same level as the foils.
Setting 3 - Long Hair (button all the way to the right): Front trimmer pops up
to trim longer hair.
NOTE: WDF-5000 model has two trimmers. WDF-3000,WDF-1500, WDF-1100
and WDF-1000 models have one trimmer.
HYPO-ALLERGENIC GOLD FOILS (WDF-5000 only)
Your new Smooth & Silky
®
Plus Body Contour Shaver comes with hypo-allergenic
gold foils that will help prevent aggravating skin irritations such as bumps or rashes
after shaving.
TO SHAVE UNDERARMS, LEGS, ARMS AND BIKINI AREA
If you shave regularly:
■ Slide the trimmer button to the left (short hair/stub-
ble) or center (short and long hair/last shave over two
days ago) position.
For long hair trimming:
■ Slide the trimmer button all the way to the right to
raise the front trimmer.
■ Tip the shaver slightly, allowing the front trimmer to
glide along the skin to remove long hairs.
■ Move the front trimmer against the direction of hair
growth.
■ When finished trimming the long hair, slide the button back to the left (short
hair/stubble) or center (short and long hair/last shave over two days ago) posi-
tion to remove the remaining short hairs.
Using Shaver with Soap or Foam Lather
When using soap or foam lather the shaver will glide smoothly over the skin,
cleansing away oil residue while at the same time leaving skin soft and smooth.
Apply the soap or foam generously to the skin. Do not use shaving cream of the
non-lathering type, nourishing cream or skin lotion.
Clean shaver after every use (see “Cleaning Your Shaver”).