


When is it time to replace your screens
and cutters?
Because they are subject to daily use, the
cutters and screens of your shaver will
wear and eventually require replacement to
maintain a close,comfortable shave. It is
very important to replace your screens and
cutters when necessary to ensure a close,
comfortable shave without irritation.
Depending on your shaving technique
and habits, the screens will usually last 6
months; the cutters, 12 months.If you are
replacing the cutters, it’s a good idea to
replace the screens at the same time.
Here are some signs that your foils and
cutters need replacing:
Irritation: As screens get worn, you may
notice that your skin feels more sensitive
after a shave, particularly when you apply
aftershave.
Pulling: As cutters wear,your shave may
not feel as close and you may feel your
shaver is pulling at your whiskers.
Wear-through: You may notice that the
cutters have worn through the screens.
The replacement for this shaver is model
SP-67 (screens) and SP-69 (screens and
cutters).
U.S. residents:
To order shaver accessories call
800-736-4648, visit
www.remington-products.com,
or visit your local retailer.
Canadian residents:
To order shaver accessories, please call
800-268-0425, visit
www.remington-products.com
or visit your local retailer.
9
8
Trimmer Care
Cleaning
1. Turn the shaver off.
2. Extend the trimmer to its maximum
height by pressing the right trimmer
button.
3. Use the cleaning brush to sweep off any
clippings that may have accumulated
around the trimmer assembly.Using the
supplied brush will enable you to get into
the area between the trimmer and the
shaver.
Lubricating
1. Every six months apply a drop of light
machine oil one-third and two-thirds of
the way along the blade.
2. Using your fingertip, spread the oil along
the teeth.
3. Run the trimmer for a few seconds to
distribute oil.
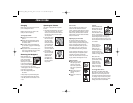
Replacing Cutters and
Screens
To prevent inadvertent damage to the cut-
ters and screens, do not attempt to remove
them from the head assembly unless you
are replacing them. Removal instructions
are included with the cutter and screen
replacement packages.
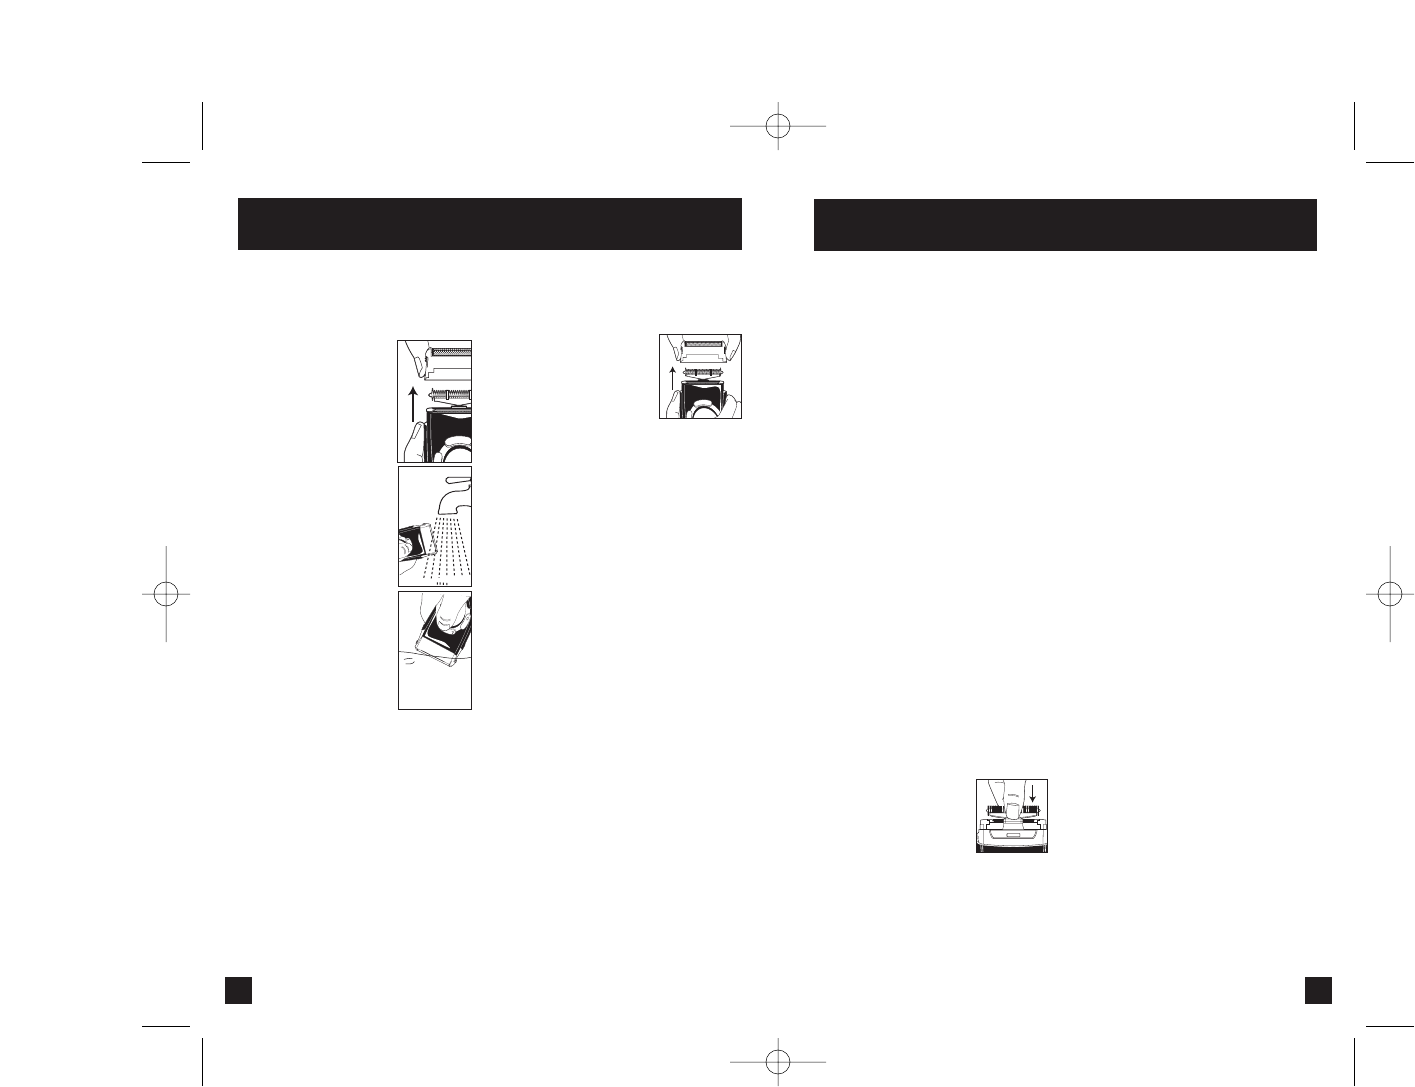
To replace a cutter assembly that is
removed unintentionally:
1. Hold the assembly in the
middle of the "T".
2. Gently slide the plastic
portion of the cutter
assembly over the top
of the oscillator tip.
3. Do not push downward on the ends of
the cutters, as you may bend the cutter,
reducing its ability to operate smoothly.
4. Do not remove cutters from the plastic
pieces they are attached to, as you may
damage the assembly.
Screens and Cutters
To assure smooth, efficient performance,it is
important to clean your shaver.
Daily
Blow out the stubble after
each shave.
1. Turn the shaver off.
2. Remove the head assem-
bly by squeezing on both
release buttons an pulling up
from the body of the shaver.
3. Thoroughly blow out the stubble from
the screen and cutters.
4. Replace head assembly.
Weekly
Brush out the cutters and trimmer at least
once a week.
1. Turn the shaver off.
2. Remove the head assembly by squeezing
on both release buttons and pulling up from
the body of the shaver.
3. Use the cleaning brush to sweep out the
cutters and trimmer.DO NOT USE THE
CLEANING BRUSH ON THE SCREENS.
Damage may occur to the holes in the
screens.
4. Replace head assembly.Remington
®
Shaver Saver
®
Lubricant (SP-4) lubricates
and cleans your shaver's cutters and head
assembly.The lubricant helps remove hair
clippings while reducing wear.A quick spray
after each shave keeps your shaver operat-
ing at peak performance.
Cleaning Cautions
■Shaver can be placed under running water
for cleaning only.
■Do not use an aggressive cleansing agent
as this may destroy the shaver coatings.
■Do not remove or replace the head assem-
bly while shaver is running as it may cause
damage to the unit's screens or cutters.
■Replace worn or damaged parts with
Remington
®
replacement parts only.
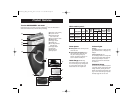
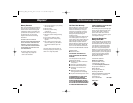
Cleaning Your Shaver
Remington® recommends cleaning
your shaver after every use for optimal
performance.
1. Turn shaver OFF.
2. Remove the head assembly
by squeezing on both
release buttons and pulling
up from the body of the
shaver.
3. Screens-Do not use the
brush to clean the screens.
Instead, blow the shavings
out or rinse the screens
under cold or warm water.
4. Cutters and trimmer-
Use the cleaning brush
to sweep any loose hairs
from the cutters and
trimmers, or rinse/dunk
them in cold or warm
water.Do NOT use hot
water.
5. After cleaning,return the
foils and head assembly
to their original position
on the shaver.
6. If the shaver was rinsed with water hold
it facing downward into the sink, and
turn it on for a few seconds to dispel
additional water.A gentle shake will
also help.
7. To clean the external surfaces of the
shaver,use a damp cloth. Do NOT use
strong detergents or other chemicals.
8. To dry, wipe the surface of the overall
shaver with a dry towel.Do NOT use a
hairdryer or heater to dry the shaver.
Cleaning & Maintenance
CS27659_MS2_series_IB 9/1/05 11:10 AM Page 8