


ENGLISH
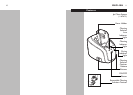
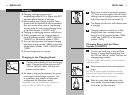
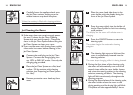
C 5 Carefully lower the appliance back onto
the Jet Clean canister making sure the
release buttons snap back into place.
When the canister is filled with cleaning solution,
do not move appliance to prevent leakage.
Jet Cleaning the Razor
◗ If the razor does not contain enough power
for one (1) shave, the Jet Clean Cleaning
System may not work properly. Charge the
razor in the
Jet Clean System
before using the
Jet Clean System to clean your razor.
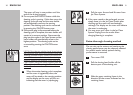
◗ If you use the razor with shaving foam, quickly
rinse under hot water before cleaning in the
Jet Clean System.
1 Connect the small plug to the
Jet Clean
System
. Connect the charging plug into
any 100V to 240V AC outlet. Use only the
charging plug provided.
2. Place the Jet Clean System on a flat, level
surface. Fill the canister with cleaning
solution (see ‘Preparing Jet Clean System
For Use’).
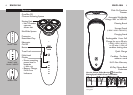
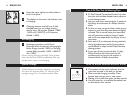
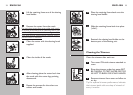
C 3 Remove protective razor head cap from
razor.
28
ENGLISH
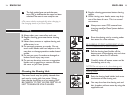
C 4 Place the razor head side down in the
razor holder with the display facing the
front of the Jet Clean System.
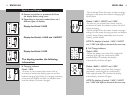
C 5 Press the razor tightly into the holder of
the Jet Clean System to lock into cleaning
cycle position.
The display on the razor will indicate razor is
charging.
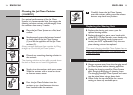
C 6 Press the ON/OFF button to start the
cleaning cycle.
The system begins the automatic cleaning
program.
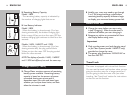
C 7 The cleaning light starts to blink and the
razor is automatically lowered into the
cleaning solution.
The razor stops charging while it is being cleaned.
◗ During the first phase of the cleaning cycle,
the razor will automatically turn on and off
several times while the razor holder lowers
and raises the razor’s position in the cleaning
solution, removing all debris. The cleaning
light will blink continuously throughout the
cleaning program.
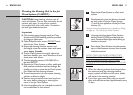
C ◗ During the second phase of the cleaning cycle,
the razor holder moves the razor to the
drying position and the drying light will blink.
This phase will take approximately 2 hours.
29