ASSEMBLY INSTRUCTIONS
4
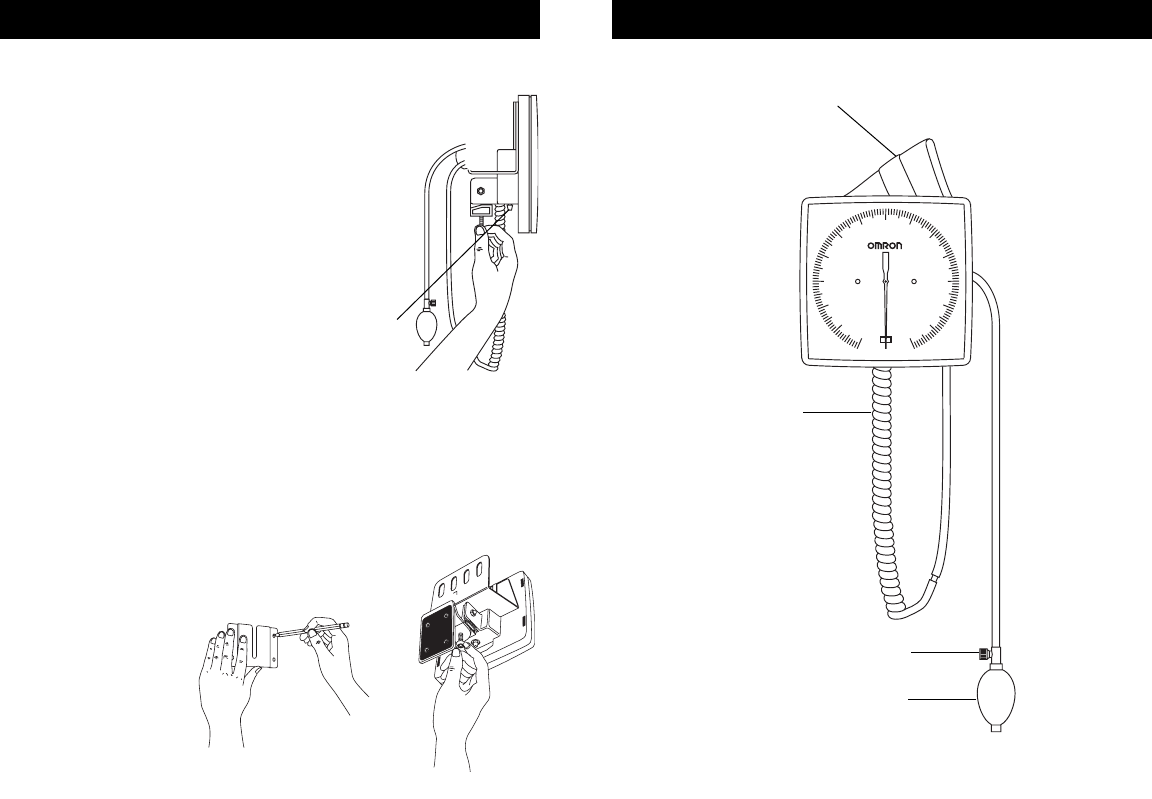
Connector
5
ASSEMBLY INSTRUCTIONS
240
240
220
180
160
140
120
100
80
60
40
20
260
280
300
mmHg
SPHYGMOMANOMETER
CERTIFIED
MADE IN JAPAN
Cuff
Coiled Tube
Air Release Valve
Bulb
Figure 5
Figure 4
Figure 3
Figure 2
Omron Clock Aneroid (all models):
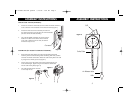
1. Attach one end of the coiled tube (the end without the metal connector)
to the connector on the underside of the Omron Aneroid (Figure 2).
2. Attach the other end of the coiled tube (the end with
the metal connector) to the tube from the cuff and bladder
(the tube without the bulb assembly).
3. The cuff and bladder assembly can be stored in the
basket on the back of the aneroid. Once mounted
to the wall or affixed to a floor stand, the Omron
Aneroid is ready for use.
Wall-Mount (for models 11-675D and 11-675DNL):
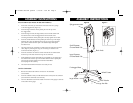
1. Hold wall-mount plate against the wall at the desired location and
mark the position of the mounting holes for drilling. Drill four (4) holes
and insert the metal wall anchors. Attach the wall-mount plate to the wall
by using the four metal (4) screws (Figure 3).
2. Loosen wing nut on the bottom of the Aneroid and adjust the unit
to the desired angle. Tighten wing nut and slide the wall bracket
into the wall-mount plate (Figure 4).
3. The wall-mounted Omron Aneroid
is now ready for use.
11-675685/IM/3381 Quark4 7/12/02 2:54 PM Page 4


