17
Adjusting the Lighting
Specimens of different size, thickness, and color variations will require different levels of illumination. There are three
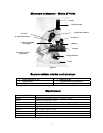
ways to change the amount of illumination when viewing a specimen; adjusting the brightness control on the on/off knob
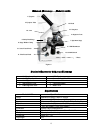
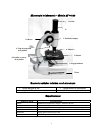
(13), adjusting the Abbe condenser (Figure 4g) and adjusting the iris diaphragm (see Figure 4h):
1. When viewing a specimen that is not transparent or dark in color you may need to increase the amount of light to
resolve certain features or details. This is best done by simply increasing the brightness of the LED illuminator by
rotating the brightness control on the on/off switch (13) all the way to its highest setting.
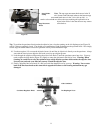
2. When viewing with lower power (4x and 10x) objective lenses you will need to lower the condenser lens in order to
spread the light over the larger field of view. To change the position of the condenser, simply rotate the silver center
portion of the Iris diaphragm (4h) clockwise until the beam of light spreads wide enough to illuminate the entire field
of view when viewing.
3. As you lower the condenser to spread out the light or change to a higher power objective lens, your image will appear
dimmer. Instead of increasing the light intensity of the illuminator (which may “wash out” fine detail of the specimen
you are viewing), open the aperture of the iris diaphragm to let in more light. Opening and closing the diaphragm
will give a relief view of the specimen and allow you to change the depth of field of the specimen being viewed.
Using Filters
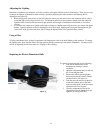
To bring out different levels of detail, experiment with changing the color of the back lighting of the specimen. To change
the lighting color, place the blue filter, the green filter, or the yellow filter in the light path by placing one on top of the
LED illuminator. You may need to refocus by adjusting the fine focus knob (11) slightly for best viewing. You should
experiment with each of the colors to see the results.


