


Tips for Blood Pressure Monitoring:
☞
Relax for about 5 minutes before measurement.
☞
Do not smoke or ingest caffeine at least 30 minutes prior to measure-
ment.
☞
Remove constricting clothing and place cuff on bare arm.
☞
Unless your physician recommends otherwise, use left arm
to measure pressure.
☞
Do not talk during measurement.
☞
Do not cross legs and keep you feet flat on floor during measurement.
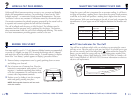
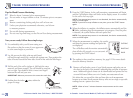
Now you are ready. Follow these simple steps:
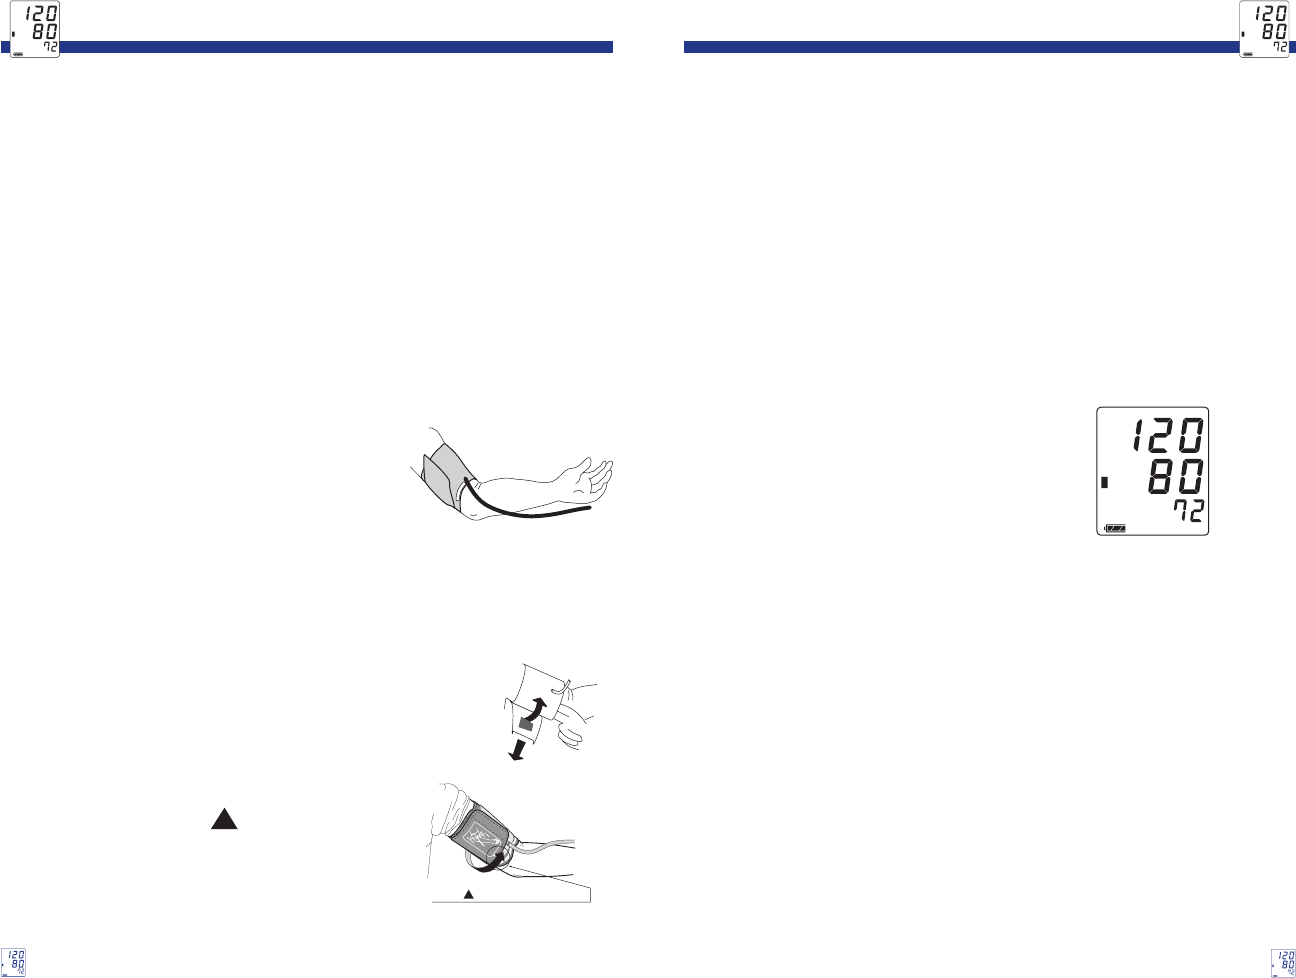
1. Sit comfortably with your left arm resting on a
flat surface so that the center of your upper arm
is at the same height as your heart.
2. Lay left arm on the table, palm up and thread
cuff end through metal loop, smooth side against arm. Then position the
tube off-center toward the inner side of arm in line with the little finger.
3. Pull the end of the cuff to tighten it, fold back the extra
material, and fasten securely. The cuff should be snug but
not too tight. You should be able to insert two fingers
between the cuff and your arm.
IMPORTANT: Measure pressure at the same time each day.
4. Confirm that the index points within the
proper fit range.
TAKING YOUR BLOOD PRESSURE
LifeSource Health Line (Toll-Free): 1-888-726-9966
E-6
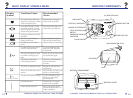
Cuff
Tube
In Canada - Auto Control Medical (Toll-Free): 1-800-461-0991
E-7
TAKING YOUR BLOOD PRESSURE
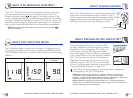
5. Press the START button. As the cuff pressurizes, measurement will begin
and the Cuff Inflation Meter will show on the display screen. It is normal
for the cuff to feel very tight.
NOTE: If an appropriate pressure is not obtained, the device automatically
starts to inflate again.
NOTE: If you wish to stop inflation at any time, press the START button
again.
6. When the inflation is complete, the deflation starts automatically and the
❤ blinks, indicating that the measurement is in progress. Once the pulse
is detected, the symbol flashes with each pulse beat.
NOTE: If an appropriate pressure is not obtained, the device automatically
starts to inflate again.
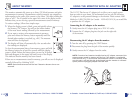
7. When the measurement is complete, the systolic
and diastolic pressure readings and pulse rate
are displayed.
The cuff deflates and the monitor automatically
shuts off after 60 seconds, or you can turn it off
by pressing the START button.
8. The reading is then stored into memory. See page E-10 for more details
about the memory function.
9. Remove cuff and make a note of your blood pressure and pulse rate on
the chart in the back of the manual, indicating date and time of measure-
ment. Additional logbook charts can be downloaded and printed for free
at www.LifeSourceOnline.com or in Canada, www.autocontrol.com.
We advise that you record the date and time after each measurement
because an accurate blood pressure history relies not on single or sporadic
readings but on a pattern over time.
NOTE: Allow at least 5 minutes between measurements on the same
person.
SYSTOLIC
DIASTOLIC
PULSE
Index and Proper Fit range