2
ATTACHING/ADJUSTING THE
CUSHION/BASE MOUNTING
HOOKS TO BASE (FIGURE 2)
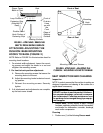
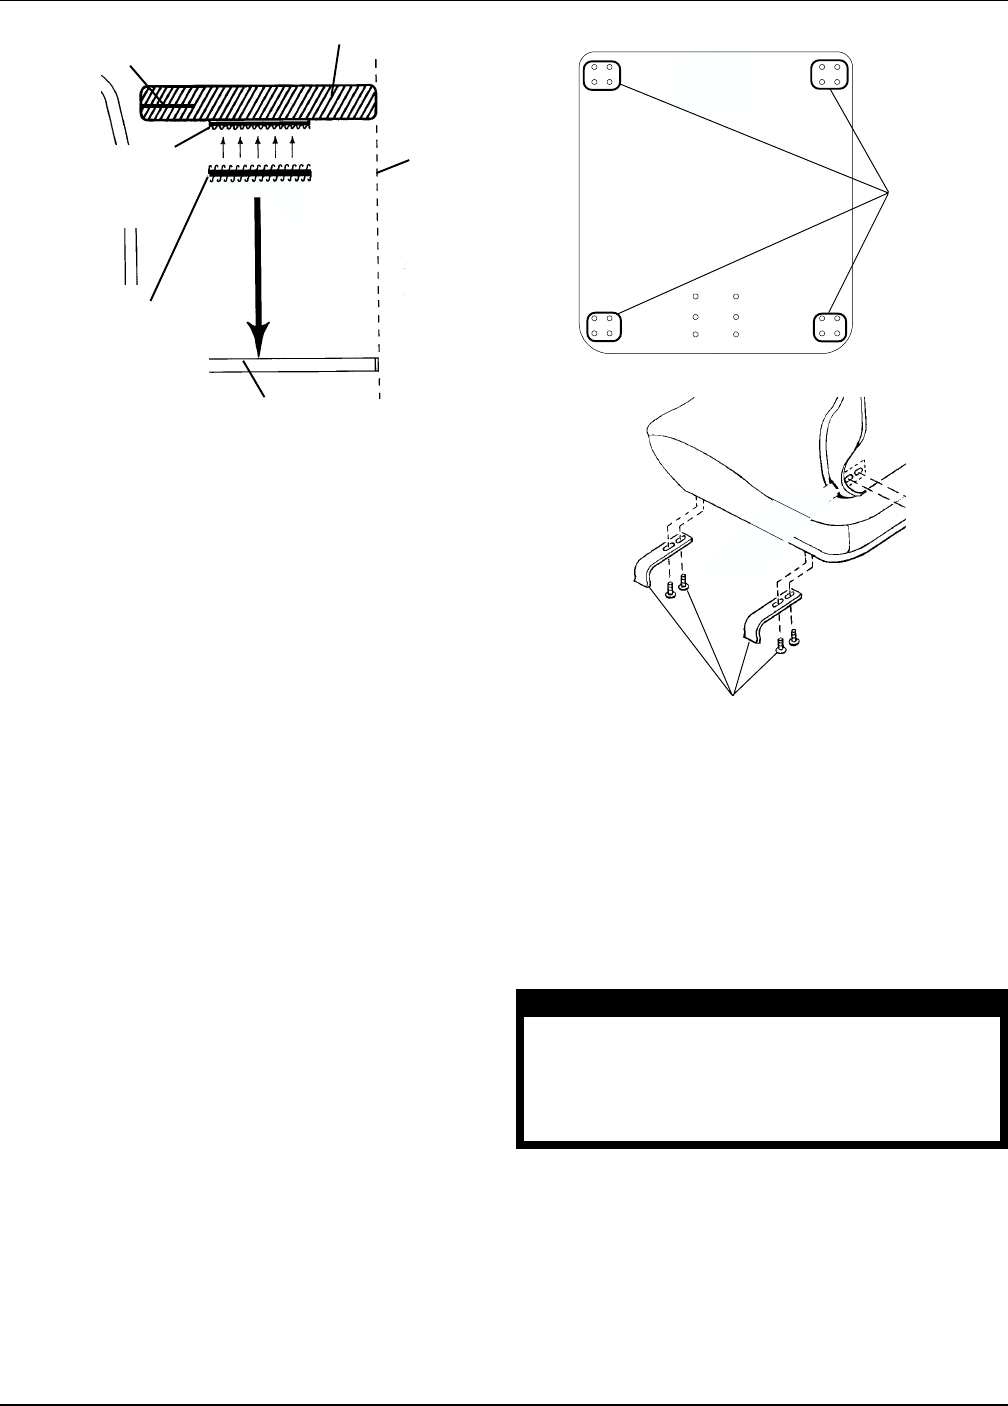
NOTE: Refer to FIGURE 2 in this instruction sheet for
mounting hook locations.
1. For minimal width adjustment, loosen the mount-
ing screws and adjust the hooks in or out and
retighten the mounting screws.
2. For front-to-back position adjustment:
A. Remove the mounting screws that secure the
mounting hooks to the seat.
B. Adjust the mounting hooks to desired mount-
ing position.
C. Reinsert the mounting screws. Securely
tighten.
3. If all attachments and adjustments are complete,
zip the back cover closed.
Front of Seat
Rear of Seat
Mounting
Hook
Locations
Mounting Hooks and Screws
FIGURE 2- ATTACHING/ ADJUSTING THE
CUSHION / MOUNTING HOOKS TO THE BASE
SEAT INSPECTION AND CLEANING
Inspection
NOTE: In order to ensure that the cushion is working as
designed, inspection and cleaning of the cushion on a
regular basis is necessary.
WARNING
DO NOT continue to use this product if deforma-
tion, corrosion, breakage , wear and/or compres-
sion is discovered. Corrective maintenance can
be performed at or arranged through your equip-
ment supplier.
1. Once a week, visually inspect all parts, including
hardware, upholstery materials, foams (if accessible),
and plastics for deformation, corrosion, breakage,
wear and/or compression.
Cleaning
1. Perform one (1) of the following Once a week:
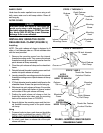
FIGURE 1- ATTACHING/ REMOVING
SEAT TO/FROM SEATING SURFACE
Front of
Cushion
Lines
up with
the
Front
Edge of
Seating
Surface
Seating Surface
Seat
Loop Portion of
Fastening Strip
(Attached To
Seat)
Double Sided
Hook Portion of
Fastening Strip
Zipper Faces
Back of Chair


