3
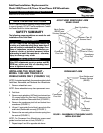
12. Replace the tension spring and the seat guide into
the seat rails (FIGURE 1).
NOTE: For Permanent Arm Wheelchairs replace seat
guides in front and rear of chair (FIGURE 1).
13. Replace the front seat guide into its side frame side
frame (Removable Arm ONLY) (FIGURE 1).
14. Reposition rear seat guide in front of the back canes
(FIGURE 1).
15. On permanent arm models, front solid seat X-Braces
must be installed before front seat guides are in place.
NOTE: On the Permanent Arm Wheelchair, position the
front seat guides behind the permanent arms.
16. Repeat this procedure for the opposite seat rail.
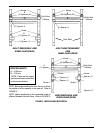
NOTE: Before reassembling the chair, be sure to check the
position of all the spacers on the seatrail. Refer to FIGURE 2.
17. Replace crossbrace pivot bolt and locknut (FIGURE 1).
NOTE: When tightening the pivot bolt and locking nut
make sure that there is only 1/8-inch of thread showing at
the end of the pivot bolt.
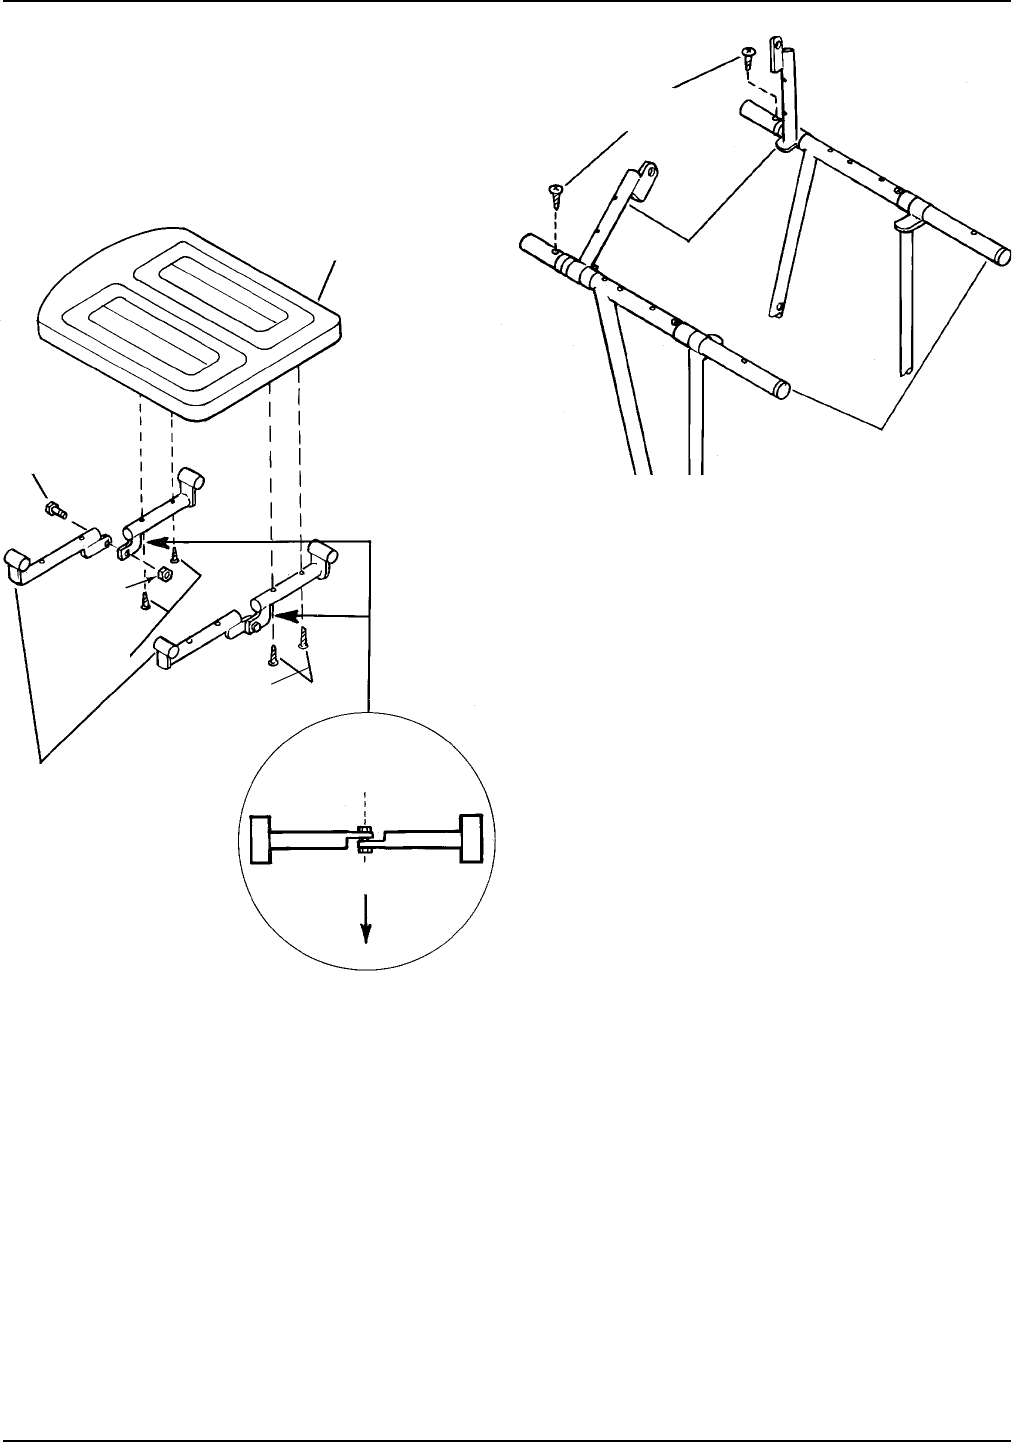
18. Secure the two (2) sections of the rear solid seat X-Brace
together with a 5/16 x 1-inch bolt and nut (FIGURE 3).
NOTE: Tighten bolt and nut on X-Braces enough to mini-
mize side play and still allow X-Braces to pivot when fold-
ing the chair.
19. Slide the other X-Brace assembly over the front of the
seat rails (FIGURE 5).
20. Secure the seat to the X-Braces with four (4) #10-32
x 1-3/8-inch screws (FIGURE 3).
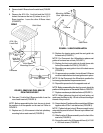
FIGURE 3 - REMOVING THE X-BRACES
FROM THE SOLID SEAT
8. Remove both X-Braces from the solid seat (FIGURE
3).
9. Remove the 5/16-18 x 1-inch bolt and the 5/16-18
locknut that secure the two (2) halves of one (1) X-
Brace together. Leave the other X-Brace intact
(FIGURE 3).
Solid Seat
REAR
5/16-18 x
1-inch Bolt
5/16-18
Nut
Solid Seat
Mounting
Screws
X-Braces
Solid Seat
Mounting Screws
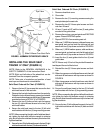
10. Take one (1) half of the X-Brace and slide it over the
rear of each seat rail (FIGURE 4).
NOTE: Before reassembling the chair, be sure to check
the position of all the spacers on the seat rail. Refer to
FIGURE 2.
11. Replace one (1) of the screws in the last upholstery
mounting hole on each seat rail (FIGURE 4).
Top View
Front of Seat
FIGURE 4 - X-BRACE INSTALLATION
Mounting Screws
Seat Upholstery
X-Brace
Seat Rails


