


Bolt-In-Place/Spring Button 2 Part No. 1114831
Front Rigging Kit
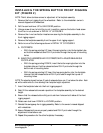
5. Remove the lower footplate assembly from the front rigging support.
6. Squeeze and push the release button down to remove from the footplate tube.
7. Ensure the cam lock lever is UP and unlocked.
8. Insert the footplate tube into the front rigging support.
9. Position the lower footplate assembly to the desired height.
10. Align the adjustment holes in the front rigging support and footplate assembly.
11. From the outside of the swingaway front rigging, insert the riv nut through both the
front rigging support and the footplate assembly.
12. From the inside of the swingaway front rigging, insert the button head screw through
the appropriate adjustment hole and thread into the riv nut.
13. Using a screwdriver to hold the riv nut in position, securely tighten the button head
screw. Torque to 32 in-lbs.
14. Push the cam lock lever DOWN to the locked position.
15. Reinstall the swingaway front rigging assembly. Refer to the owner’s manual that shipped
with wheelchair.
16. Repeat this procedure for the other footplate, if necessary.
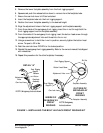
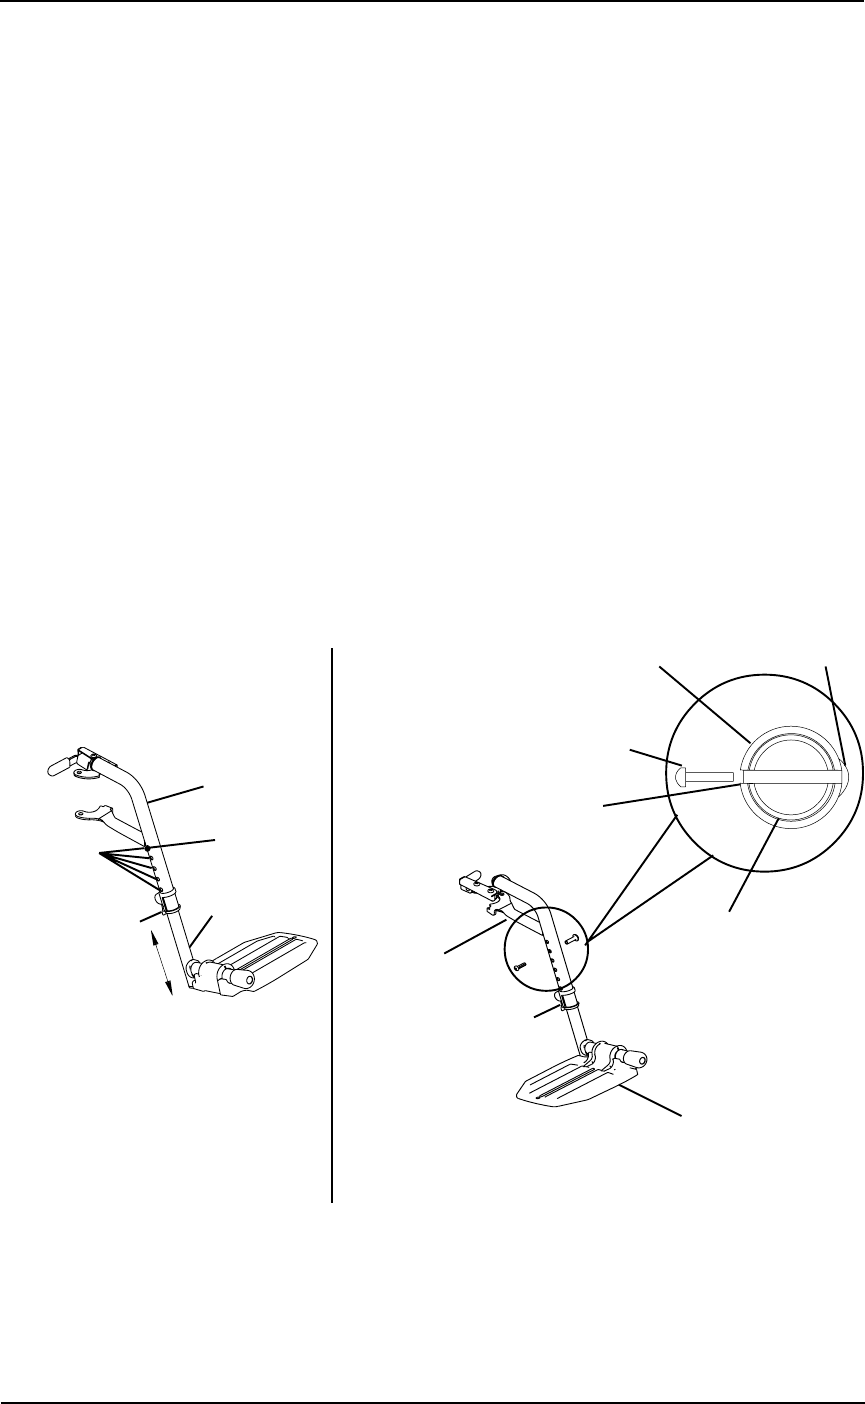
FIGURE 1 - INSTALLING THE BOLT-IN-PLACE FRONT RIGGING KIT
OUTSIDE OF
SWINGAWAY
FRONT
RIGGING
INSIDE OF
SWINGAWAY
FRONT
RIGGING
NOTE: Swingaway
footrests shown.
Footplate Assembly
Front Rigging
Support
Cam Lock Lever
Riv Nut
Button Head Screw
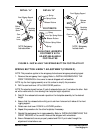
Footplate Assembly
Front Rigging Support
Adjustment Hole
NOTE: Swingaway footrest shown.
Front Rigging
Support
Footplate
Assembly
Cam Lock Lever
Release
Button
Adjustment
Holes
DETAIL "A"