


3
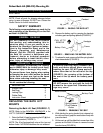
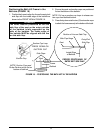
4. Twisting EXISTING suction cup from side, pull the the
suction cup off of the bath lift base frame (FIGURE 10).
8. Repeat STEPS 2-7 on second suction cup.
9. Tilt the Bath Lift foward so that it is resting in the
upright position.
10. Perform one (1) of the following:
A. Replace Rubber Pads, refer to
REPLACING
THE RUBER PADS in this instruction sheet.
B. Reinstall the Bath Lift into the bath tub, refer to
INSTALLING THE BATHLIFT INTO THE
BATH TUB in this instruction sheet.
REPLACING THE RUBBER PADS
(FIGURES 12-14)
1. Tilt Bath Lift foward so that it rests on the front por-
tion of the frame and top edge of the top cover.
5. Leave EXISTING locking clip on the bath lift base frame
(it is glued in place).
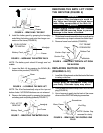
6. Install the NEW suction cup by reversing STEP 4.
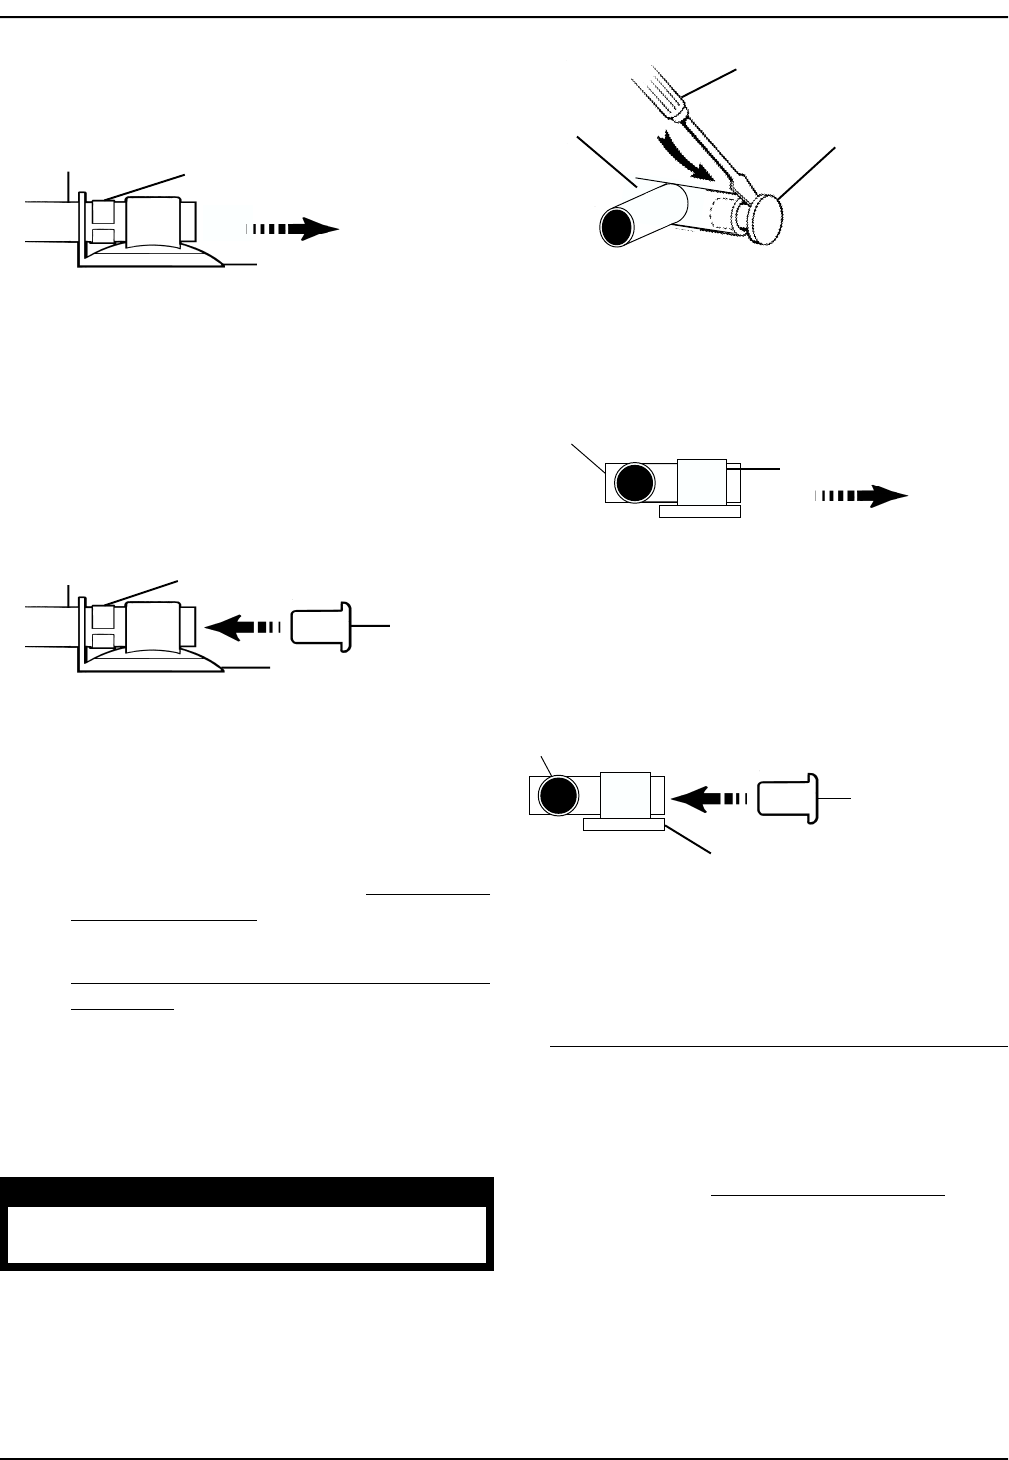
7. Place NEW end plug into the bath lift base frame and
using a hammer gently tap the end plug securely into
position (FIGURE 12).
EXISTING Suction Cup
EXISTING Locking Clip
Bath Lift
Base Frame
FIGURE 11 - INSTALLING END PLUG
New End
Plug
Locking Clip
Suction Cup
Base Frame
FIGURE 10 - REMOVING THE EXISTING
SUCTION CUP
WARNING
Always point the screwdriver away from
your body. Otherwise injury may occur.
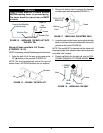
4. Twisting EXISTING Rubber Pad from side, pull the the
suction cup off of the bath lift base frame (FIGURE 13).
5. Install the NEW rubber pad by reversing STEP 4.
6. Place NEW end plug into the bath lift base frame and
use a hammer to gently tap the end plug securely into
position (FIGURE 14).
7. Repeat STEPS 2-6 on second rubber pad.
8. Tilt the Bath Lift back to the upright position.
9. Reinstall the Bath Lift into the bath tub, refer to
INSTALLING THE BATHLIFT INTO THE BATH TUB
in this instruction sheet.
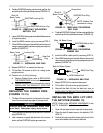
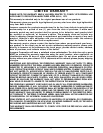
2. Place screwdriver behind the lip of the EXISTING end
plug (FIGURE 12).
3. Use a hammer to gently tap the back of the screw-
driver until the EXISTING end plug comes free.
FIGURE 14 - INSTALLING END PLUG
NEW RubberPad
Bath Lift Base Frame
NEW End Plug
EXISTING End Plug
Bath Lift
Base Frame
NOTE: Rubber Pad
removed for clarity.
Screwdriver
FIGURE 12 - REMOVING THE EXISTING
END PLUG
FIGURE 13 - REMOVING THE EXISTING
RUBBER PAD
EXISTING Rubber Pad
Bath Lift Base Frame
INSTALLING THE BATH LIFT INTO
THE BATHTUB (FIGURE 15)
NOTE: Refer to the GENERAL WARNINGS in the
SAFTY SUMMARY of this Instruction Sheet.
1. Clean tub and wipe suction cups with a damp cloth.
2. Place the bath lift base frame in the bathtub (FIG-
URE 15).
3. Position the rear pads of the frame just in front of the
curve at the bottom of the back of the bath.