10
10
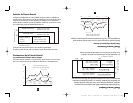
5. If the Index line falls within the “OK” range, indicated at the edge of the
cuff, this cuff is suitable for your use. If the Index line falls outside of
the “OK” range, you may need a larger cuff for accurate measurement.
Please consult your local retailer for the purchase of a larger cuff
or visit the Health o meter
®
website at www.healthometer.com.
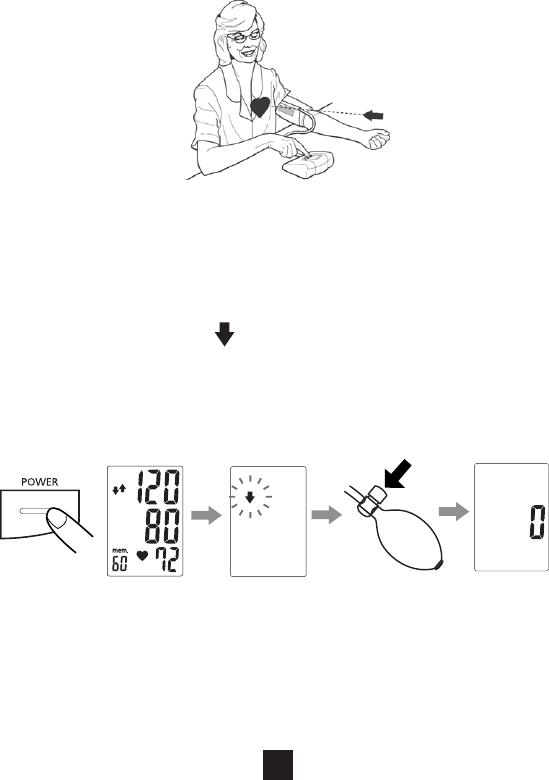
Sit in a chair with your feet flat on the floor. Rest your left arm on a table
so that the arm cuff is at the same level as your heart.
Taking a Measurement
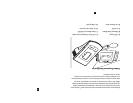
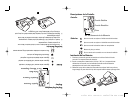
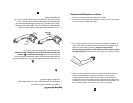
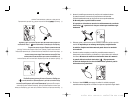
1. Press the POWER button (Fig. 1). All display segments will appear for
approximately one second before returning to “0”. If the downward
arrow “ ” flashes, this means that there is air remaining in the cuff.
(Fig. 2). Release it by pressing the “Air Release Valve” (Fig. 3) until “0”
appears on display.
Fig. 1 Fig. 2 Fig. 3
The unit is ready for measurement at this point.
5. Si la línea de Índice cae dentro del espacio “OK”, indicado en el borde del
brazalete, este brazalete es adecuado para su empleo. Si la línea de Índice
cayera fuera del rango “OK”, es muy posible que usted requiera un brazalete
más grande para obtener una medición precisa. Por favor consulte con su
distribuidor local para comprar un brazalete más grande o visite las páginas
de Internet del Health o meter
®
en el www.healthometer.com.
Siéntese en una silla con los pies planos en el piso. Descanse su brazo izquierdo sobre
una mesa de modo que el brazalete de brazo esté al mismo nivel que su corazón.
Tomando una Medición
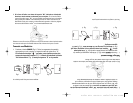
1. Presione el botón POWER (Fig. 1). Todos los segmentos de pantalla
aparecerán por más o menos un segundo antes de volverse un “0”.
Si la flecha hacia abajo “ ” parpadea, esto significa que hay aire
estancado dentro del brazalete. (Fig. 2) Libérelo presionando la válvula
“Air Release Valve” (Fig. 3) hasta que aparezca “0” en la pantalla.
Fig. 1 Fig. 2 Fig. 3
La unidad ya está lista para tomar medidas.
7630 01 Text Eng y Español 20-06-2002 16:58 Page 18


