


9. Dress properly. Do not wear loose clothing or jewelry as they can be caught in moving parts.
Protective, electrically non-conductive clothes and non-skid footwear are recommended when
assembling. Wear restrictive hair covering to contain long hair.
10. Keep children away. Children must never be allowed in the work area.
11. Make proper ground contact. Use your Ramp on a solid, level, flat, dry surface. Make sure
that the tongue edge fully contacts the tailgate of the vehicle.
12. Keep the Ramp clean. Prior to each use, clean dirt, oil, or any debris off ramps.
13. Do not exceed the Ramps maximum weight capacity.
14. Make certain that no persons or pets are under the Ramp or vehicle during loading.
15 Be aware of dynamic loading! If the vehicle drops onto the Bi-fold Ramp, it will create, for a
brief instant, an excess load, which may result in damage to the Ramp, the vehicle and/
or may result in personal injury.
16. Contact between the tongue of the Ramp and the tailgate of the vehicle, may result in damage
to the vehicle’s body finish.
Warning: The warnings, cautions, and instructions discussed in this instruction
manual cannot cover all possible conditions and situations that may
occur. It must be understood by the operator that common sense and
caution are factors which cannot be built into this product, but must be
supplied by the operator.
Assembly
Your Aluminum Bi-Fold Ramp will require some light assembly prior to use. It is important that you
read the entire manual to become familiar with the product BEFORE you use the Aluminum Bi-Fold
Ramp. Before assembling and using the Aluminum Bi-Fold Ramp be sure that you have all parts
described in the Parts List and Assembly Diagram located on the last pages of this manual.
The Aluminum Bi-Fold Ramp can be used together as a Bi-Fold connected ramp, or can be used
separately. To join the Bi-fold Ramp together and use it as one connected ramp, complete the
following steps.
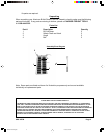
1. Lay both Ramps (1) down on a large, flat area that is clear of debris.
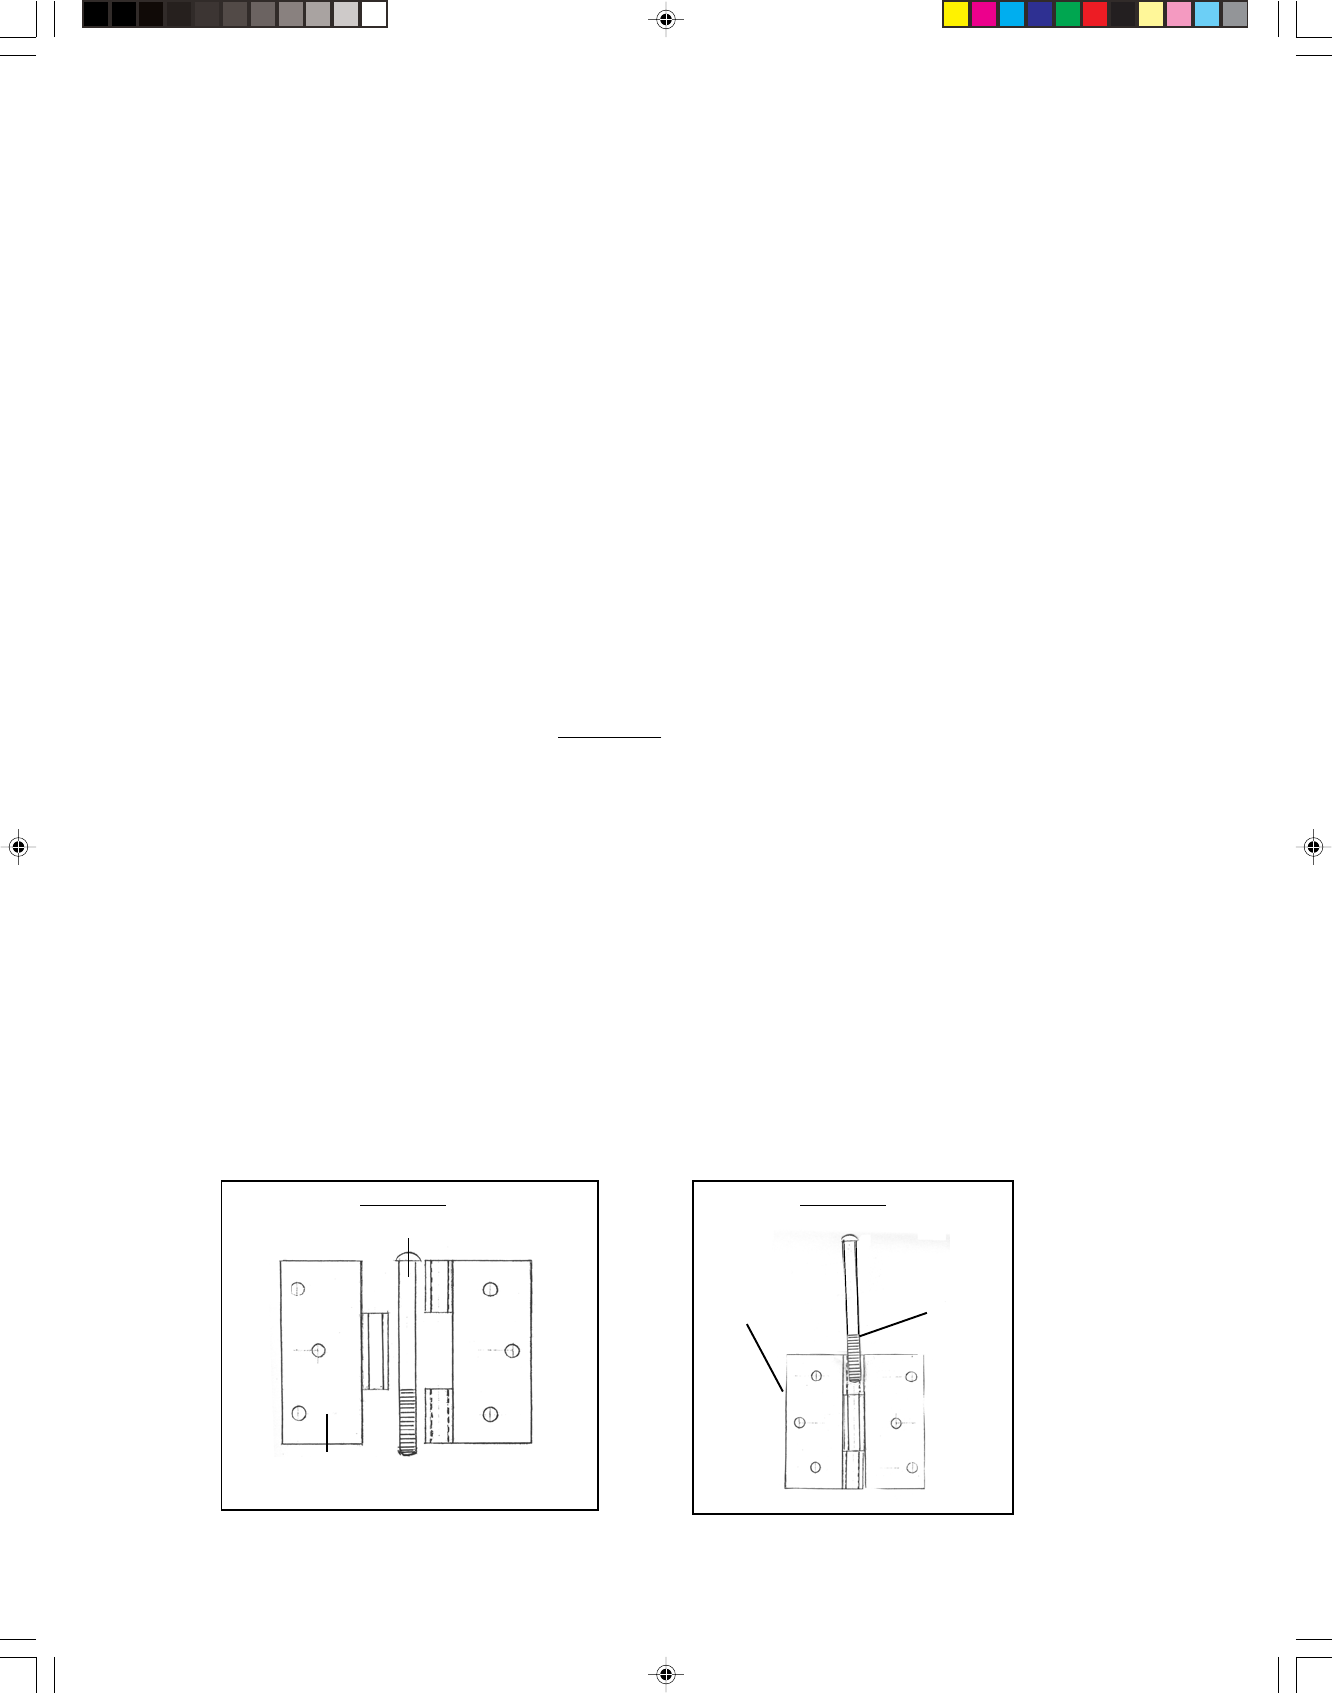
2. Line up the Ramps (1) so that the Hinges (3) are facing each other-see Figure 1.
3. Place Hinge (3) so the Bolt (4) can be threaded through the center of both sides of the
Hinge (3)-see Figure 2. Thread Bolt (4) into Hinge (3). Repeat for second Hinge (3).
Hinge (3)
Bolt (4)
Figure 1 Figure 2
Hinge (3)
Bolt (4)
SKU 90799 Page 3
90799 Bi Fold Ramp.p65 11/14/03, 2:23 PM3