114, 115, 116, and 117
Calibration Information
6
HOLD MIN MA X RANGE
10 A
FUSED
COM
V
A
Lo / H
OFF
Hz
Hz
AUTO-V
LoZ
Volt
Alert
A
A
V
V
mV
VoltA le rt
TRUE RMS MULTIMETER
117
<.5
OK
OK
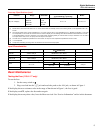
erc010f.emf
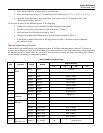
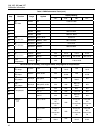
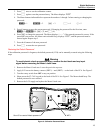
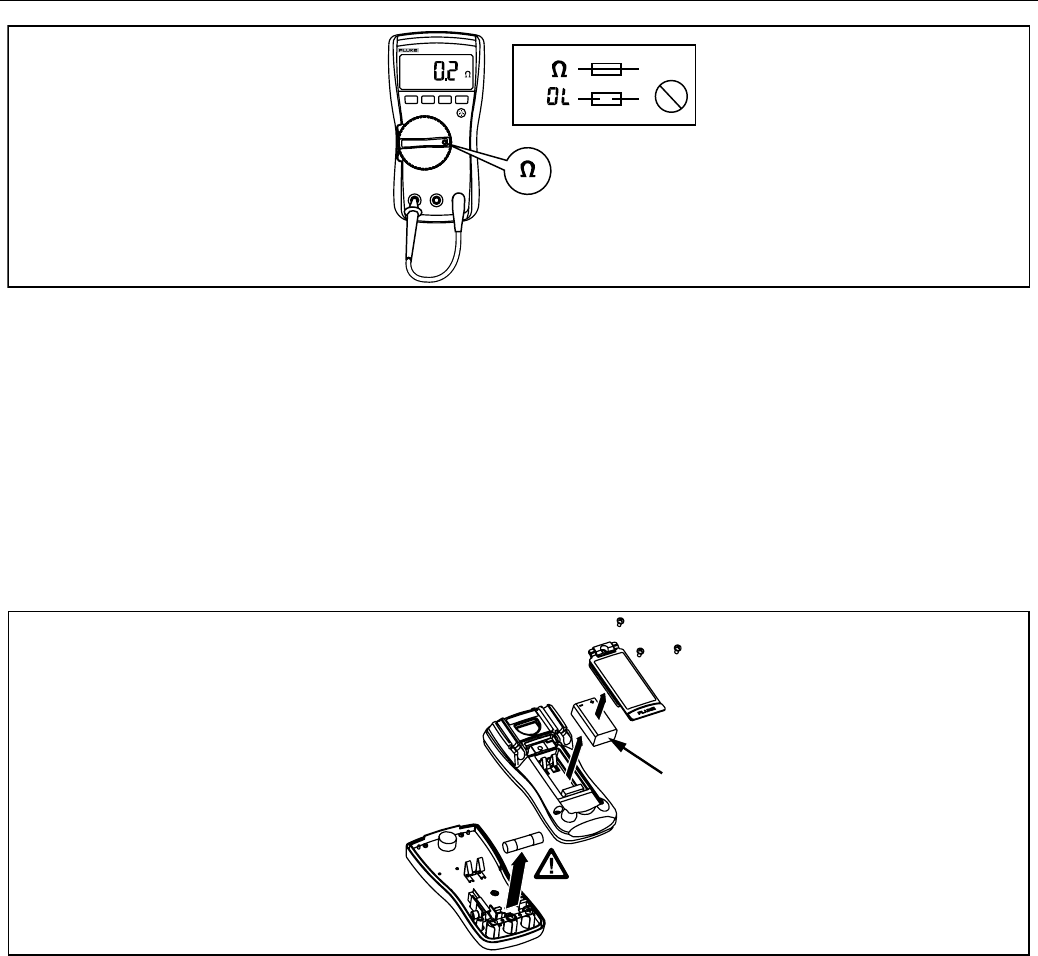
Figure 1. Fuse Testing
Replacing the Battery and Fuse
XWWarning
To avoid shock, injury, or damage to the Meter:
• Remove test leads from the Meter before opening the case or battery door.
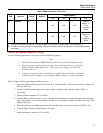
• Use ONLY a fuse with the amperage, interrupt voltage, and speed ratings
specified.
Fuse
Battery
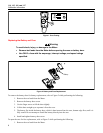
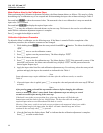
erc011f.emf
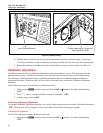
Figure 2. Battery and Fuse Replacement
To remove the battery door for battery replacement, refer to Figure 2 while performing the following:
1. Remove the test leads from the Meter.
2. Remove the battery door screw.
3. Use the finger recess to lift the door slightly.
4. Lift the door straight up to separate it from the case.
5. The battery fits inside the battery door, which is then inserted into the case, bottom edge first, until it is
fully seated. Do not attempt to install the battery directly into the case.
6. Install and tighten battery door screw.
To open the case for fuse replacement, refer to Figure 2 while performing the following:
1. Remove the test leads from the Meter.


