


5
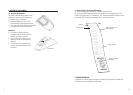
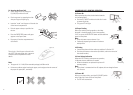
3.4. Inserting the Paper Roll
• Switch the printer on by sliding the
I/O (ON/OFF) switch to the left.
• Lift the top cover by squeezing the sides
with your fingers and pulling up.
• Insert the ”under” end of paper roll into the slot
of the internal compartment.
• Push the paper as deep as possible into
the slot.
• Press the PAPER FEED button until paper
appears at the Paper Cutter.
• Put paper roll into the compartment and
close the lid.
There is only 1 kind of paper roll used in this
unit. ADC
®
sells extra paper rolls, contact our
Customer Service Department for more
details.
Note:
• The paper roll is 1" thick (25mm-standard package) and 38mm wide.
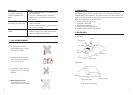
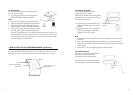
• If there are problems when inserting the paper, cut the edge so that the corners of
the paper are square (90°, see below).
✔
Paper roll
6
4. CARRYING OUT A PRINTING OPERATION
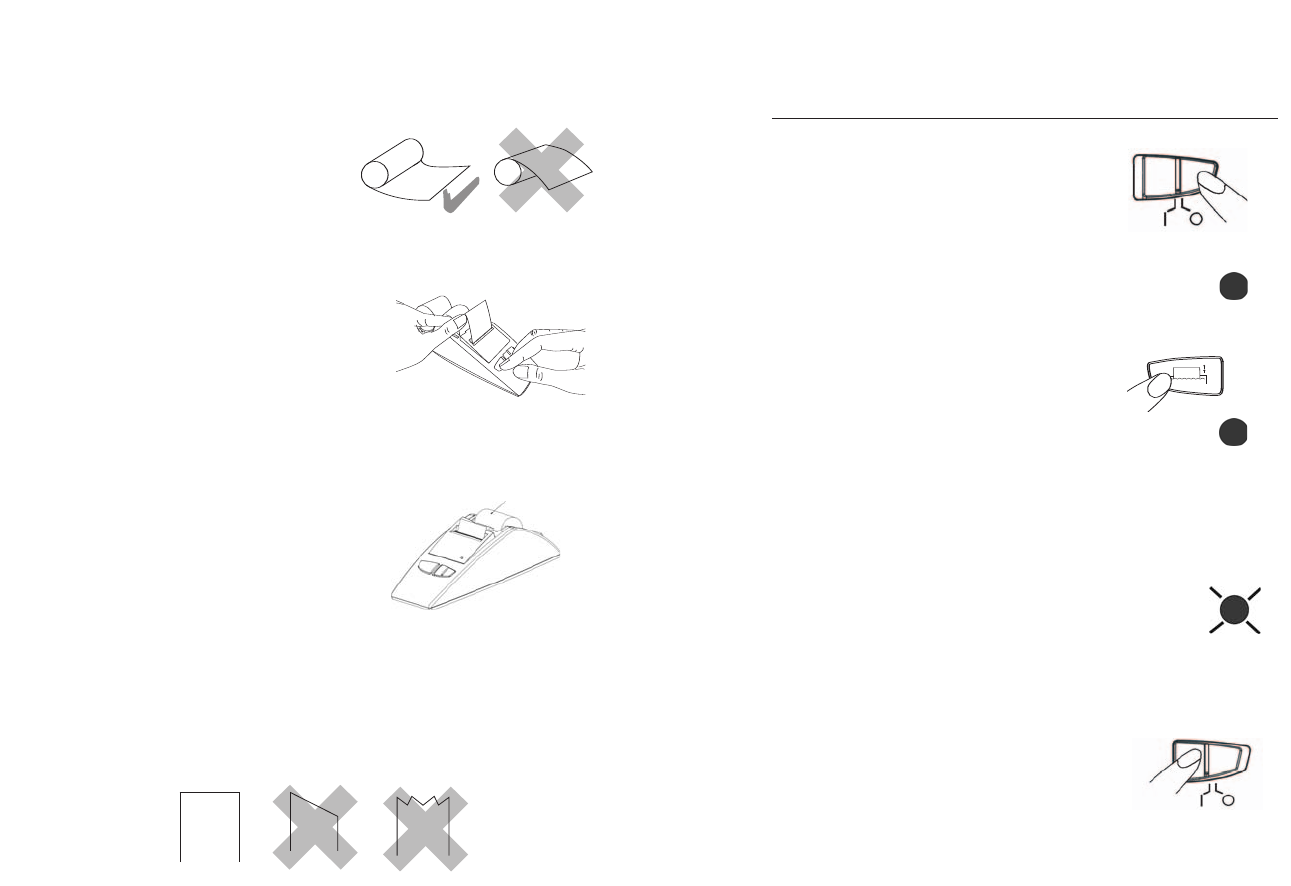
4.1. Power On
Before powering the printer, check that the batteries
are inserted properly.
• Push the O/I ON/OFF switch to the left side in order
to power the printer.
• The green LED will light.
4.2. Paper Feeding
Before you start the printing operation, check that
the paper is installed properly in the correct position.
If it is not, press the PAPER FEED button to feed additional
paper into the printer.
Note:
• Press the button once to advance 1 line.
• Continually depressing the button will advance
multiple lines.
4.3. Printing
• Connect the printer with the monitor as explained in Section 3.3.
• Push the print button on the monitor (for details, refer to the manual of
the related monitor).
4.4. Low Voltage Indication
When the LED is flashing under power-on operation,
it indicates that new batteries are needed.
• When the batteries are replaced the printer will
operate properly.
Note:
• If the printer is connected with an AC adapter, the low voltage indicator
will not occur.
4.5. Power Off
After you are done printing, push the O/I (ON/OFF) switch
to the right side in order to turn off the printer.
• The LED will become dark.
LED bright
LED flashing
LED bright