


E-7
E-6
☞ IMPORTANT: Measure pressure at the same time each day.
4. Press the START button
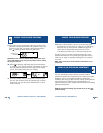
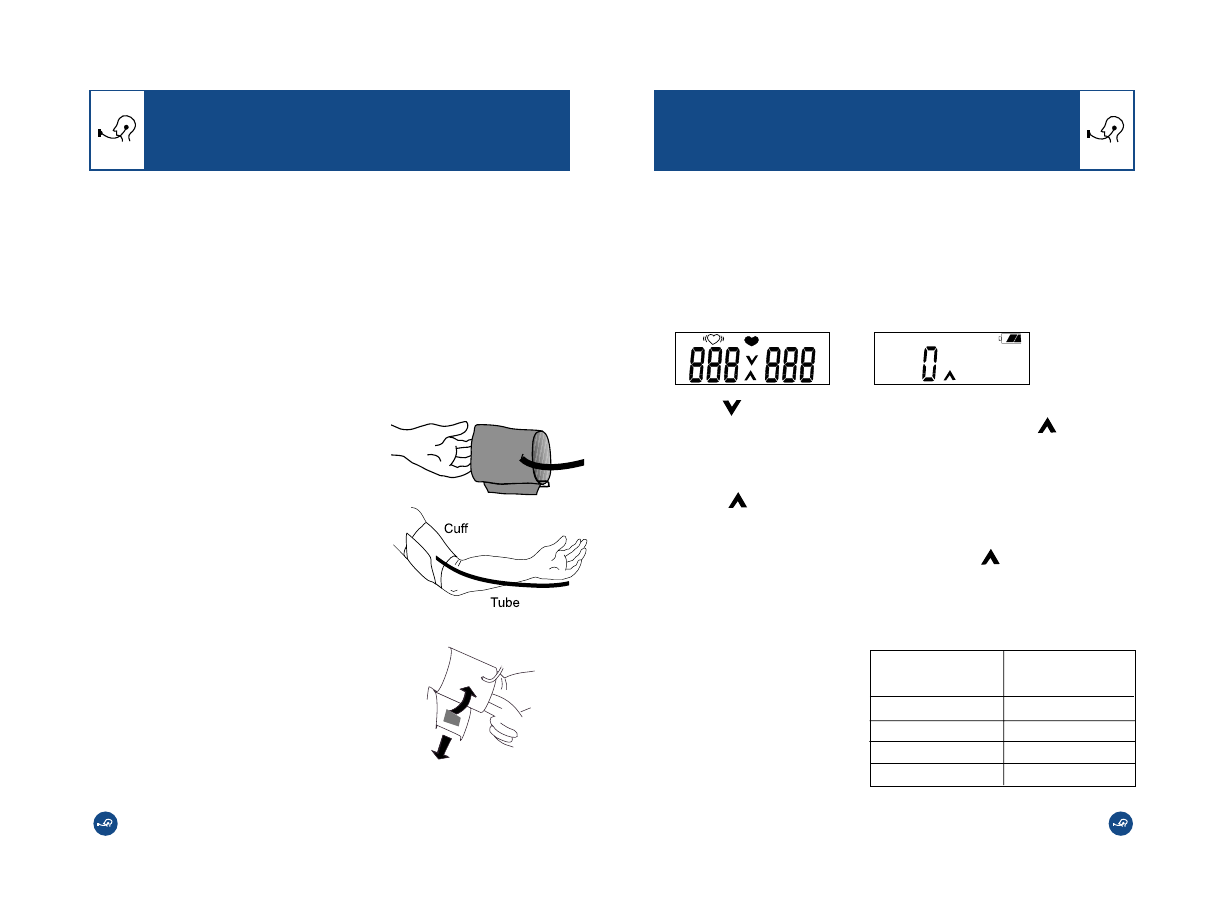
5. Watch for all display symbols to appear briefly, followed
by a flashing “0”, indicating that monitor is ready for
measurement.
6. If the mark is displayed, the cuff has some air trapped
in it. Press the exhaust valve button until the mark is
displayed. You may have to press on the cuff while holding
the exhaust valve to release all the air in the cuff.
7. When mark is displayed, begin cuff inflation by
squeezing the inflator bulb repeatedly.
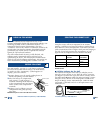
8. Stop squeezing the inflator bulb when mark disappears
or until cuff pressure reaches about 30 mmHg to 40 mmHg
above expected systolic pressure. If inflating to a level
above your expected systolic pressure, we recommend
using the chart shown below to determine your inflation
level.
TAKING YOUR BLOOD PRESSURETAKING YOUR BLOOD PRESSURE
Tips for Blood Pressure Monitoring:
☞ Relax for about 5 to 10 minutes before measurement.
☞ Remove constricting clothing and place cuff on bare arm.
☞ Unless your physician recommends otherwise, use left
arm to measure pressure.
Now you are ready. Follow these simple steps:
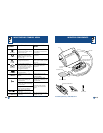
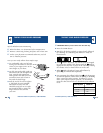
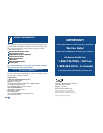
1. Sit comfortably with your left arm
resting on a flat surface so that the
center of your upper arm is at the
same height as your heart.
2. Lay left arm on the table, palm up
and thread cuff end through metal
loop, smooth side against arm.
Then position the tube off-center
toward the inner side of arm in
line with the little finger.
3. Pull the end of the cuff to tighten
it, fold back the extra material,
and fasten securely. The cuff
should be snug but not too tight.
You should be able to insert two
fingers between the cuff and
your arm.
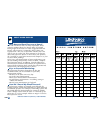
Usual Systolic
Inflate to
Up to 130
131-170
171-210
211-250
160
200
240
280
LifeSource Health Line (Toll-Free): 1-888-726-9966
In Canada (Toll-Free): 1-800-463-5414