


21
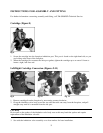
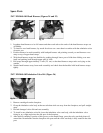
1. Remove side voicemitter retainer by unscrewing counter clockwise using the D-ring side voicemitter
removal tool, or a standard 1 3/16 x1 inch D-ring or similar tool.
2. Remove the side voicemitter from the mask by pressing from the inside of the mask assembly. Remove
the gasket from the sideport housing on the mask exterior.
3. To install new side voicemitter kit, position the gasket in the side port.
4. When looking at the voicemitter, both sides will have small holes in the surface for sound
transmission, however only one side will have four little beads poking through the sound transmission
holes. Install the side voicemitter with the four beaded side facing out.
5. Position the side voicemitter retainer in the sideport.
6. Tighten the voicemitter retainer by turning clockwise with the D-ring side voicemitter removal tool, or a
standard 1 3/16 x1 inch D-ring or similar tool. The voicemitter retainer should be tight enough so that
it cannot be easily removed by hand.
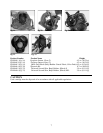
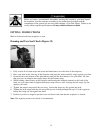
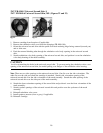
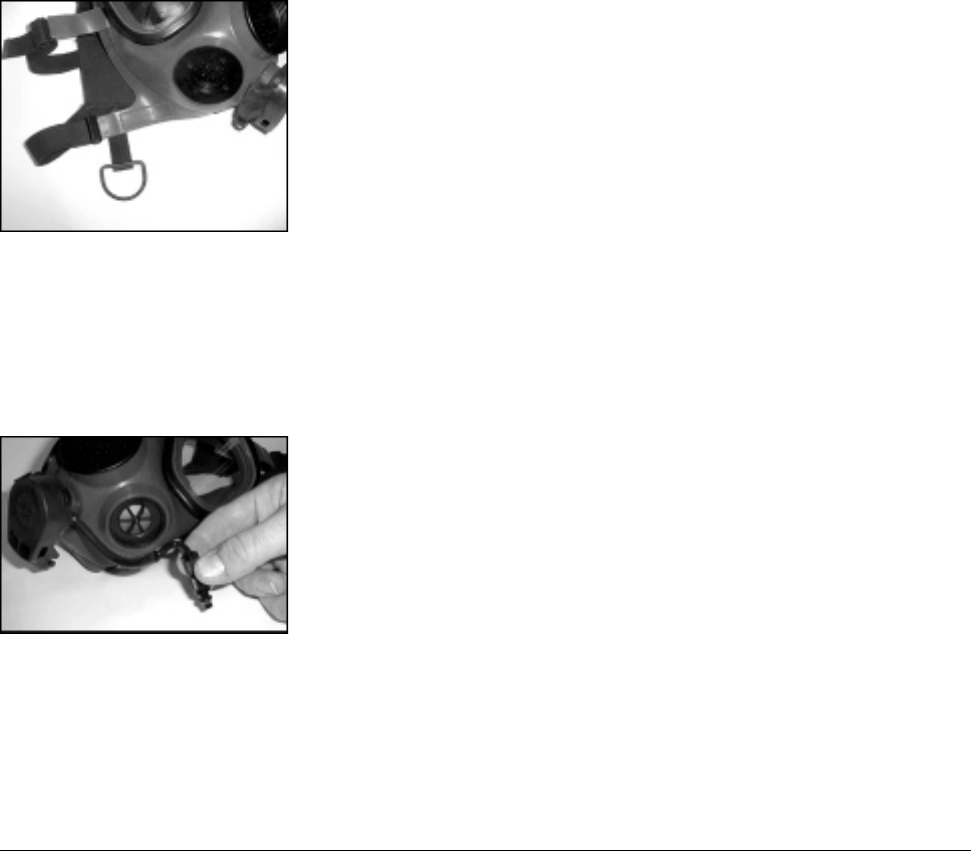
3M™ FR-M40-108 D-Ring Side Voicemitter Removal Tool (Figure 34)
fig. 34
1. This tool or a similar object or tool is used to remove the side voicemitter from the facepiece.
2 Removal of the side voicemitter allows cleaning of the facepiece, replacement of the voicemitter and
conversion of the filter cartridge from the left to the right side.
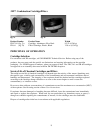
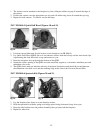
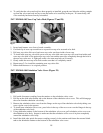
3M™ FR-M40-109 External Drinking Tube Quick Disconnect Coupling (Figure 35)
fig. 35
1. Lay the mask face up on a non-abrasive surface with the exhalation valve closest to you.
2. Remove the quick disconnect coupling from the retainer in the exhalation valve cover.
3. Grasp the external drink tube where it joins the quick disconnect coupling with one hand, and with the
other, grasp the quick disconnect coupling and pull away with a twisting motion. This will disengage
the external drink tube from the quick disconnect coupling.
CAUTION
Do not pull drink tube away from exhalation valve body, as the tube is glued in place and this will damage
the facepiece.