


Step Three
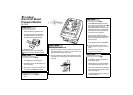
Install Batteries
1. Remove the battery compartment cover.
2. Insert two AAA batteries as indicated by
the polarity symbols. For easy removal,
place the ribbon under both batteries.
3. Replace the cover.
When the display dims or batteries weaken,
Áappears on the display. Replace the batter-
ies.
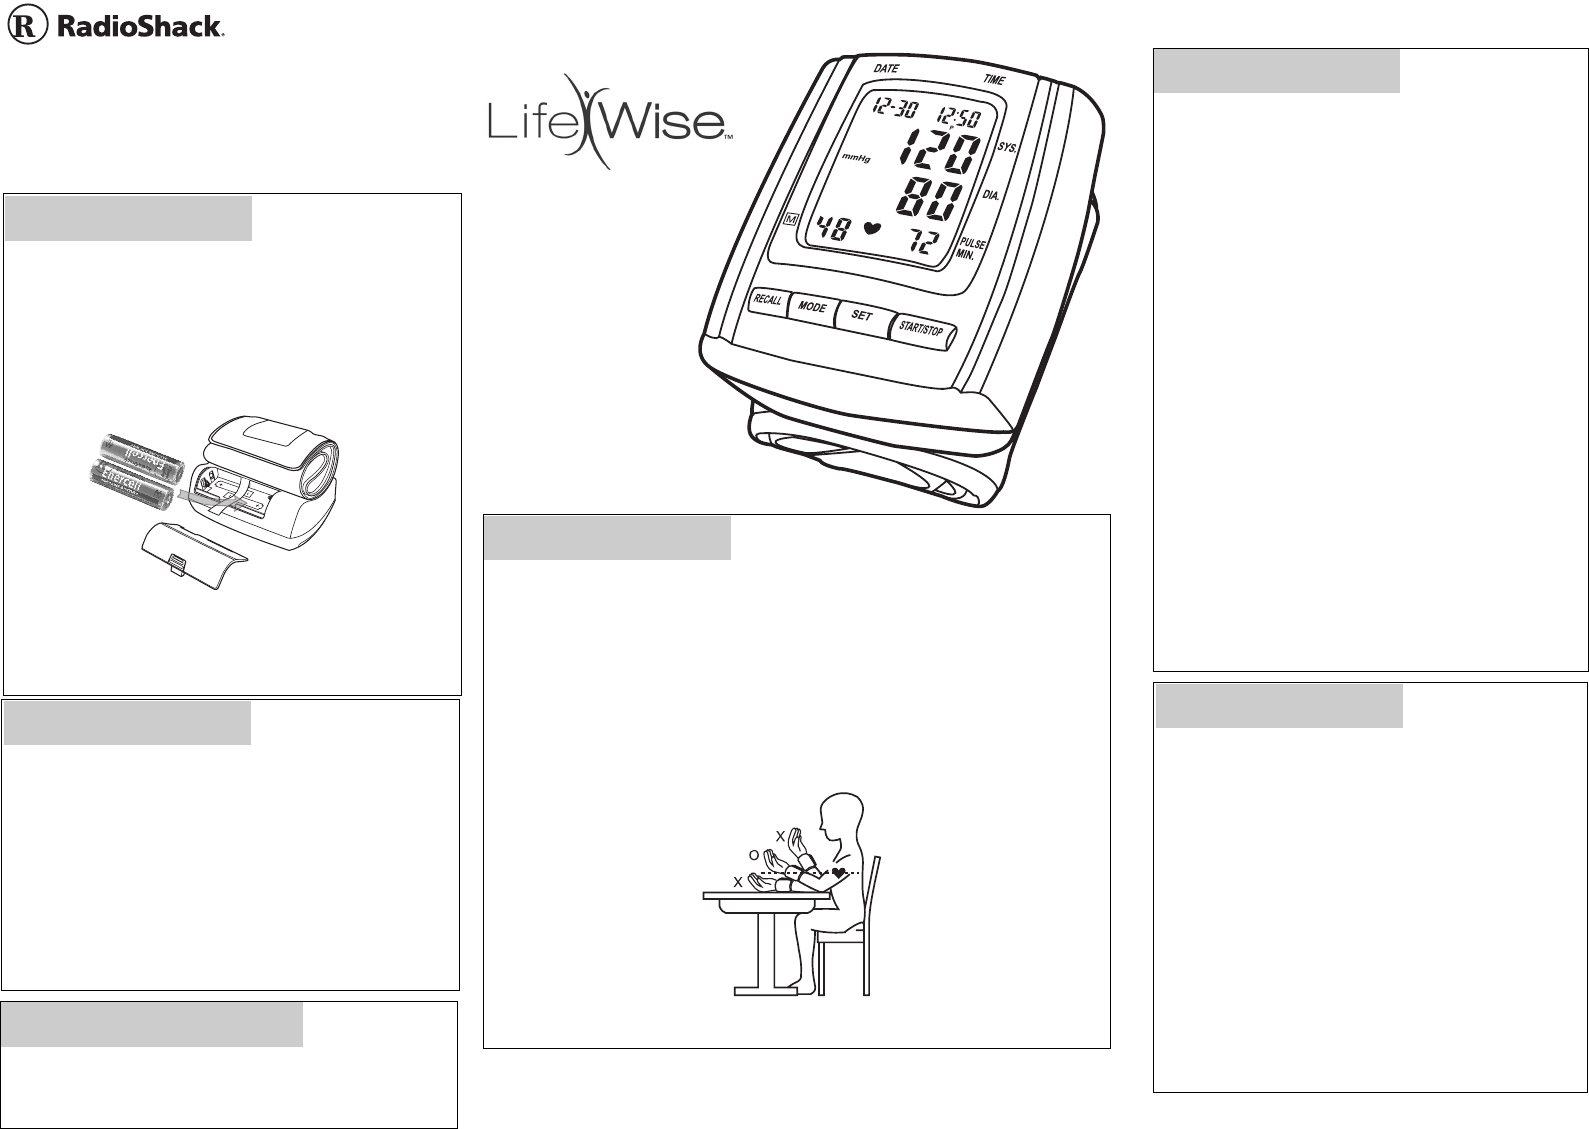
Attaching the Pressure Cuff
1. With your palm face up, wrap the pressure cuff snugly around
your wrist, leaving about
3
/16 inches to
13
/32 inches (0.5 to 1 cm)
clearance between the wrist and the cuff.
2. Place your elbow on the table and wrist against the armrest or
the storage case so the pressure cuff is at the same height as
your heart.
Wrist Cuff Blood
Pressure Monitor
63-1515
Setting the Date and Time
1. Press MODE. The month digit flashes.
2. Repeatedly press (or hold down) SET to set
the correct month.
3. Repeat Steps 1 and 2 to set the date, hour,
and minute. Press MODE when finished.
Measuring Blood Pressure
1. Press START/STOP. All display segments
appear briefly, the systolic rate rests to 00,
and
Â
appears. The pressure cuff
automatically inflates to 195 mmHg or the
sufficient pressure level for measurement.
The systolic rate varies, and ♥ flashes at
the same rate as your heartbeat.
2. Once the monitor detects your blood
pressure reading, the pressure cuff deflates
slowly. Your blood pressure reading and
pulse rate appear.
3. To stop measurement, press START/STOP.
à appears for about five seconds when:
• The pressure cuff is not wrapped around your wrist
correctly.
• You move or talk during measurement.
• You do not have correct posture.
Step Four
Step Two
What’s Included
•Wrist Cuff
• Monitor
Recalling Stored Readings
1. Press RECALL. The last reading with the
date and time appears.
2. Repeatedly press (or hold down) RECALL
to view other stored readings (up to 48).
3. To view current date and time, repeatedly
press or hold down RECALL until the current
date and time appear.
4. To erase all stored readings, remove and
reinstall the batteries.
Step Five
• Storage Case
Step One