


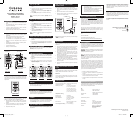
LCD DISPLAY
MODE
SNOOZE/
LIGHT
MEMORY/
CLEAR
12/24. SWITCH
WIRE ATTACHMENT
OUTDOOR TEMPERATURE
SENSOR PROBE
WALL
HANGER
ALARM
ON/OFF
HOUR
MIN
HOW TO SET TIME
1. Press [MODE] button for two seconds while in normal
mode.
2. The digits and colon will blink which indicates the time
settingmode has been enabled.
3. Set the hour or minutes by pressing [HR] or [MIN] button,
respectively.
4. Press [MODE] button again to confi rm the time setting.
NOTE Time setting will be disabled if [MODE] button is
pressed.
HOW TO SET THE ALARM TIME
1. From the normal mode press [MODE] button to enter alarm
mode.
2. Press [MODE] button again and hold for 2 seconds to enter
the alarm time setting mode.
3. Set the hour or minutes by pressing [HR] or [MIN] button,
respectively.
4. Press [MODE] button again to confi rm the alarm time
setting.
5. Toggle the [ALARM ON/OFF] key on back of product to
enable/disable alarm function.
NOTE A bell icon [
] on the display will indicate alarm is
activated.
ABOUT THE LIGHT & SNOOZE FUNCTION
1. When the [LIGHT/SNOOZE] button is pressed, the backlight
will stay lit for 5 seconds before turning off if no key is
pressed.
2. When alarm sounds the backlight will come on automatically
and pressing the [LIGHT/SNOOZE] button will activate the
snooze function.
HOW TO STOP THE ALARM
When alarm sounds, press any button (expect [LIGHT/
SNOOZE] button) to stop the alarm.
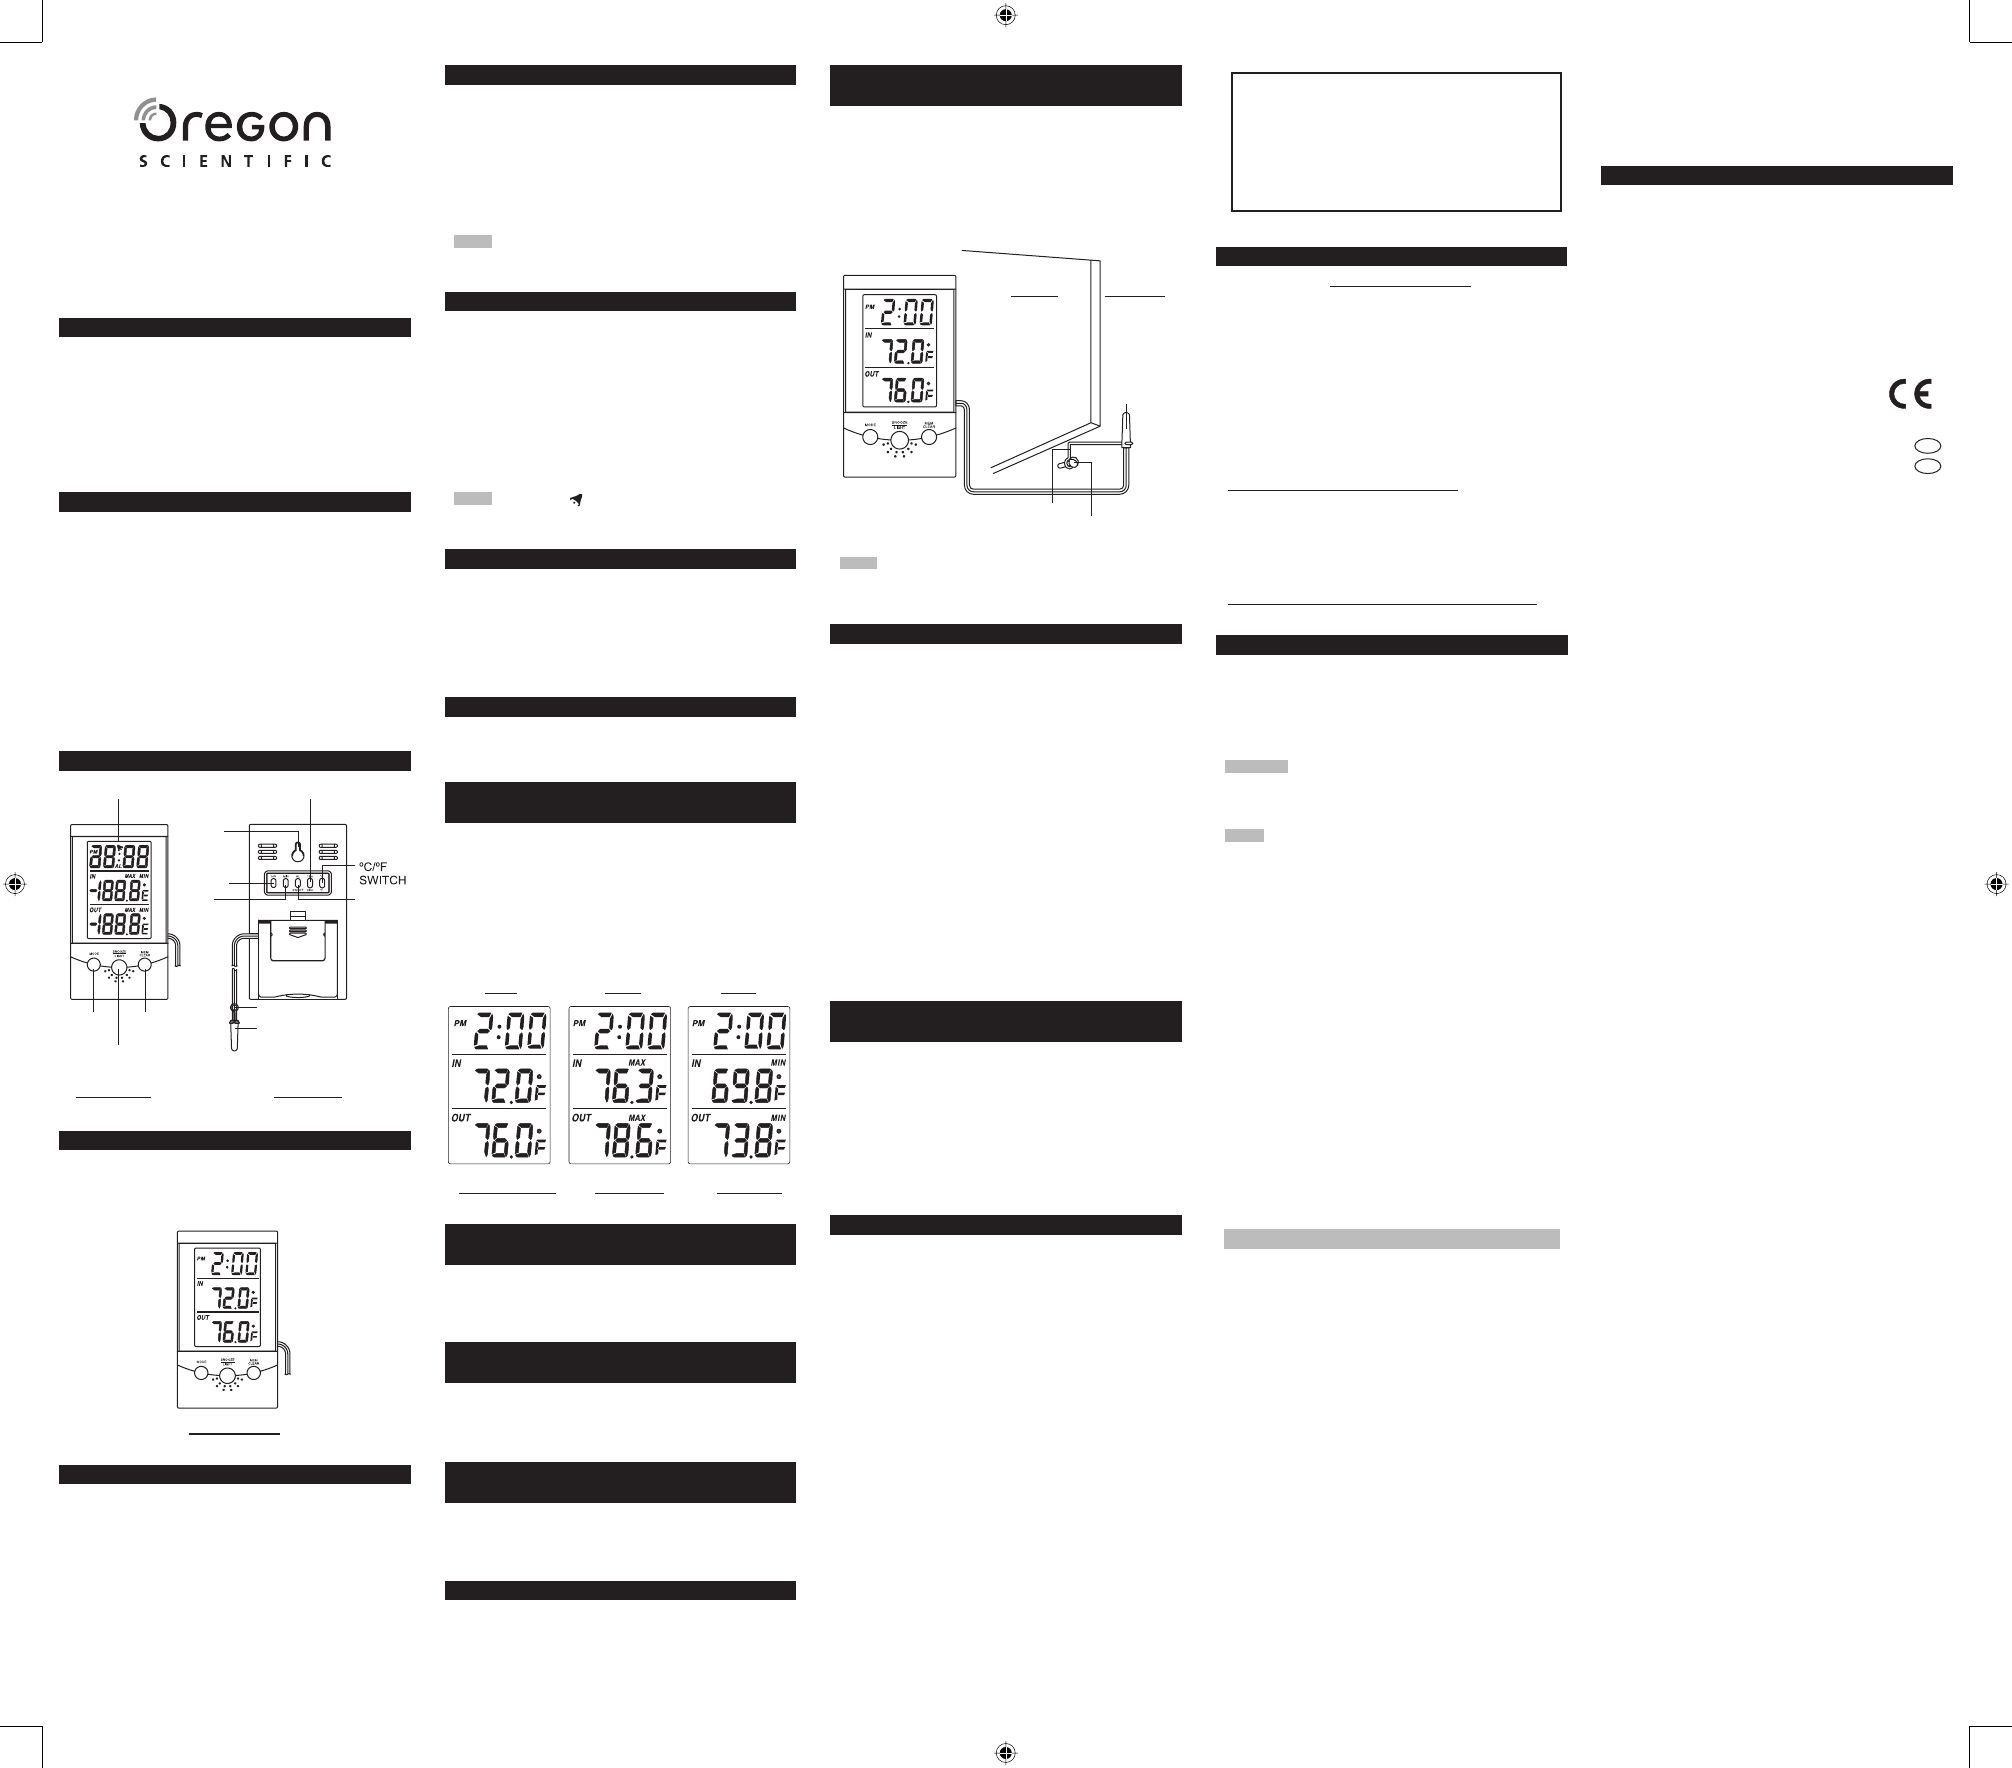
HOW TO VIEW THE OUTDOOR & INDOOR
TEMPERATURE MEMORY
1. While in normal mode (Fig. A) press the [MEM/CLEAR]
button once to view the outdoor & indoor max. temperature.
(Fig. B)
2. Press again to view the indoor & outdoor min. temperature.
(Fig. C)
3. Press the key the third time to return to normal mode
displaying current time and current indoor & outdoor
temperature. (Fig. A)
FIG.A
FIG.B FIG.C
NORMAL MODE MAX. MODE MIN. MODE
HOW TO CLEAR THE TEMPERATURE
MEMORY
Press and hold the [MEM/CLEAR] button for 2 seconds. This
will clear both the outdoor and indoor temperature memory to
the current temperature reading.
HOW TO SELECT THE TEMPERATURE
UNIT OF MEASURE
The thermometer can select between degrees Celsius and
Fahrenheit readings by sliding the [°C /°F ] button up for degree
Celsius and down for degree Fahrenheit.
HOW TO SELECT THE HOUR DISPLAY
FORMAT
The clock can be either in a 12 or 24-hour format depending on
the format selected by user. To select the 12-hour format slide
the [12HR/24HR] button up and down for 24-hour format.
HOW TO RESET THE UNIT
If your clock/thermometer does not operate properly, reset
the unit by pressing the reset key located inside the battery
compartment.
HOW TO SECURE THE OUTDOOR
SENSOR PROBE
Follow these steps to secure the outdoor sensor probe:
1. Drive a screw (not included) along with wire attachment
into the wall at the location you choose for the external
sensor.
2. Slip the external sensor into the wire attachment.
3. Route the outdoor sensor cord (3 meters or 10 feet) and
main unit to the desired location.
NOTE Place the outdoor sensor probe away from direct sunlight
and heavy precipitation.
MAINTENANCE
When handled properly, this unit is engineered to give you
years of satisfactory service. Here are a few product care
instructions:
1. Do not immerse the unit in water. If the unit comes in contact
with water, dry it immediately with a soft lint-free cloth.
2. Do not clean the unit with abrasive or corrosive materials.
Abrasive cleaning agents may scratch the plastic parts and
corrode the electronic circuit.
3. Do not subject the unit to excessive force, shock, dust,
temperature, or humidity. Such treatment may result
in malfunction, a shorter electronic life span, damaged
batteries, or distorted parts.
4. Do not tamper with the unit’s internal components. Doing so
will terminate the unit’s warranty and may cause damage.
The unit contains no user-serviceable parts.
5. Only use new batteries as specifi ed in this instruction
manual. Do not mix new and old batteries as the old
batteries may leak.
6. Read this instruction manual thoroughly before operating
the unit.
FREE STAND AND WALL MOUNTING
STAND
Stand:
Flip out the plastic stand on the rear of the thermometer for table
standing. Stand the thermometer on a fl at surface.
Wall Mount:
You can mount your thermometer on a wall by using a screw
(not included) with the screw head extending about 1/8 inches
(3.5mm ) from the wall.
SPECIFICATIONS
Indoor measurement range: 23°F to 122°F (-5°C to 50°C)
Outdoor measurement range: -58°F to 158°F (-50°C to 70°C)
Temperature resolution: 0.2°F(0.1°C)
Measuring accuracy: +/-2.0°F for 32°F to 104°F
(+/-1.0°C for 0°C to 40°C)
+/-4.0°F for -8°F to 122°F
(+/-2.0°C for -40°C to 50°C)
+/-6.0°F for -58°F to 158°F
(+/-3.0°C for -50°C to 70°C)
Temperature sensing
Sampling cycle: 10 seconds
Clock accuracy: +/-0.5 second / day.
Outer dimensions: 4.33x2.51x.0.7 inches
(105 x 64 x 18 mm)
(L x W x H)
Power Source : Uses 2 pieces UM4 or ‘AAA’
size 1.5V batteries.
Product Weight (exclude battery) : 3.17 ounces (90 g)
INDOOR OUTDOOR
OUTDOOR
SENSOR
PROBE
WIRE ATTACHMENT
SCREW
CAUTION
- The contents of this manual is subject to change
without further notice.
- Due to printing limitations, the displays shown in this
manual may differ from the actual display.
- The contents of this manual may not be reproduced
without the permission of the manufacturer.
ABOUT OREGON SCIENTIFIC
Visit our website (www.oregonscientifi c.com) to learn more
about Oregon Scientifi c products such as digital cameras;
MP3 players; childrenís electronic learning products and games;
projection clocks; health and fi tness gear; weather stations;
and digital and conference phones. The website also includes
contact information for our Customer Care department in case
you need to reach us, as well as frequently asked questions
and customer downloads.
We hope you will fi nd all the information you need on our
website, however if youíre in the US and would like to contact
the Oregon Scientifi c Customer Care department directly,
please visit:
www2.oregonscientifi c.com/service/support
OR
Call 1-800-853-8883.
For international inquiries, please visit:
www2.oregonscientifi c.com/about/international/default.asp
FCC STATEMENT
This device complies with Part 15 of the FCC Rules. Operation
is subject to the following two conditions: (1) This device may
not cause harmful interference, and (2) This device must accept
any interference received, including interference that may cause
undesired operation.
WARNING Changes or modifi cations not expressly approved
by the party responsible for compliance could void the user’s
authority to operate the equipment.
NOTE This equipment has been tested and found to comply
with the limits for a Class B digital device, pursuant to Part
15 of the FCC Rules. These limits are designed to provide
reasonable protection against harmful interference in a
residential installation.
This equipment generates, uses and can radiate radio
frequency energy and, if not installed and used in accordance
with the instructions, may cause harmful interference to
radio communications. However, there is no guarantee that
interference will not occur in a particular installation. If this
equipment does cause harmful interference to radio or television
reception, which can be determined by turning the equipment off
and on, the user is encouraged to try to correct the interference
by one or more of the following measures:
• Reorient or relocate the receiving antenna.
• Increase the separation between the equipment and
receiver.
• Connect the equipment into an outlet on a circuit different
from that to which the receiver is connected.
• Consult the dealer or an experienced radio / TV technician
for help.
DECLARATION OF CONFORMITY
The following information is not to be used as contact for support
or sales. Please call our customer service number (listed on our
website at www.oregonscientifi c.com), or on the warranty card
for this product) for all inquiries instead.
We
Name: Oregon Scientifi c, Inc.
Address: 19861 SW 95th Ave.,
Tualatin, Oregon 97062 USA
Telephone No.: 1-800-853-8883
Fax No.: 1-503-684-3332
declare that the product
Product No.: THT312
Product Name: 3-line Indoor and Outdoor
Thermometer with Clock
Manufacturer: IDT Technology Limited
Address: Block C, 9/F, Kaiser Estate,
Phase 1,41 Man Yue St.,
Hung Hom, Kowloon,
Hong Kong
is in conformity with Part 15 of the FCC Rules. Operation is
subject to the following two conditions: 1) This device may not
cause harmful interference. 2) This device must accept any
interference received, including interference that may cause
undesired operation.
EC-DECLARATION OF CONFORMITY
Hereby, Oregon Scientifi c, declares that this 3-line Indoor
and Outdoor Thermometer with Clock model THT312 is in
compliance with the essential requirements and other relevant
provisions of Directive 1999/5/EC.
A copy of the signed and dated Declaration of Conformity
is available on request via our Oregon Scientifi c Customer
Service.
COUNTRIES RTTE APPROVAL COMPLIED
All EC countries, Switzerland CH
and Norway H
© 2005 Oregon scientifi c. All rights reserved.
086-001763-182
3-line Indoor and Outdoor
Thermometer with Clock
MODEL: THT312
USER’S MANUAL
INTRODUCTION
• Thank you for your purchase of this thermometer with
clock.
• Your thermometer with clock is an example of superior
design and craftsmanship.
• In order to optimize its function, be sure to read this
instruction manual carefully before use.
• Keep this instruction manual handy for future references.
FEATURES
• Three line LCD display, shows clock, indoor & outdoor
temperature.
• Daily 1-minute alarm with 8-minute snooze function.
• User selectable 12 or 24-hour display format.
• User selectable °C or °F temperature units of measure.
• Displays min. and max. temperature units for indoors &
outdoors.
• External sensor probe with 3-meter or 10-feet long cable.
• LED backlight for viewing in the dark.
• 5-second backlight delay
• Desktop or wall mount feature.
DISCRIPTION OF PARTS
FRONT VIEW REAR VIEW
NORMAL MODE
In normal viewing mode the LCD will display the current time
on the fi rst line. The second line will display the current indoor
temperature with the third line displaying the current outdoor
temperature.
NORMAL MODE
HOW TO INSTALL AND REPLACE BATTERY
The Thermometer uses two pieces of UM-4 or ‘AAA’ size
batteries. Follow these steps to install/replace battery:
1. Remove battery cover on the back of the unit by gently
pressing down on the arrow and slide in the direction it is
pointing.
2. Insert the new batteries. Be sure to follow the polarity
symbols as marked inside the battery compartment.
3. Replace the battery cover.
THT312_M_EN_op.indd 1 2005.7.7, 1:58:53 PM