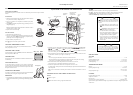
In The Monitor
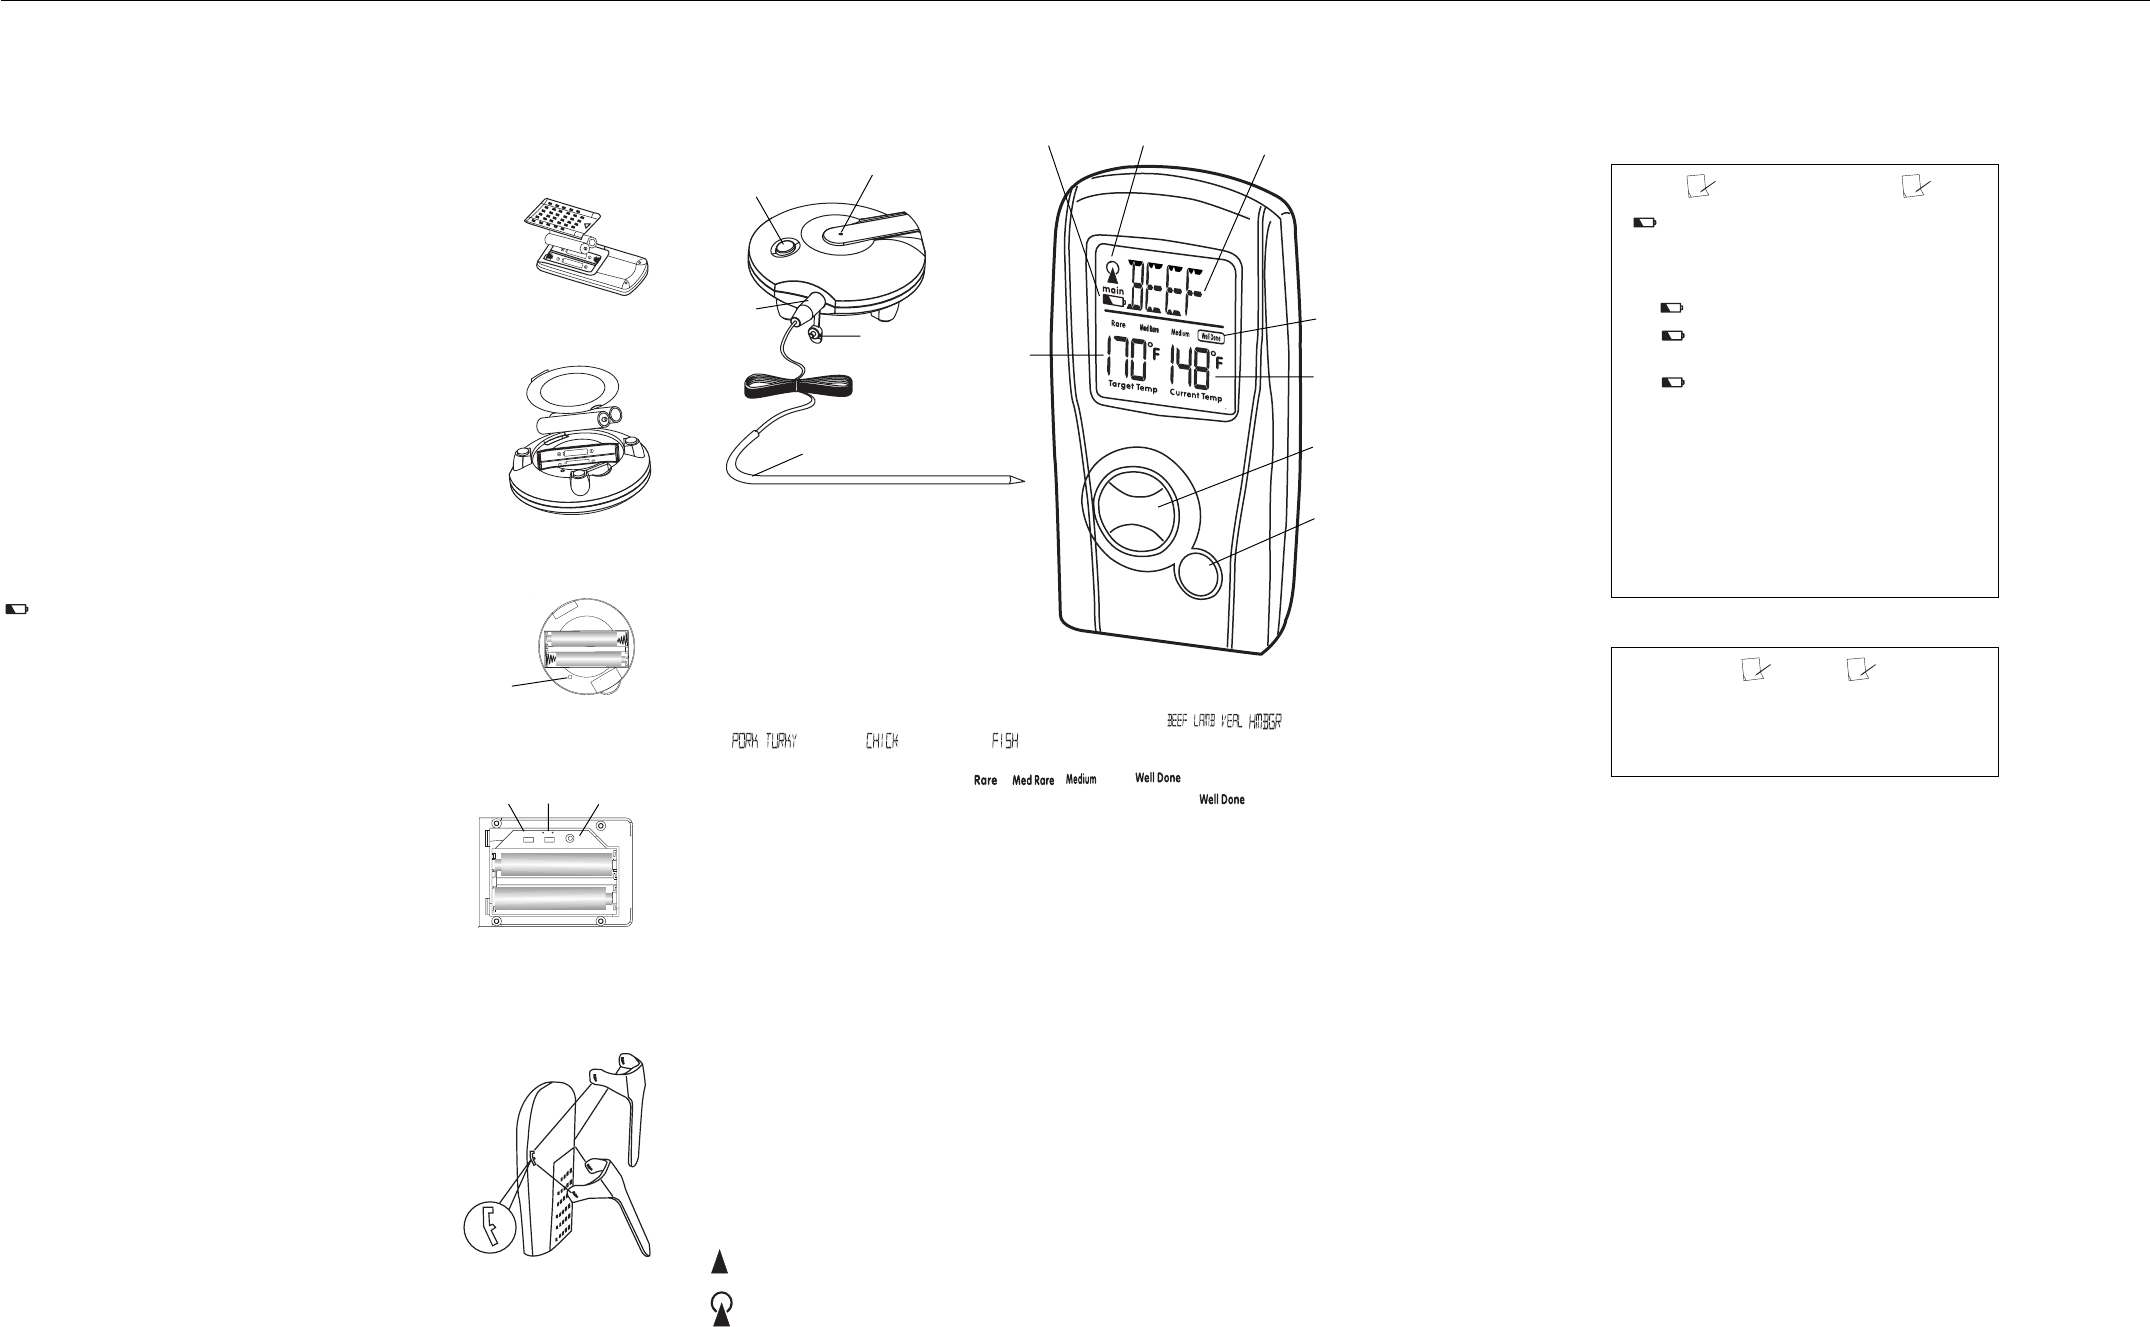
1. Slide down and lift off the belt clip on the back of the monitor. Slide then
lift up and remove the battery compartment cover.
2. Place two AA batteries in the compartment as indicated by the polarity
symbols (+and-).
3. Press RESET in the battery compartment using a pointed object such as a
straightened paper clip.
Note: Reset both the monitor and the ThermoSensor within 60 seconds to
synchronize them to transmit a signal.
4. Replace the cover and the belt clip.
In the ThermoSensor
1. Slide off the battery compartment cover.
2. Place two AAA batteries in the compartment as indicated by the polarity
symbols (+and-) and press RESET beside the battery compartment using a
pointed object such as a straightened paper clip.
3. Replace the battery compartment cover.
When appears on the monitor, replace the batteries.
ADJUSTING FAHRENHEIT/CELSIUS
To select fahrenheit or celsius, slide °C/°F, located beside the monitors
battery compartment, to C or F.
ADJUSTING THE VOLUME
To adjust the monitors volume, slide HI/LO, located in the ThermoSensors
battery compartment, to HI or LO.
LED INDICATOR
The red LED in the center of the thermosensor flashes to indicate that it is on
and transmitting.
USING THE BELT CLIP
You can wear the belt clip on your belt or use it as a stand. To use the belt clip
as a stand, remove the belt clip from the back of the monitor. Insert the left or
right side of the clip into the lower part of the slot then snap the other side of
the clip into the other lower slot.
CONNECTING THE PROBE
Locate the cover to the probe socket on the top right side of the Thermosensor
and carefully pull it out. Plug the meat probe into the socket.
OPERATION
1. Press and hold power until the Thermosensors red LED flashes. Then press
and hold power until the monitors green LCD lights and all display segments
appear.
2. Repeatedly press select until the desired meat appears. You can select , , , (HAMBURGER),
, (Turkey), (Chicken), or . Then repeatedly press cook to select the doneness level.
Note: The doneness level selections, , , , and , are only available for beef, lamb
and veal. For chicken, pork, fish and hamburger the monitor defaults to .
3. Place the thermosensor near the cooking area and insert the tip of the probe into the center of the meat.
Use the monitors stand for easy viewing or use the belt clip.
Notes:
For a clear signal, place the monitor within 100 feet of the Thermosensor.
Place the Thermosensor away from direct heat or flame and do not rest the probe on the cooking
surface. Doing so could damage the thermistor inside the probe.
4. When the meat is done, remove the probe from the meat and let it cool or wear an
oven mitt. Press power on the monitor and thermosensor to turn them off.
5. Disconnect the probe from the Thermosensor and replace the socket cover. After
You finish cooking, clean the probe with water and a mild detergent. Wipe the monitor and Thermosensor
with a damp cloth.
Note: Do not use a dishwasher to clean the probe or immerse te monitor or Thermosensor in water or
liquid.
CHECKING SIGNALS AND AUDIBLE ALARM STATUS
SIGNAL
Indicates no signal.
Indicates the monitor is receiving a signal from Thermosensor.
ALARM
Three beeps - indicates the monitor is not receiving a signal from thermosensor.
Four beeps - indicates the current temperature is within five degrees of the target temperature.
A continuous beep - indicates the thermometer has reached its target temperature.
A fast and continuous beep - indicates the meat is overcooked.
SPECIFICATIONS
MONITOR:
Batteries............................................................................................................................................... 2 x AA
Operating temperature range...................................................................................................32º F to 122º F
Storage temperature range..................................................................................................... -22º F to 158º F
LCD Display Range ..........................................................................................................0º C/F to 199º C/F
THERMOSENSOR PROBE
Batteries............................................................................................................................................ 2 x AAA
Operating temperature range.................................................................................................. -4º F to 482º F
(-20º C to 250º C)
Storage temperature range..................................................................................................... -22º F to 158º F
GENERAL
Length of stainless steel probe ..........................................................................................................3.28 feet
Temperature resolution........................................................................................................................... ±2ºF
Heat resistance...................................................................................................................................... 158º F
Steel sensor probes operating temperature ....................................................................... Maximum 482º F
Specifications are typical; individual units might vary. Specifications are subject to change and improvement
without notice.
Wireless BBQ Thermometer
OWINERS MANUAL
Please read before using this equipment.
"AA" UM3 1.5V
"AA" UM3 1.5V
"AA" UM3 1.5V
"AA" UM3 1.5V
ThermoSensor
reset
Hi /Lo C / F
"AA" UM3 1.5V
RESET
°C/°FHI/LO
Monitor Battery Compartment
Stand
Position
SETUP
INSTALLING BATTERIES
The thermometer requires two AA batteries and two AAA batteries for power. Follow these steps to install the
batteries.
A QUICK LOOK AT THE MONITOR AND THERMOSENSOR
select
cook
power
Belt clip position
r
ese
t
"AAA" UM4 1.5V
RESET
Power
Probe
socket
Thermosensor LED
Probe Socket
Cover
Probe
Low Battery
Indicator
Indicates monitor/
thermosensor
communication
Type of
Meat
Levels of
Doneness
Current
temp
select/cook
power
Target
Temp
BATTERY NOTES
Appears on the monitor to indicate the condition of
the batteries. Please observe the following information
for an indication of when the batteries need to be
replaced.
main - indicates the monitors battery is low.
remote - indicates the Thermosensors battery
is low.
main remote - indicates the batteries are low
in both the monitor and Thermosensor.
Use only fresh batteries of the required size
Do not mix old and new batteries, different types of
batteries (standard, alkaline or rechargeable), or
rechargeable batteries of different capacities.
If you do not plan to use the thermometer with
batteries for a month or more, remove the batteries.
Batteries can leak chemicals that can destroy
electronic parts.
NOTE
The operation temperature range of the sensor probe is -
4º F to 482º F (-20º C to 250º C). The LCD display
range is 0º C/F to 199ºC/F. When the display temperature
is out of its range, the displays digits flash.