


11
Figure 5
Figure 6
Figure 7
Figure 8
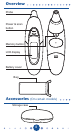
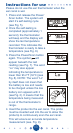
Instructions for use
Please do not use this ear thermometer when the
ear canal is wet.
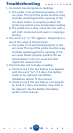
1. Press and release the Power/
Scan button. The system will
start it’s self-testing cycle
(see Fig. 5).
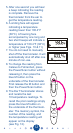
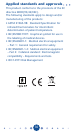
2. Once the self-testing is
completed (approximately 1
second), the thermometer
will beep and the display will
show the last temperature
recorded. This indicates the
thermometer is ready to take a
temperature (see Fig. 6).
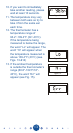
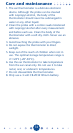
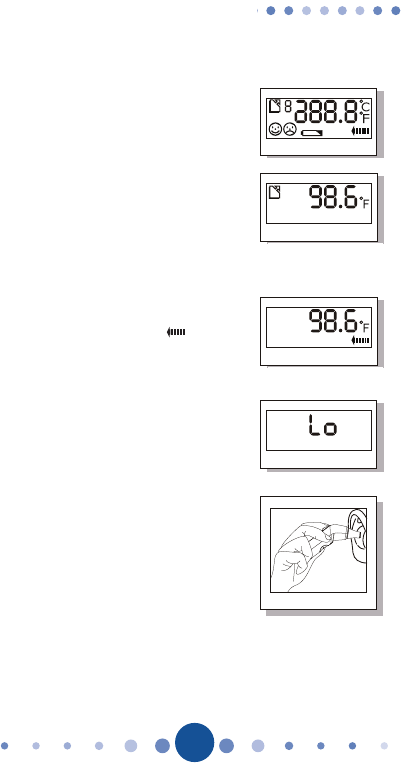
3. Press the Power/Scan button
again. The symbol will
appear beneath the last
reading (see Fig. 7). The word
“Lo” may also appear
indicating the temperature is
lower
than 93.2°F (34°C) (see
Fig. 8).
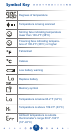
NOTE: The word “Lo”
by itself does not mean that
the battery is low and needs
to be charged unless the low
battery
icon appears with it
(see Fig. 2).
It means that the
temperature being measured
is out of the thermometer’s
range.
4. Insert the probe into the ear canal. The probe
must be inserted well into the ear to allow the
probe tip to continuously scan the ear canal.
This will ensure an accurate temperature
measurement (see. Fig. 9).
Figure 9