IMPORTANT SAFETY
INSTRUCTIONS
When using electrical appliances, especially
when children are present, basic safety
precautions should always be taken,
including the following:
READ ALL INSTRUCTIONS
BEFORE USING
Keep away from water
DANGER – Any appliance is electri-
cally live, even when the switch is off.
To reduce the risk of death or injury by
electric shock:
1. Always unplug appliance from electrical
outlet immediately after using (except when
charging unit).
2. Do not place or store appliance where it could
fall or be pulled into a tub or sink.
3. Do not use appliance while bathing or in the
shower.
4. Do not place appliance in, or drop into, water
or other liquid.
5. If appliance has fallen into water, do not reach
for it. Unplug immediately.
6. Unplug this appliance before cleaning.
DO NOT REACH
INTO THE WATER
WARNING – To reduce the risk
of burns, electric shock, fire, or injury
1. Never leave a plugged-in appliance unattended.
2. This appliance should not be used by, on,
or near children or individuals with certain
disabilities.
3. Use appliance only for its intended use
as described in this manual. Only use
attachments recommended by the manu-
facturer. Do not use an extension cord to
operate the appliance.
4. Never operate the appliance if it has a
damaged cord or plug, is not working
properly, has been dropped or dam-
aged, or dropped into water. Return the
appliance to a Conair service center for
examination and repair.
5. Keep the appliance cord away from
heated surfaces.
6. Do not pull, twist or wrap the cord around
the appliance.
7. Never drop or insert any object into any
opening of the appliance.
8. Do not place the appliance on any
surface while it is operating.
9. Do not use the appliance with a
damaged or broken comb or with teeth
missing from the blades, as injury may
result. Before each use, make certain the
blades are aligned properly and oiled.
10.
Do not use the appliance outdoors or where
aerosol (spray) products are being used or
oxygen is being administered.
11. THIS PRODUCT IS FOR HOUSEHOLD USE
ONLY.
SAVE THESE
INSTRUCTIONS
TROUBLESHOOTING
If your rechargeable trimmer does not seem
to be taking a charge, take the following
troubleshooting steps before returning it for
repair:
1.
Be sure the electrical outlet is working by
plugging in another appliance to test the outlet.
2. Make sure the electrical plug is not
connected to a switch which turns power off
when lights are turned off.
3. Be sure you have inserted the trimmer
properly into the charging stand, that
all connections are secure, and that the
trimmer switch is in the “OFF” position.
OPERATING INSTRUCTIONS:
1. Before using your trimmer for the first time,
place the unit in the charging stand and
charge it for 16 hours. Always place the
trimmer in the base with the ON/OFF switch
in the OFF position.
2. Always check to see if the charging light
is on when you place the trimmer in
the charging stand. The switch must face
forward for the trimmer to slide properly into
the base.
3. Plug the charger into any wall outlet (at
the voltage listed on the label affixed to
the charging stand). Unplug charging stand
when not in use.
4. The charging stand can remain plugged into
the power source at all times without dam-
age to the battery. However if it is not in use
it should be unplugged
5. To ensure that maximum charge is always
available, leave your trimmer in the charging
stand at all times. This will not overcharge or
damage the trimmer.
6. The charging stand may become warm while
charging. This is normal.
7. Battery life can be improved by
periodically allowing the trimmer to run
until the motor stops. Immediately shut the
switch OFF and fully recharge.
Note: Trimmer must be in the “off” position
when charging or the unit will not charge and
it could cause damage to the unit.
USER MAINTENANCE
INSTRUCTIONS
TAKING CARE OF YOUR TRIMMER
OILING THE BLADES
About once a month you should oil the trimmer
blades with the oil provided in your kit. It is
best to do this over a piece of newspaper. Turn
the trimmer on and hold it so that the blades
are pointed downward. Spread one drop of oil
across the blades, then turn the trimmer off and
wipe away the excess oil with a soft cloth.
Be careful not to use too much oil and don’t oil
your trimmer more than necessary, as this could
damage the motor. (Never attempt to oil the
motor bearing, as it is permanently lubricated.)
After oiling the blades, return the trimmer and
oil packet to the trimmer storage base. Keep oil
away from children.
BLADE CARE
Because the trimmer blades are precision-
made for a very special use, they should
always be handled with care. Each time you
finish using the trimmer, take the cleaning
brush provided and brush away any loose hair
that has collected in the blades. Then store
the trimmer in its recharging storage base to
protect the blades until the next use.
Be especially careful when changing or
adjusting blades. When you have your
trimmer serviced, be sure that both blades are
sharpened or replaced at the same time.
To promote the long life of the appliance, use
your trimmer only for the purpose intended by the
manufacturer – to trim your beard and mustache.
TURBO FEATURE
This product is equipped with a turbo boost
button. When activated, this will provide 15%
more cutting power. This is especially useful
for cutting through thicker hair.
To activate the turbo feature:
1. Press down the lock button and turn the
Power switch to the “on” position.
2. Press the Turbo button.
3. Continue to press the Turbo button for as
long as you need the extra power.
4. Release the Turbo button to return to normal
power.
GROWING A BEARD AND MUSTACHE
There are three key factors that will
determine which beard or mustache style is
best for you:
1. The shape and dimensions of your face.
2. The natural growth of your beard/mustache.
3. The thickness of your beard/mustache. If you
are unsure about the type of beard or mus-
tache that would most suit your face, speak
with a professional hair stylist and ask for an
opinion on what style would be best. Once
your beard or mustache has been styled, it
is essential that you maintain its appearance.
To do this, use your trimmer to trim your
beard/mustache weekly.
For the best trimming results, your beard should
be slightly damp (NOT WET) when using your
trimmer. This will prevent the trimmer from
removing more hair than desired.
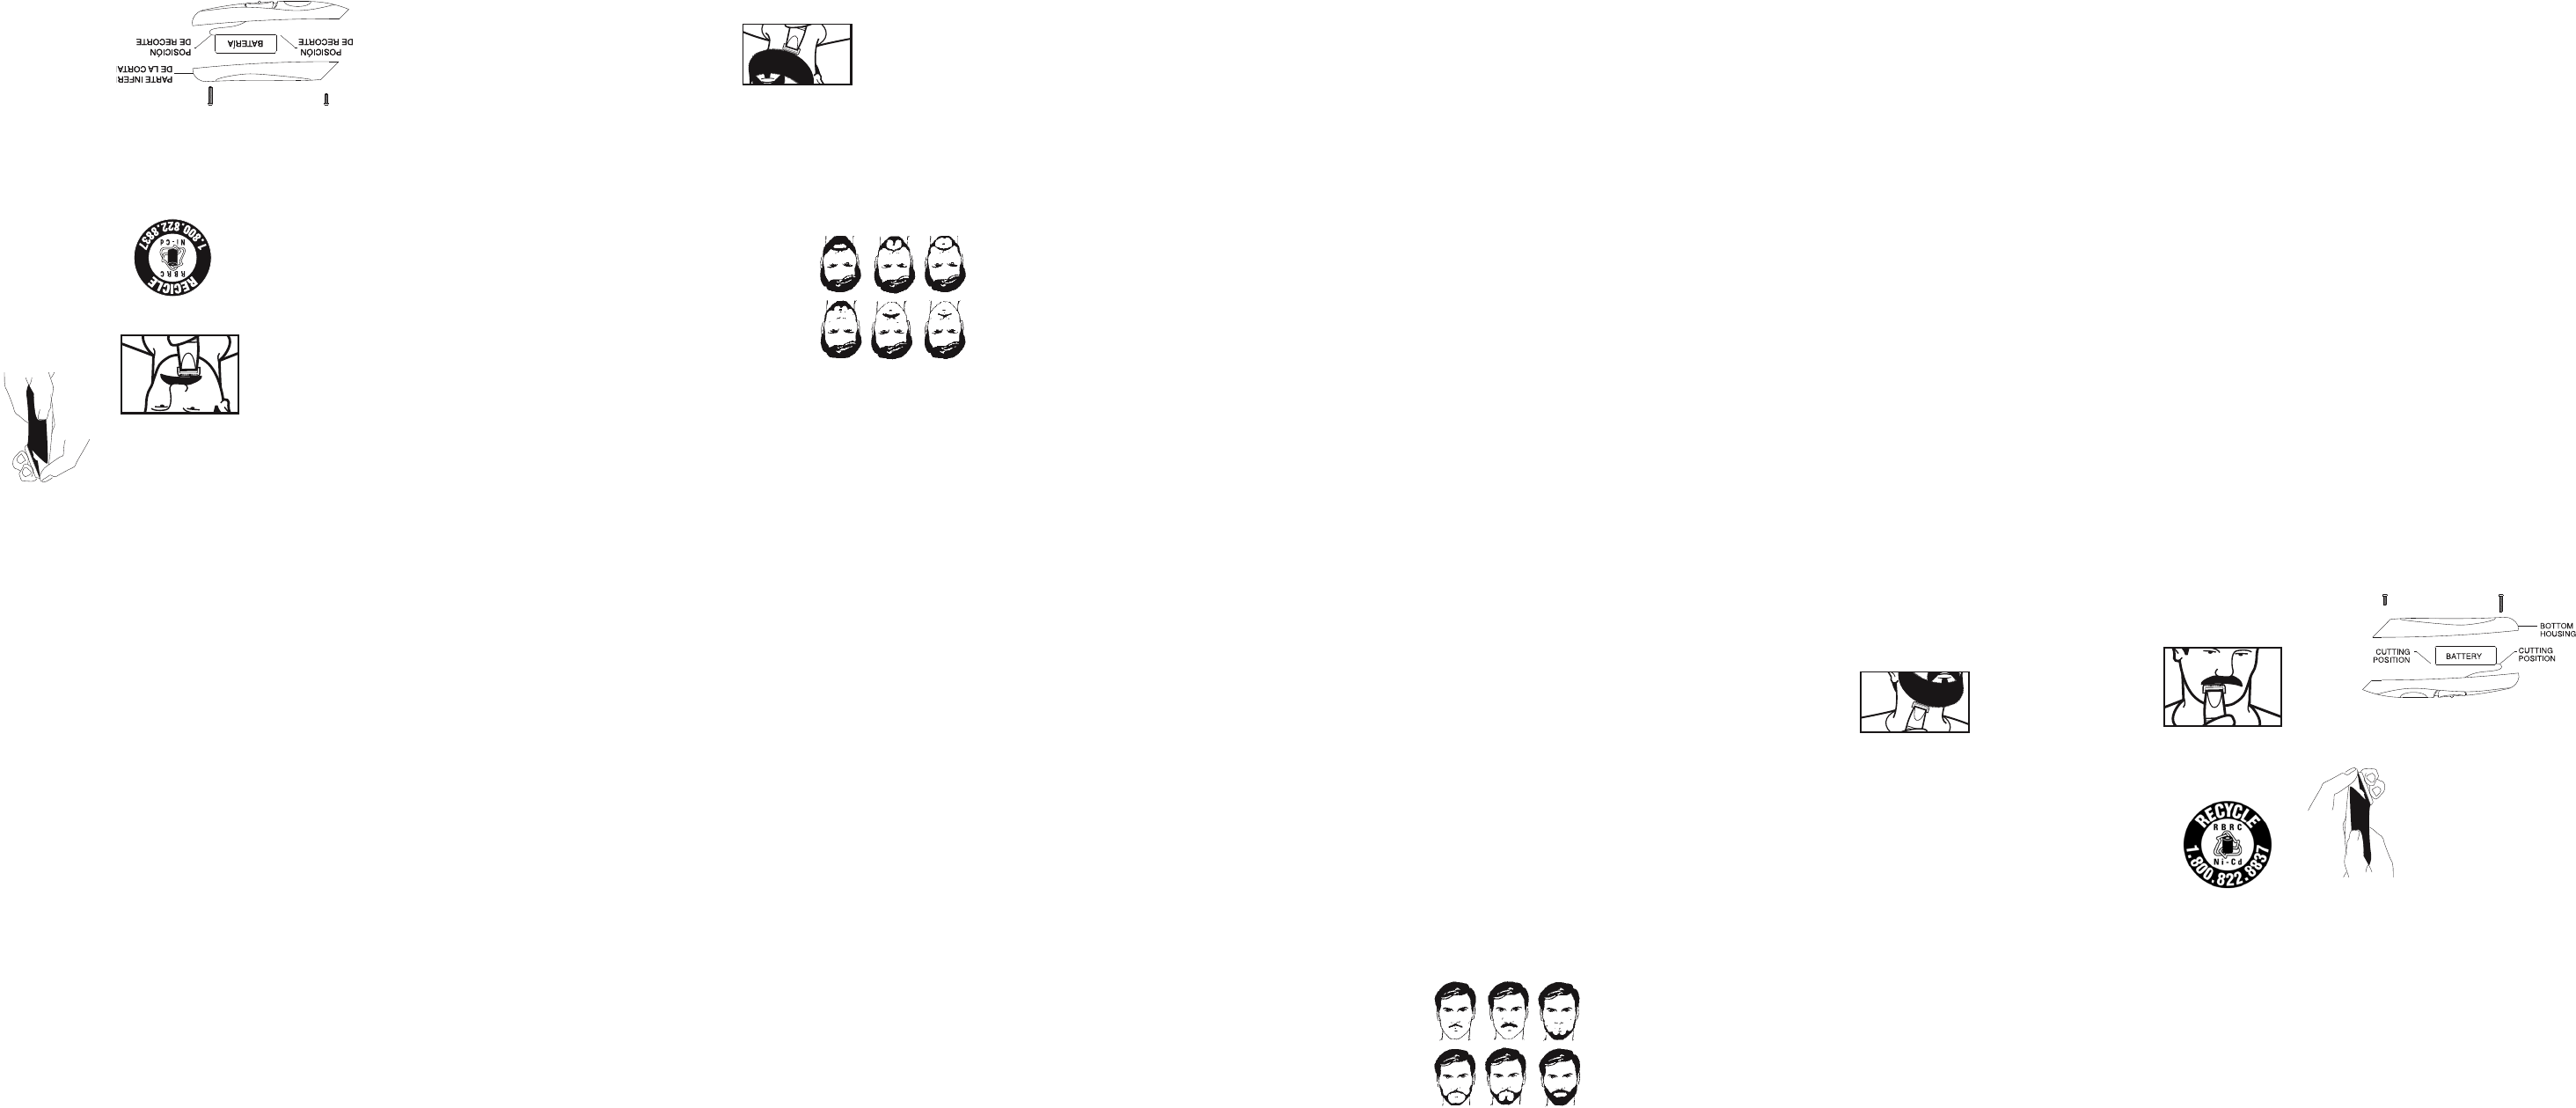
TYPES OF BEARDS/MUSTACHES
GETTING STARTED:
OUTLINING YOUR BEARD
1. It is always best to begin with a clean, slightly
damp beard (not wet.
2. After you have combed
through your beard in the
direction it grows natural-
ly, you will want to outline
the desired shape, begin-
ning under your jawline.
3. Begin defining your beard’s shape under
your chin and work upward on each side
of your face toward your ears. Then define
the upper outline of your beard across your
cheeks, past your sideburns, and toward
your hairline.
COMB ATTACHMENTS
For a short to medium cut use the 1/4" attach-
ment comb. For a medium to long cut use the
3/8" attachment comb.
TO TRIM YOUR MUSTACHE
Using the Scribe (narrow head) blade makes out-
lining your goatee or mustache quick and easy.
1. For best results, start with
a clean, slightly damp
mustache, and always
trim your mustache from
the top down.
2. Comb through your mustache in the direction
it grows.
BATTERY REMOVAL
1. Using a small Phillips head screwdriver,
remove the screw at the back of the trimmer.
2. Remove the bottom housing and push the
batteries out. Bring the batteries to the
nearest collection center for proper
disposal. DO NOT throw the battery into the
normal municipal waste system.
CONTAINS NICKEL CADMIUM
BATTERY. MUST BE
COLLECTED, RECYCLED OR
DISPOSED OF PROPERLY. DO
NOT DISPOSE OF IN
THE MUNICIPAL WASTE.
CARE OF YOUR TRIMMER
REPLACEMENT (REMOVAL) OF BLADE SET
To remove blade set from
your trimmer, make sure the
trimmer is in the OFF position.
Remove the blade set by plac-
ing thumb against the smaller
cutter and pushing forward,
releasing the cutter assembly
from the trimmer housing. Replace with new
cutting system and reverse the removal pro-
cedure, only this time place your thumb on the
large cutter and snap into place.
MEDIDAS DE SEGURIDAD
IMPORTANTES
Cuando se usán aparatos eléctricos, especial-
mente en la presencia de niños, siempre se
deben tomar precauciones básicas de seguridad,
entre las cuales las siguientes:
LEA TODAS LAS
INSTRUCCIONES ANTES DE
USARLO
maNteNGa eL aparato
aLeJaDo DeL aGUa
PELIGRO – Cualquier
electrodoméstico permanece eléctricamente
activo, incluso cuando el interruptor está
apagado. Para reducir el riesgo de muerte o
herida por descarga:
1. Desconecte el aparato inmediatamente
después de usarlo (excepto cuando lo quiera
cargar)
2. No coloque ni guarde el aparato donde
pueda caer o ser empujado a una bañera o
un lavabo
3. No lo use mientras se está bañando o
tomando una ducha
4. No coloque el aparato ni lo deje caer al agua
u otro líquido
5. Si el aparato cae al agua, desconéctelo
inmediatamente. No toque el agua.
6. Desconecte el aparato antes de limpiarlo
NO TRATE DE
ALCANZAR LA UNIDAD
EN EL AGUA
ADVERTENCIA – Para
reducir el riesgo de quemaduras, electrocución,
incendio o lesiones personales:
1. Nunca deje el aparato desatendido mientras
está conectado
2. Este aparato no debería ser usado por, sobre
o cerca de niños o personas con alguna
discapacidad
3. Use este aparato únicamente con el propósito
para el cual fue diseñado y tal como se
describe en este manual. Sólo use accesorios
recomendados por el fabricante. No utilice una
extensión eléctrica.
4. Nunca utilice el aparato si el cable o el
enchufe están dañados, si no funciona
correctamente, si ha caído, si está dañado
o si ha caído al agua. Llévelo a un centro de
servicio autorizado para que lo examinen y
lo reparen.
5. Mantenga el cable alejado de superficies
calientes
6. No jale, retuerza ni enrolle el cable alrededor
del aparato
7. Nunca deje caer ni inserte un objeto en
ninguna de las aberturas
8. No coloque el aparato en ninguna superficie
mientras esté funcionando
9. No use este aparato con un peine accesorio
roto o lastimado o si le faltan dientes
a la cuchilla. Esto podría provocar una
herida. Asegúrese que las cuchillas están
correctamente alineadas y lubricadas antes
de usar el aparato.
10. No lo utilice al aire libre, ni donde se están
usando productos en aerosol (spray) o donde
se esté administrando oxígeno
11. ESTE PRODUCTO ES PARA USO DOMÉSTICO
ÚNICAMENTE
GUARDE ESTAS
INSTRUCCIONES
DETECCIÓN DE PROBLEMAS
Si su aparato no se carga, siga los pasos siguientes
antes de contactar a un centro de servicio:
1. Asegúrese que la toma de corriente está
funcionando, probando el aparato en otra toma
2. Asegúrese que la toma de corriente no
estáconectada a un interruptor que corta la
electricidad cuando se apaga la luz
3. Asegúrese que el aparato está posicionado en la
base de recarga de manera correcta y segura y
que el aparato está apagado (“OFF”)
INSTRUCCIONES DE OPERACIÓN
1. Antes de usar el aparato por primera vez,
colóquele en la base de recarga y déjelo
cargar durante unas 16 horas. Asegúrese que
el aparato está apagado antes de colocarlo
en la base.
2. Siempre averigüe que el indicador luminoso
está encendido cuando coloque el aparato
en la base. Inserte el aparato en la base con
el interruptor frente suyo.
3. Enchufe la base de recarga en una toma
de corriente correspondiente al voltaje del
aparato (véase la etiqueta colocada en la
base). Desconecte la base cuando no la está
usando.
4. Puede dejar la base enchufada
permanentemente sin que dañe la batería
5. Para que su aparato siempre esté cargado,
déjelo en la base de recarga. Hacerlo no le
sobrecargará o le lastimará.
6. La base de recarga puede volverse caliente
mientras el aparato se esté cargando. Esto
es normal
7. Usar el aparato hasta que se descargue
completamente puede ayudar a prolongar la
vida útil de la batería. Cuando esté descargado,
apague el aparato inmediatamente y póngalo
a cargar de nuevo.
Nota: Asegúrese que el aparato está apagado
(“OFF”) antes de ponerlo a cargar. En el caso
contrario, pudiera no cargarse y dañarse.
INSTRUCCIONES DE
MANTENIMIENTO
MANTENIMIENTO DE LAS CUCHILLAS
LUBRICAR LAS CUCHILLAS
Lubrique las cuchillas aproximadamente
una vez al mes, usando el aceite provisto.
Para no ensuciar, haga esto encima de un
periódico. Encienda el aparato y manténgalo
bocabajo. Coloque unas gotas de aceite sobre
las cuchillas, apague el aparato, y limpie el
exceso de aceite con un paño suave. No use
demasiado aceite y no lubrique el aparato más
de lo necesario. Esto podría lastimar el motor.
Nunca intente lubricar las piezas del motor, ya
que son lubricadas de manera permanente.
Después de lubricar las cuchillas, regrese el
aparato y el aceite lubricante en la base de
almacenamiento. Mantenga el aceite lubricante
fuera del alcance de los niños.
LIMPIAR LAS CUCHILLAS
Las cuchillas fueron diseñadas con precisión
para un uso específico, y deberían recibir un
cuidado muy especial. Limpie las cuchillas
después de cada uso con el cepillo de limpieza
provisto, luego regrese el aparato en la base de
recarga. Tenga cuidado cuando sea necesario
cambiar o ajustar las cuchillas. Asegúrese que
ambas cuchillas están cambiadas o afiladas al
mismo tiempo. Para seguir disfrutando de su
aparato durante años, utilícelo únicamente con
el propósito para el cual fue diseñado: cortar la
barba y el bigote.
FUNCIÓN TURBO
El aparato está equipado con un botón Turbo.
La función Turbo ofrece un 15% más fuerza, y
facilita el cortado del cabello espeso.
Para activar la función Turbo:
1. Encienda el aparato (“ON”)
2. Oprima el botón Turbo
3. Siga oprimiendo el botón Turbo mientras
necesite más fuerza
4. Afloje el botón Turbo para regresar al poder
normal
BARBAS Y BIGOTES
El tipo de barba o de bigote que más conviene a
su rostro depende de:
1. La forma y el tamaño de su rostro
2. La forma del crecimiento natural de su barba
o de su bigote
3. El espesor de su barba o de su bigote
Si no está seguro del tipo de barba o bigote que
le conviene, busque el consejo de un estilista
profesional. Después de darle forma a su barba
o a su bigote, tendrá que mantener su aspecto,
usando la cortadora una vez por semana.
Para mejores resultados, humedezca ligeramente
su barba o su bigote antes de recortarlos (NO LO
MOJE). Esto le dará un corte más preciso.
TIPOS DE BARBAS Y DE BIGOTES
CORTAR SU BARBA
EL CONTORNEO
1. Para mejores resultados, limpie y humedezca
ligeramente su barba
2. Peine su barba en la dirección del cre-
cimiento natural del pelo, luego empiece a
darle forma
3. Empiece dando forma a
su barba debajo de la
quijada y suba hacia la
oreja, en cada lado de su
rostro. Siga dando forma
al área de la mejilla, a las patillas y al
nacimiento del pelo.
PEINES ACCESORIOS
Para lograr un recorte corto a medio, use el peine
accesorio de 6 mm (1/4").
Para lograr un recorte medio a largo, use el peine
accesorio de 9 mm (3/8").
CORTAR SU BIGOTE
La cuchilla minuciosa le permitirá cortar su
bigote o su perilla fácilmente y rápidamente.
1. Para mejores resultados, limpie y humedezca
ligeramente su bigote. Siempre corte el
bigote desde arriba hacia abajo.
2. Peine su bigote en la
dirección del crecimiento
natural del pelo.
INSTRUCCIONES DE REMOCIÓN DE LA BATERÍA
1. Quite el perno que se encuentra atrás del
aparato con un destornillador pequeño de Phillips
2. Quite la cubierta y remueva la batería. Lleve la
batería a un centro de reciclaje o de recogida de
baterías. NO tire la batería a la basura.
ESTE APARATO CONTIENE UNA
BATERÍA DE CADMIO DE NÍQUEL,
LA CUAL DEBE SER RECICLADA,
RECOGIDA O TIRADA DE FORMA
ADECUADA. NO TIRE LA BATERÍA CON
EL RESTO DE BASURA.
MANTENIMIENTO DEL APARATO
CAMBIAR (SACAR) EL JUEGO DE CUCHILLAS
Asegúrese que el aparato
está apagado antes de sacar
el juego de cuchillas. Coloque
su dedo pulgar debajo de la
cuchilla pequeña y empuje por
adelante para soltar el juego
de cuchillas del cabezal. Para
reemplazar el juego de cuchillas, coloque su
dedo pulgar en la cuchilla grande y presione
hasta que el nuevo juego caiga en su lugar.