1. Cup the respirator in your hand with the nosepiece at your fingertips allowing the
headbands to hang freely below your hand.
2. Position the respirator under your chin with the nosepiece up.
3. Pull the top strap over your head resting it high at the top back of your head. Pull the
bottom strap over your head and position it around the neck below the ears. Make
sure that the straps are not twisted.
4. Place the fingertips of both hands at the top of the metal nosepiece.
Mould the nosepiece to the shape of your nose by pushing inward while moving your
fingertips down both sides of the nosepiece.
Pinching the nosepiece using one hand may result in less effective respirator
performance.
5. The seal of the respirator on the face should be fit checked prior to wearing in the
work area.
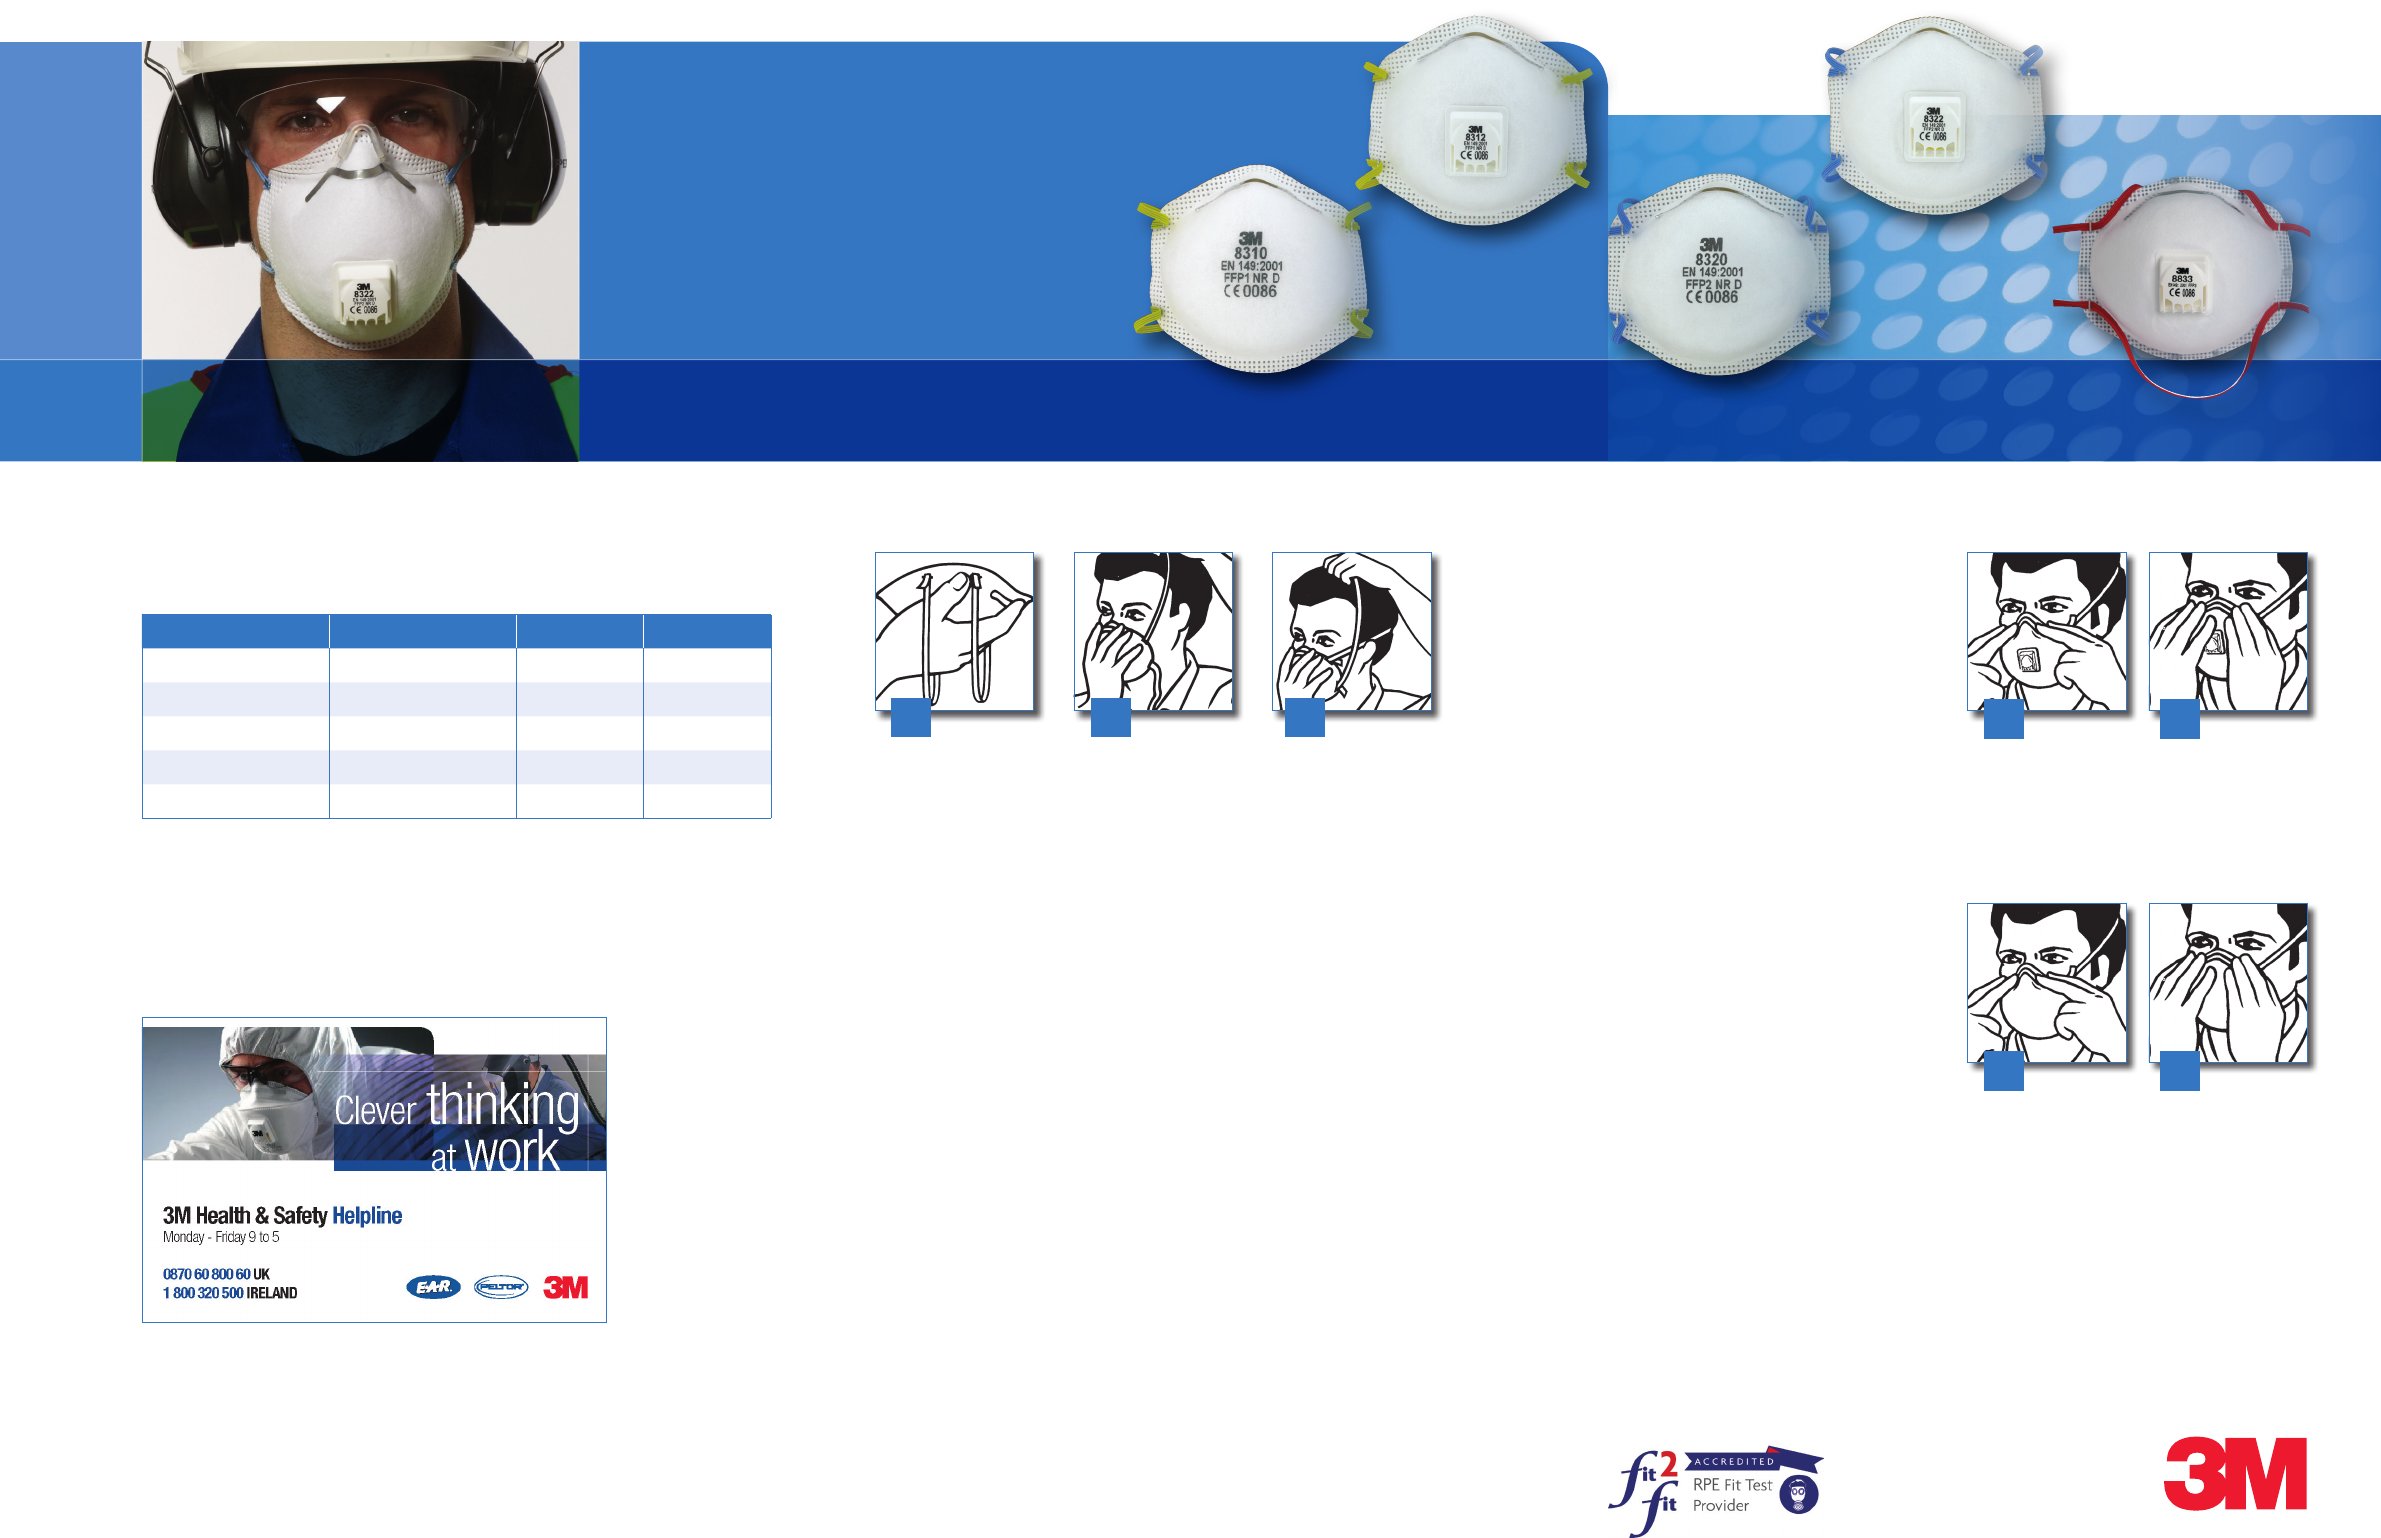
3M 8300 Series Comfort Respirators
Respirator Type APF VALVE
8310 FFP1 NR D 4
8312
✓
8320
8322 FFP2 NR D 10
✓
8833 FFP3 R D 20
✓
Standard: EN149:2001 + A1:2009
This respirator should not be used in oxygen deficient environments, for
escape purposes or by people with beards/ facial hair or in atmospheres
where concentrations of contaminant may exceed that deemed
Immediately Dangerous to Life and Health (IDLH).
Occupational Health & Environmental Safety Group
3M United Kingdom plc
3M Centre,
Cain Road, Bracknell
Berkshire RG12 8HT
Tel: 0870 60 800 60
www.3M.co.uk/ohes
3M Ireland Limited
The Iveagh Building
The Park
Carrickmines
Dublin 18
Tel: 1 800 320 500
Please recycle. Printed in UK.
© 3M 2009. All rights reserved.
3M Occupational Health & Environmental Safety Group
3M
™
8300 Series Comfort Respirators
Fitting Instructions
1 2 3
Fit Testing: The 3M 8300 Series Respirator is a tight fitting facepiece and therefore
wearers require a fit test as per the COSHH regulations 2002. For qualitative testing -
3M
™
FT10 and FT30 Fit Test Kits are available.
Fit Check Procedure
For Valved Respirators:
a) Cover the front of the respirator with both
hands, being careful not to disturb the
position of the respirator.
b) Inhale sharply. A negative pressure should be felt inside the respirator. If air leaks around
the nose, readjust the noseclip as described in step 4 to eliminate leakage. Repeat the
above fit check. If air leaks at the respirator edges, work the straps back along the sides
of the head to eliminate leakage. Retest the seal. Repeat the procedure until the respirator
fits properly.
For Unvalved Respirators:
a) Cover the front of the respirator with both
hands, being careful not to disturb the
position of the respirator.
b) Exhale sharply. A positive pressure should
be felt inside the respirator. If air leaks around the nose, readjust the noseclip as described
in step 4 to eliminate leakage. Repeat the above fit check. If air leaks at the respirator
edges, work the straps back along the sides of the head to eliminate leakage. Retest the
seal. Repeat the procedure until the respirator fits properly.
If you cannot achieve a proper fit, do not enter the contaminated area.
See your supervisor.
Note: Do not use with beards or other facial hair that may inhibit contact between the
face and the edge of the respirator.
4
4
5
5
CH8300FP V2


